Packing List :: 7-Day Thru-Hike of the John Muir Trail
A few weeks ago I started off from Whitney portal trailhead, just outside of Lone Pine in California on a trip I had been anticipating for the last seven years. I came to the US in 2007 and my then girlfriend, now wife, wanted to take me to her favorite place on earth: Yosemite valley. We hiked to the top of Half Dome and I was blown away by the incredible beauty of this geologic masterpiece.
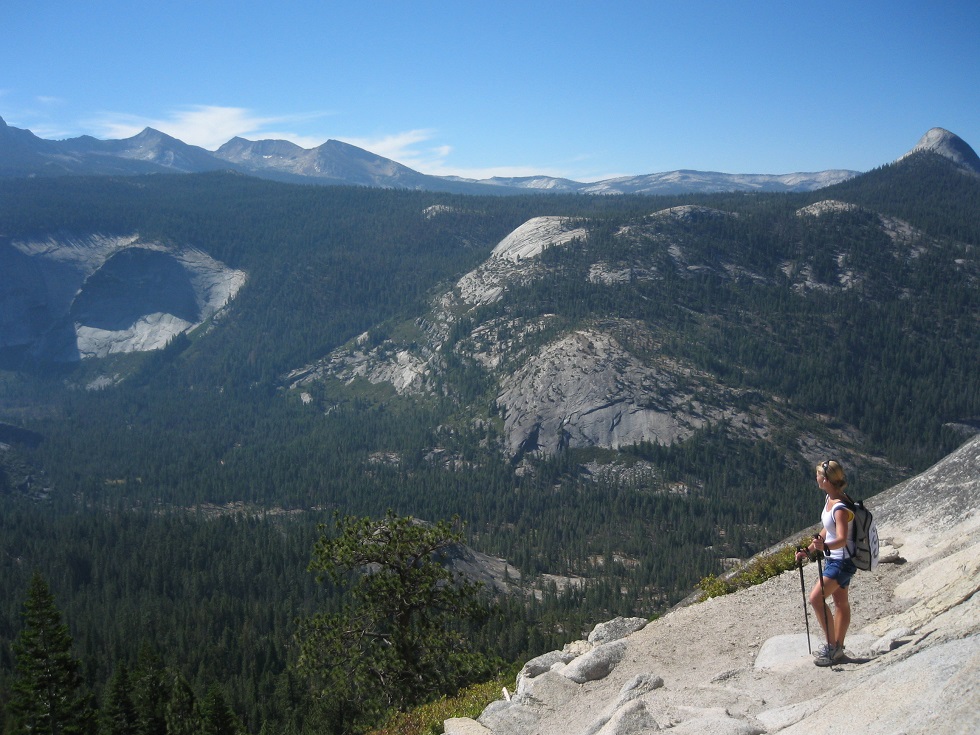
At the trailhead there was a sign that said our hike to Half Dome was 8.2 miles, but it also stated the distance to Mount Whitney via the John Muir Trail: 211 miles / 340 km. It stuck with me and I started to research maps and test gear a few years back.
The Backpack
First was to find a pack that would fit my desire to do this trail as lightweight and efficiently as possible. With two kids and a full-time job, taking a month off to do the approximately 50,000 feet of elevation change with 45 pounds on my back was not happening. I wanted to stay below 5 kg as my base weight, around 20 pounds fully loaded up with provisions and water. Also, with bears a big problem on the JMT, it needed to fit my ‘Bearikade Scout’; a lightweight carbon bear canister made by Wild Ideas that would keep my food away from anything furry.
"I wanted to stay below 5 kg as my base weight, around 20 pounds fully loaded up with provisions and water."
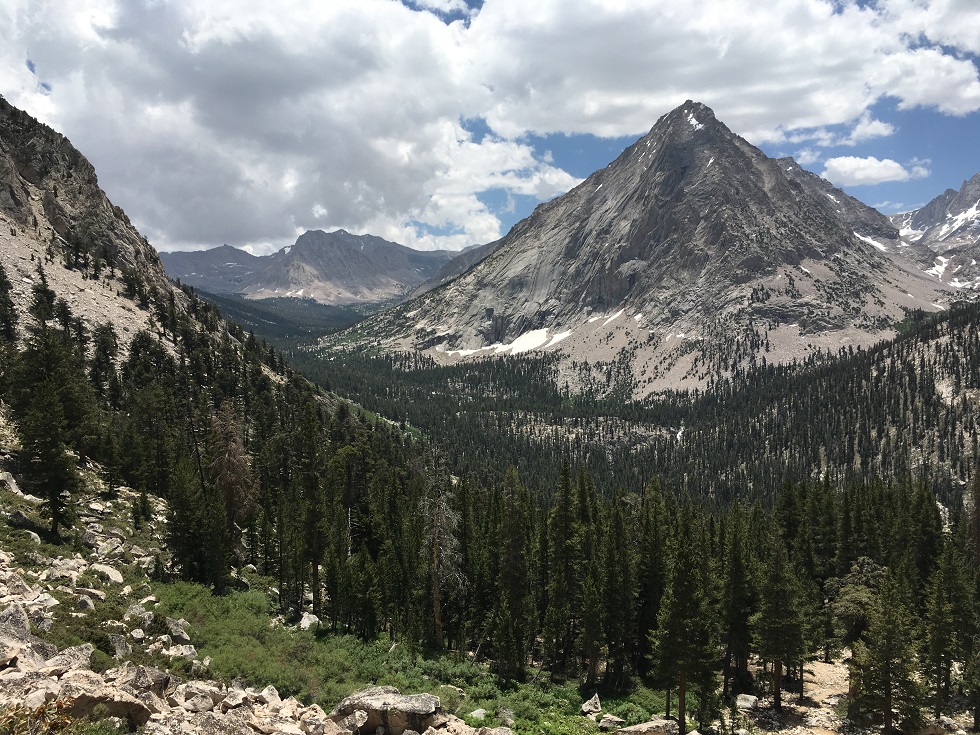
So I tried several lightweight backpacks, the OMM Classic 25L, Salomon Peak 30, but for some reason packs with a waist belt don’t sit well with me, literally. For the first few hours they work great, but the inability to breathe out of my belly and the constant rubbing on my hips just get too annoying. Not to mention I can’t run with them if I wanted to. So when Salomon came out with their new S-LAB Peak 20 Set (what a name…) I was really intrigued. It’s not the first 20L+ pack without a waist strap. I own the Ultimate Direction Fastpack 20 and it’s a solid pack, but the storage on the front doesn’t work for my needs, not to mention it doesn’t fit a bear canister so it was out for this trip anyway.
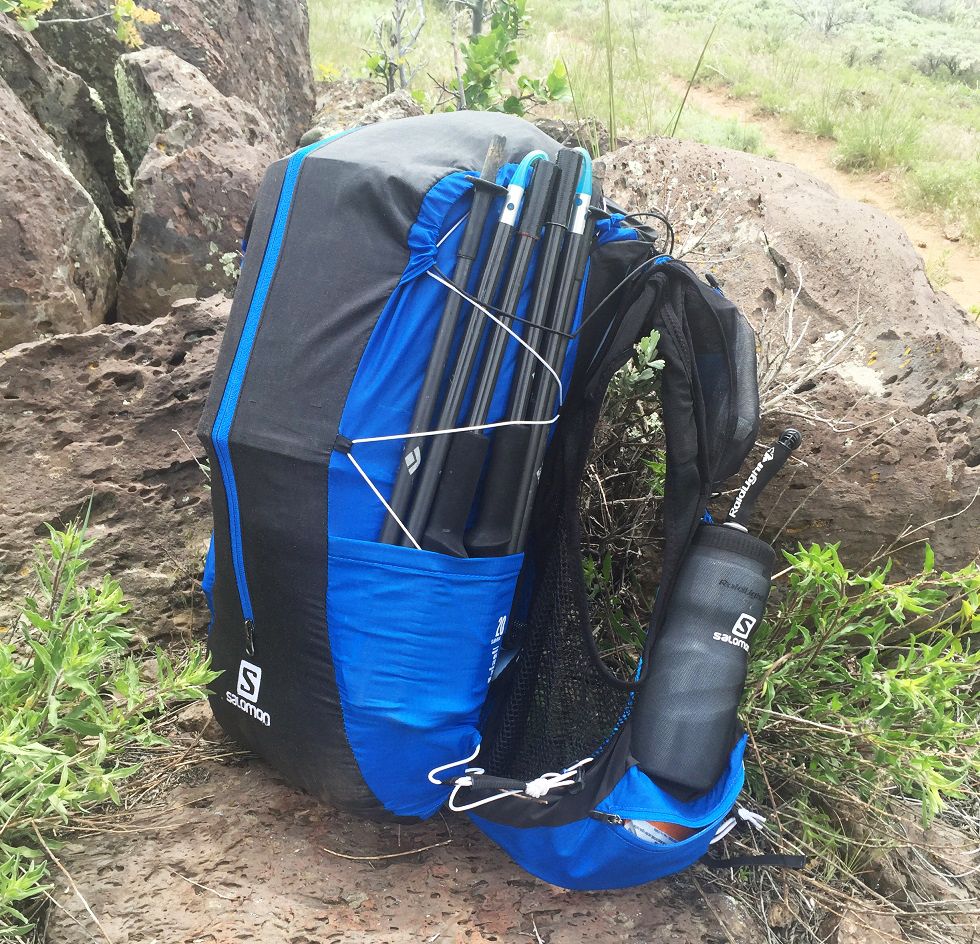
The Salomon pack is a whole different animal. I bought one as soon as I could and started to run/walk with it and gradually built up the weight to see if it worked for me. Even though there are some small areas for improvement, I really loved the pack and I’m a tough crowd when it comes to packs for sure.
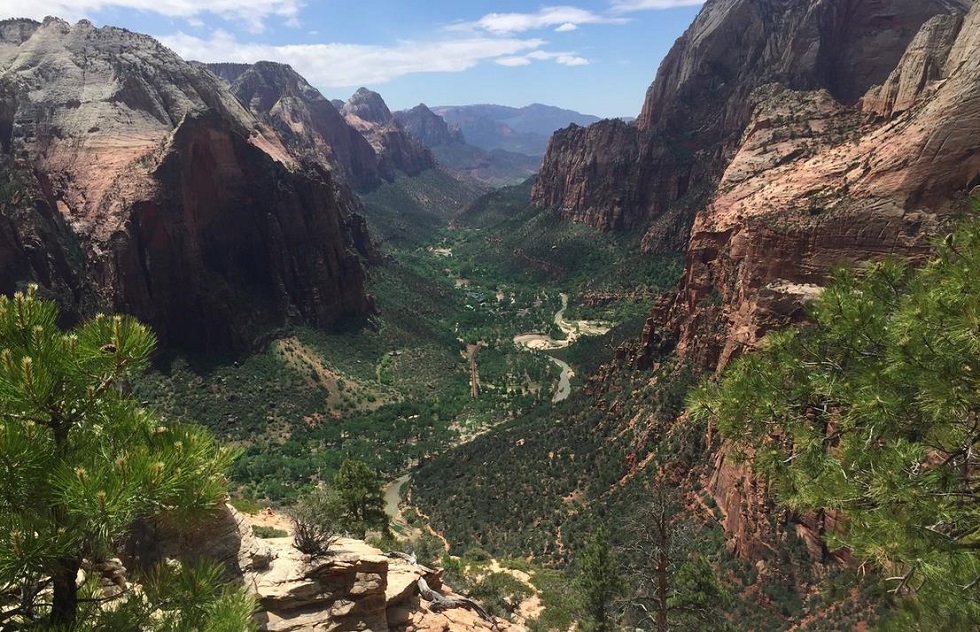
A month before the John Muir Trail I took it on a three-day 90-mile test run, the double crossing of the Zion National Park, and I was sold.
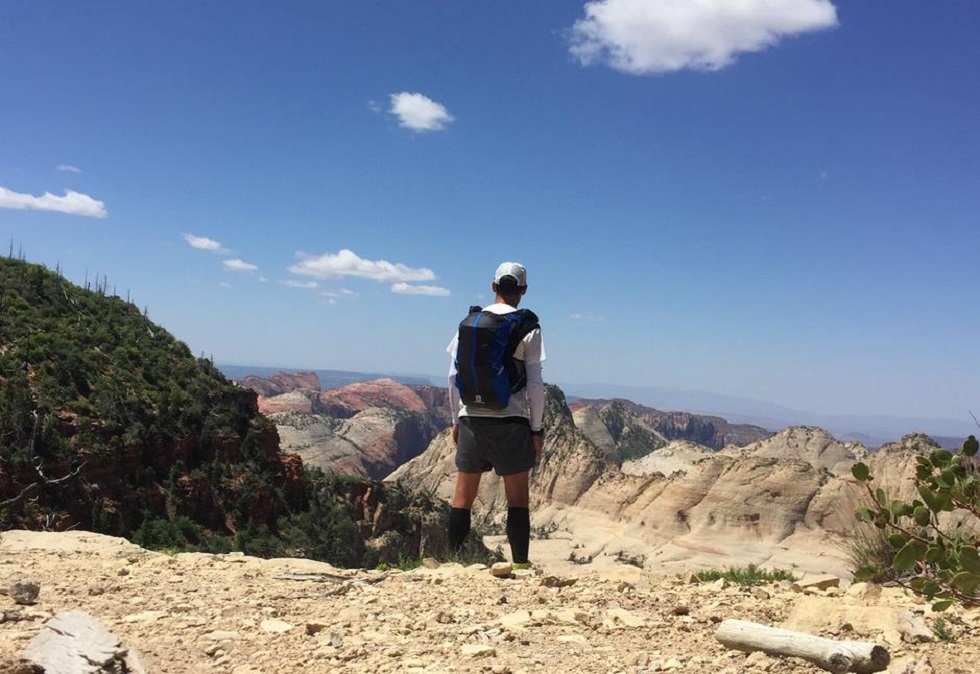
The very best feature is how great the pack fits. It is essentially a running vest on steroids.
You can tell they put a lot of time into designing a system of cords that really stabilizes your load and compresses the pack to minimize the sway and bounce.
"The very best feature is how great the pack fits. It is essentially a running vest on steroids."
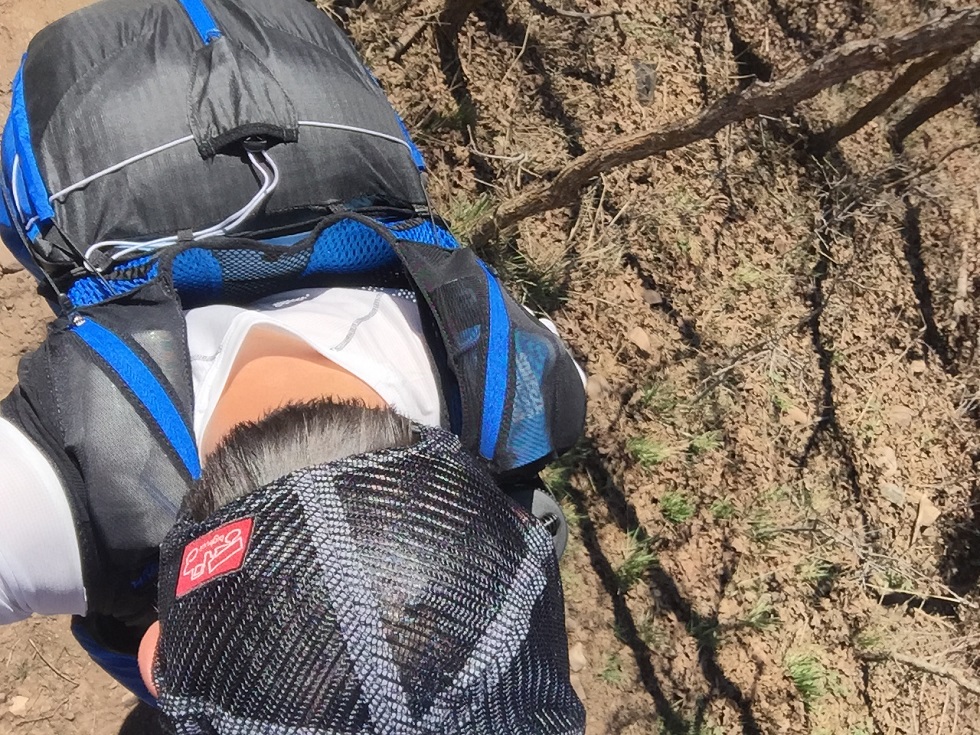
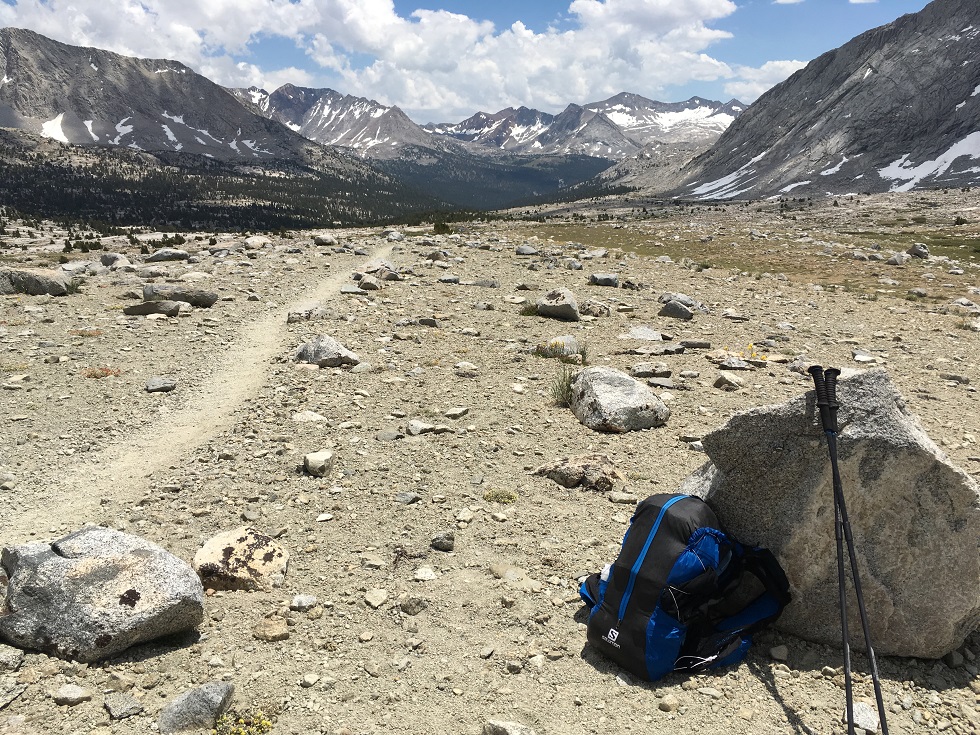
The first set of cords are visible here in black, they compress the top of the pack and distribute the load to the front of the shoulder straps. You can also see the white cord that compresses the sides and has a stopper that sinks into a space that doubles as a zipper garage.
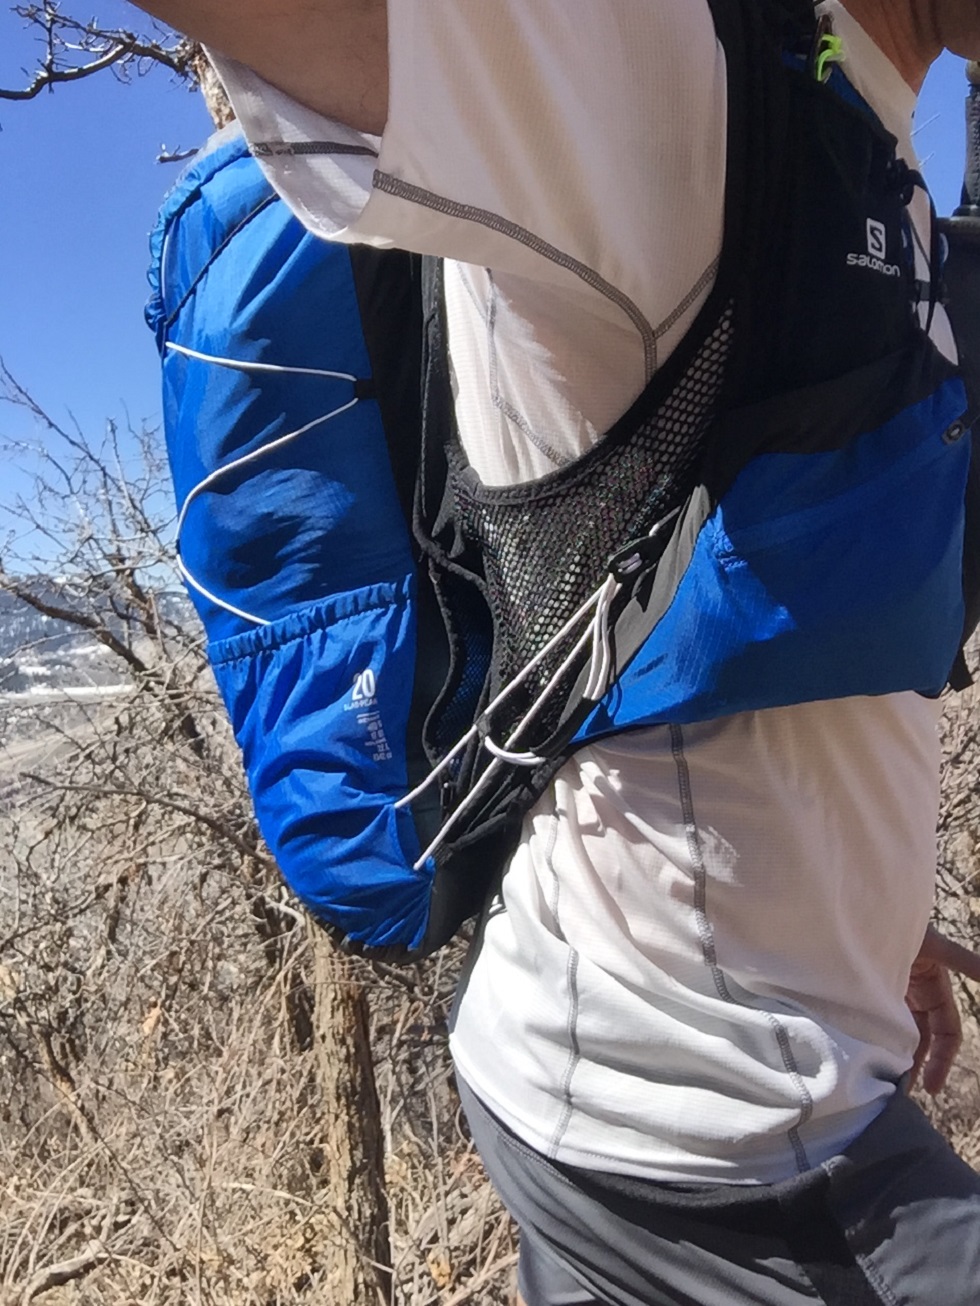
Then there is a third, slightly thicker white cord that just loops around the side pockets and essentially ‘lifts’ the pack from the bottom and attaches to the side of the pockets. There are three little loops to hook this into to change the angle of the pull.
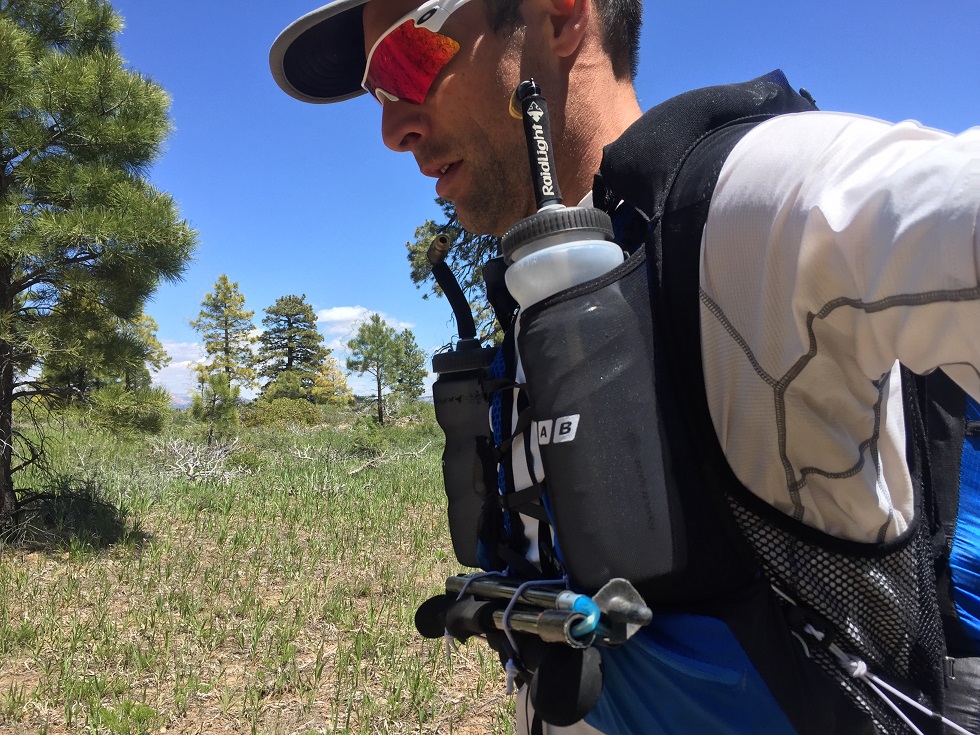
One problem here is that the cord kept slipping through that plastic hook, easily solved by putting a knot in it.
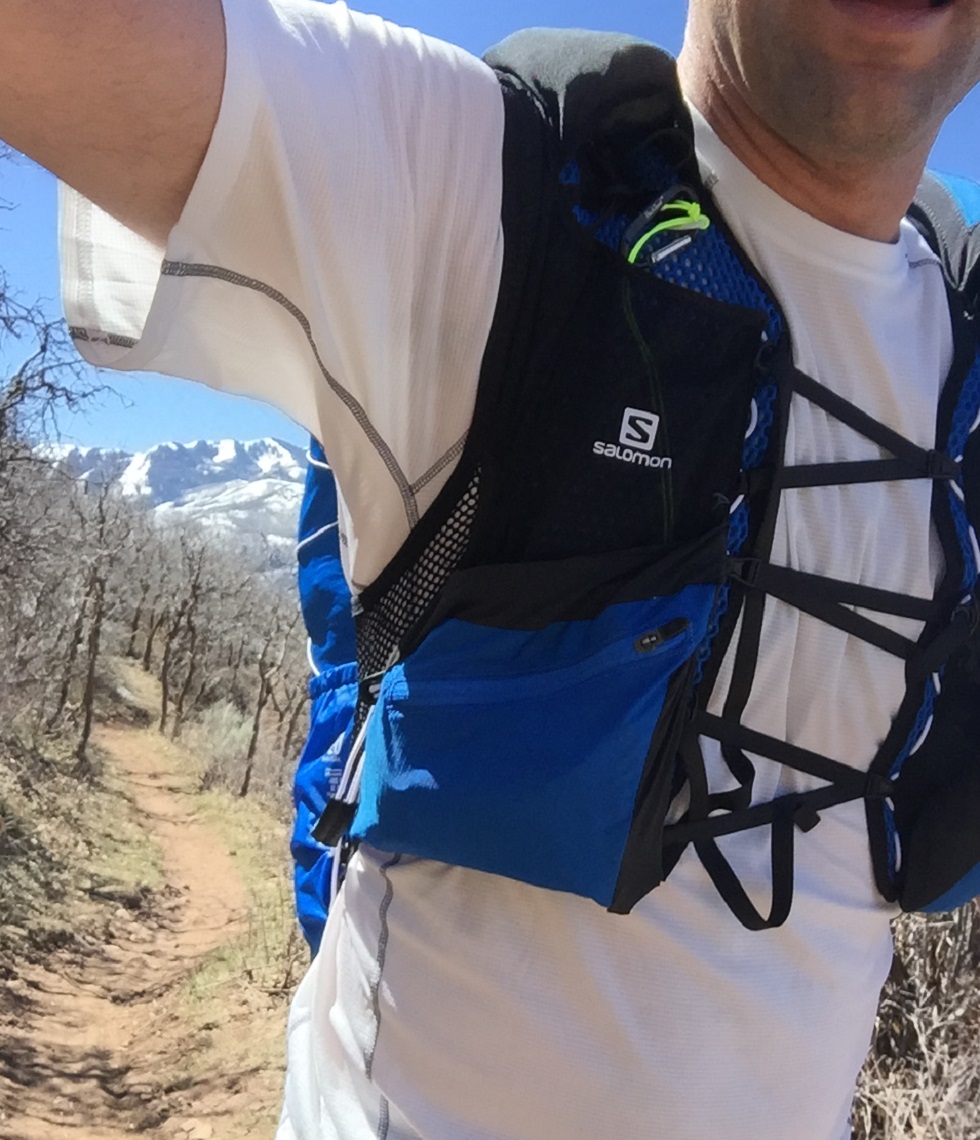
Of course the pack features Salomon’s zigzag webbing system on the chest. As much as I love this comfortable, adjustable, light system that distributes a load nicely and doesn’t cause any pinching, the problem was with the tiny hooks that are super finicky when your hands are cold. Also, the cords these parts hook into are a bit tricky to get to when both chest pockets are filled up.
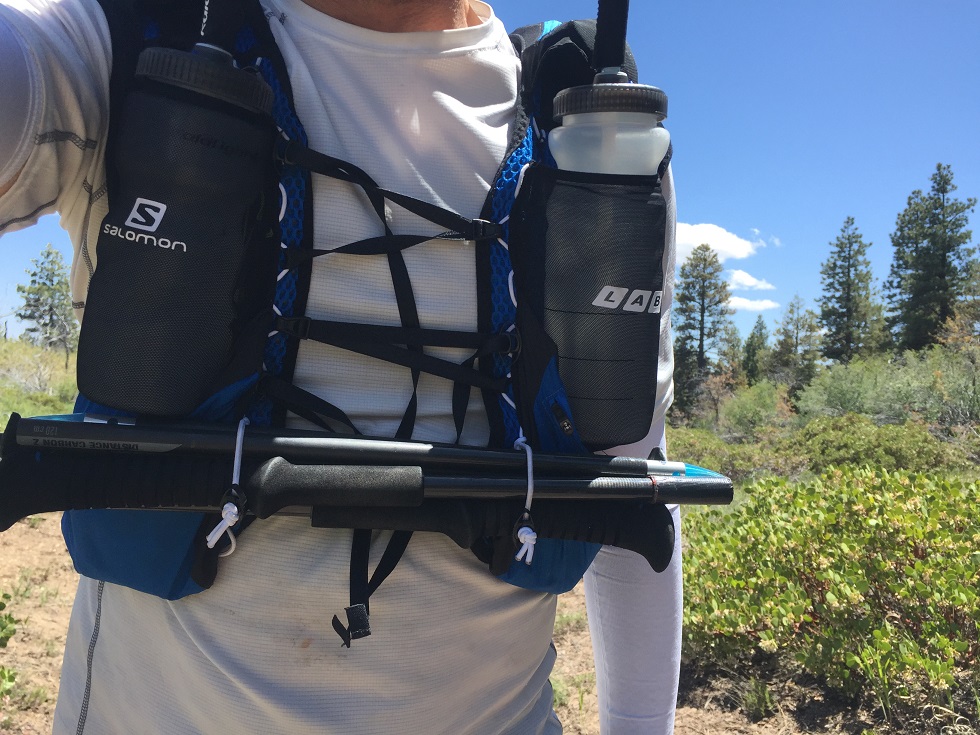
And then, as I used the pack more, I added a set of bungees at the front that allowed me to easily store the Black Diamond Distance Carbon Z-poles I use.
Maybe the best part about the S-LAB Peak 20 is that it allows me to carry two water bottles in the front if needed, with two storage pockets below them that I use for the food I intend to eat that day. The two stretch power-mesh pockets on the top of the shoulder hold my water filter on one side, and miscellaneous stuff like sunscreen and my bug net on the other side.
"Maybe the best part about the S-LAB Peak 20 is that it allows me to carry two water bottles in the front if needed, with two storage pockets below them that I use for the food I intend to eat that day."
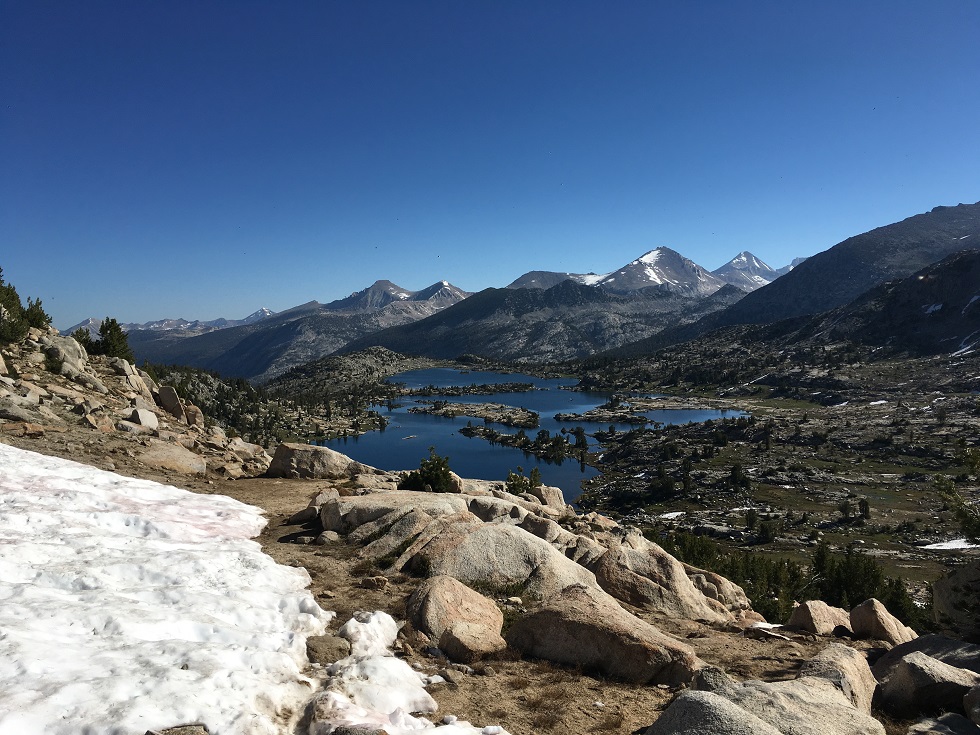
Other cool features are a removable foam pad that sits on the outside of the pack so you don’t have to open it up to get to it. Nice if you don’t need the padding and want to save some weight, or want to use it as a sit pad. There is also a mesh divider screen on the inside of the main compartment, intended to keep heavier items higher up in the pack if needed, and it folds away if not in use.
The one thing I would like to see changed on the pack is to change the material on the side pockets to stretch mesh. When the Peak 20 is fully loaded up it is impossible to get anything in or out of those suckers. Too bad, because I would have loved to store a small stove, gloves or a map in them.
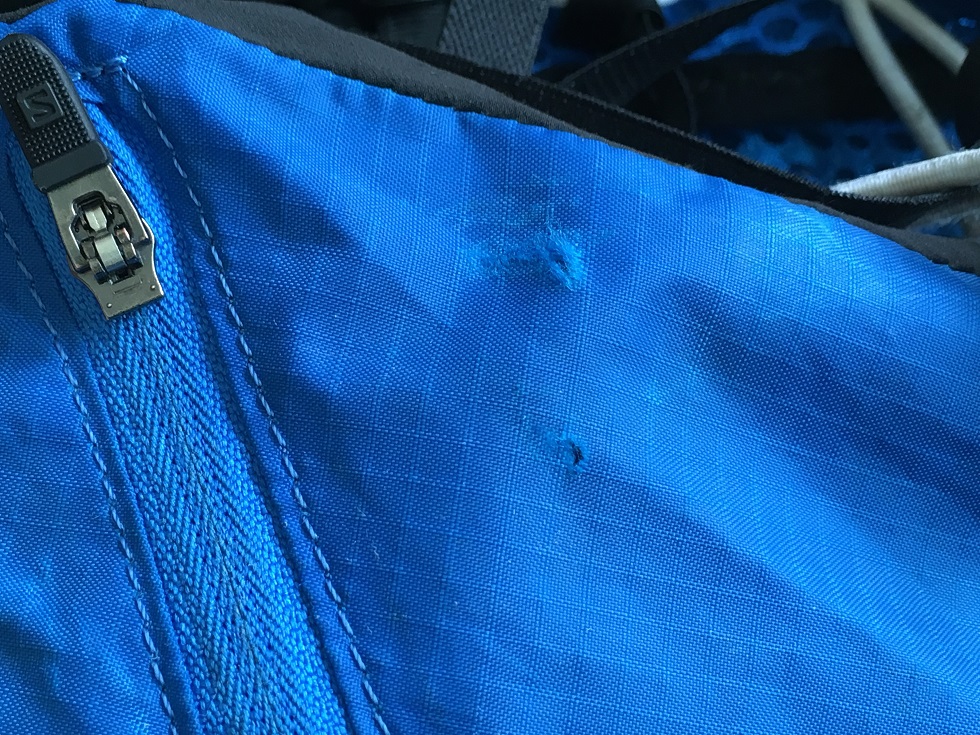
Another small nuisance is the fact that the storage pockets all use semi-auto locking zippers (YKK 3C-DSBYG); this makes it difficult to open and close them with one hand. Not to mention that they are also reversed coil, making this all a lot less durable. Fortunately I didn’t have any zippers blow up on my trip!
"The one thing I would like to see changed on the pack is to change the material on the side pockets to stretch mesh."
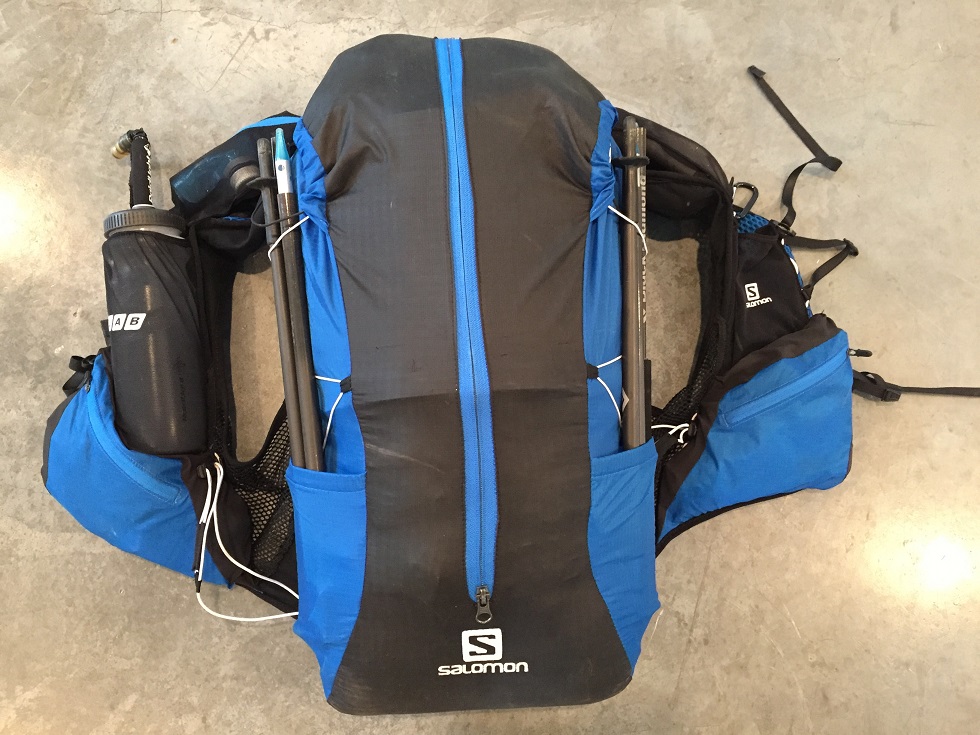
Now that I had a great pack, I focused my efforts on the rest of my gear.
Shoes
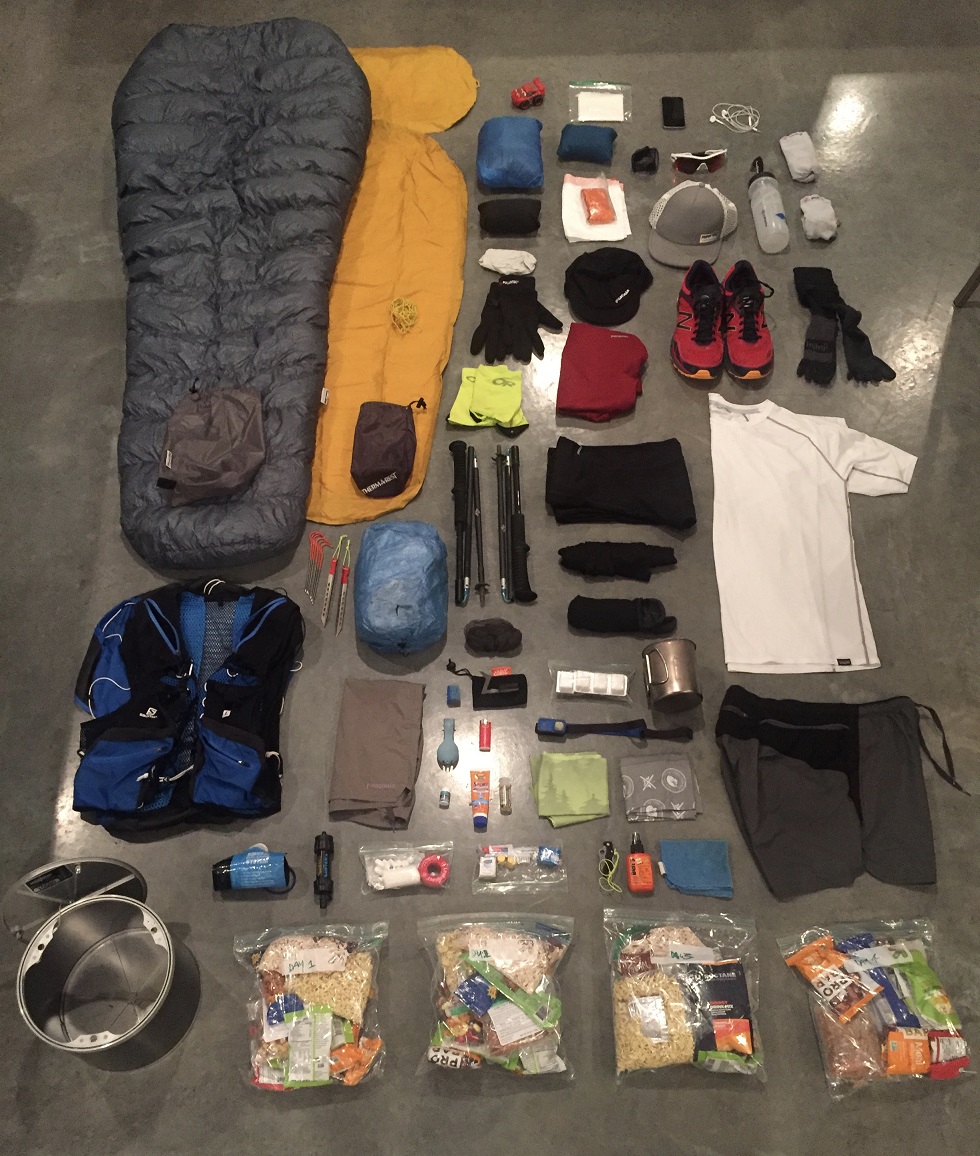
For shoes I settled on the New Balance Leadville v3, soft, but not too gummy, with a rock-plate, Vibram sole, an 8mm drop, wide enough in the forefoot for me, but with more lateral support than my Altras. I got them a half size bigger in anticipation of my feet swelling from the miles and altitude and I’m very happy that I did.
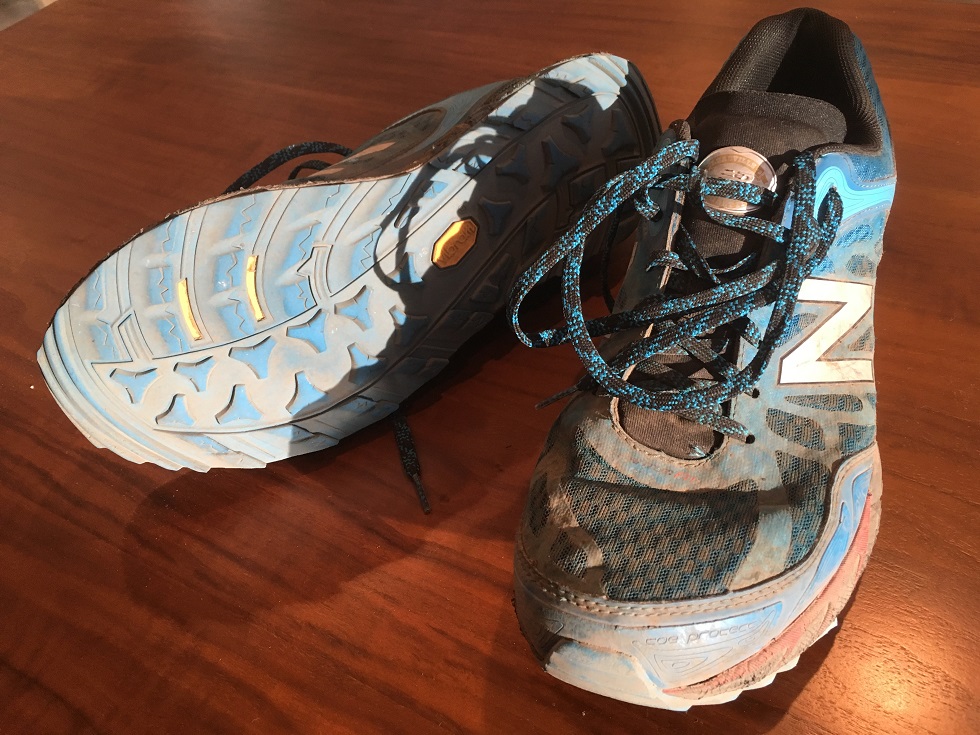
This is what they looked like after hammering 220 miles through California’s Eastern Sierras, not bad!
"I got [my shoes] a half size bigger in anticipation of my feet swelling from the miles and altitude and I’m very happy that I did."
Sleeping Gear
My sleep system needed to be light so I chose a quilt from Katabatic Gear called the Palisade 30, which is made with 900 fill power goose down. It packs down super small and fits exactly in the bottom of my Salomon S-LAB Peak 20. The quilt has hooks that keep it in place on top of my small Therm-a-Rest sleeping pad and this is absolutely critical. After a few nights testing this system out I added a pillow from Exped and I was good to go.
"My sleep system needed to be light so I chose a quilt from Katabatic Gear called the Palisade 30, which is made with 900 fill power goose down."
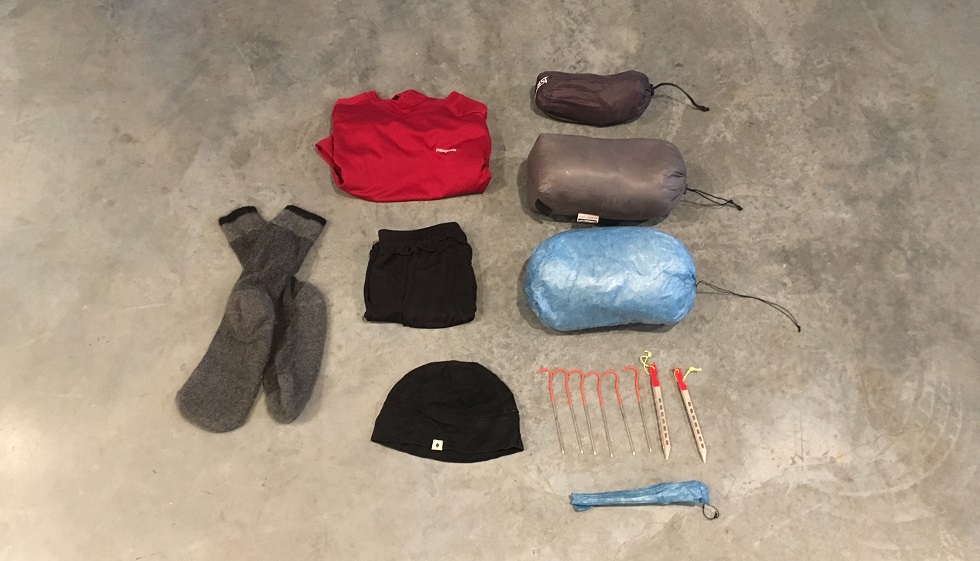
Maybe the one item I was looking forward to the most every night were my PossumDown sleep socks from ZPacks. No kidding. After a long day of banging my feet up, these were a lifesaver. So soft it felt like a foot massage, and with a bit of foot powder in them each evening, they helped my feet dry out and recover each night. Total game changer and I am not sure I would have made it to Yosemite without them.
"Maybe the one item I was looking forward to the most every night were my PossumDown sleep socks from ZPacks."
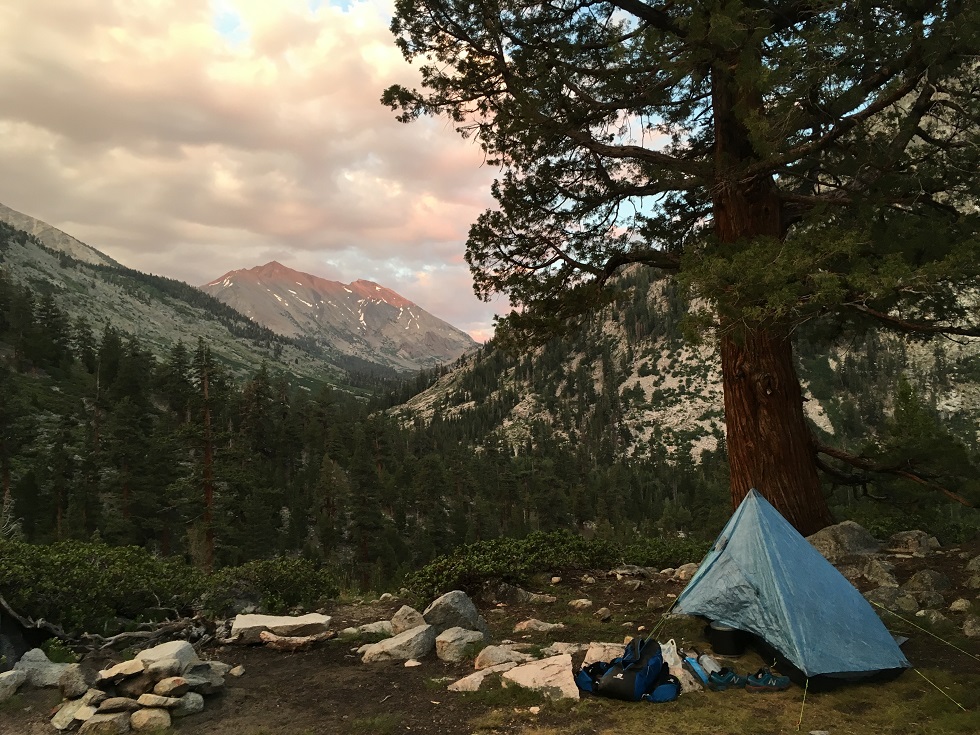
To round out the camp system was a lightweight tent that packed up super small. Even though it is lighter, I really didn’t want to use a tarp. I don’t like bugs crawling on me at night, especially mosquitoes! At 15.4 oz / 437g, the Hexamid Solo from ZPacks is about as light as it gets for a tent. It uses a trekking pole to set up, has a fully enclosed bug screen, and a detachable bathtub floor in case the rain gets really bad. This tent was just amazing on the trip. Only once did I get a bit of condensation on it at night. It sets up easily, and has a little hook to hang up my headlamp and use it as a lamp. Very simple, very light, and pretty durable considering it is made out of (17.4 g/m²) Cuben Fiber.
"At 15.4 oz / 437g, the Hexamid Solo from ZPacks is about as light as it gets for a tent. It uses a trekking pole to set up, has a fully enclosed bug screen, and a detachable bathtub floor in case the rain gets really bad."
Cooking Gear
My luxury item was a 11.5-gram Esbit stove. I found that a warm breakfast to kick things off, and a nice dinner before going to bed, were critical in keeping spirits up and getting calories in. To get the best efficiency out of my fuel, I used a home-made aluminum wind screen, and a titanium Snow Peak cup to cook my food.
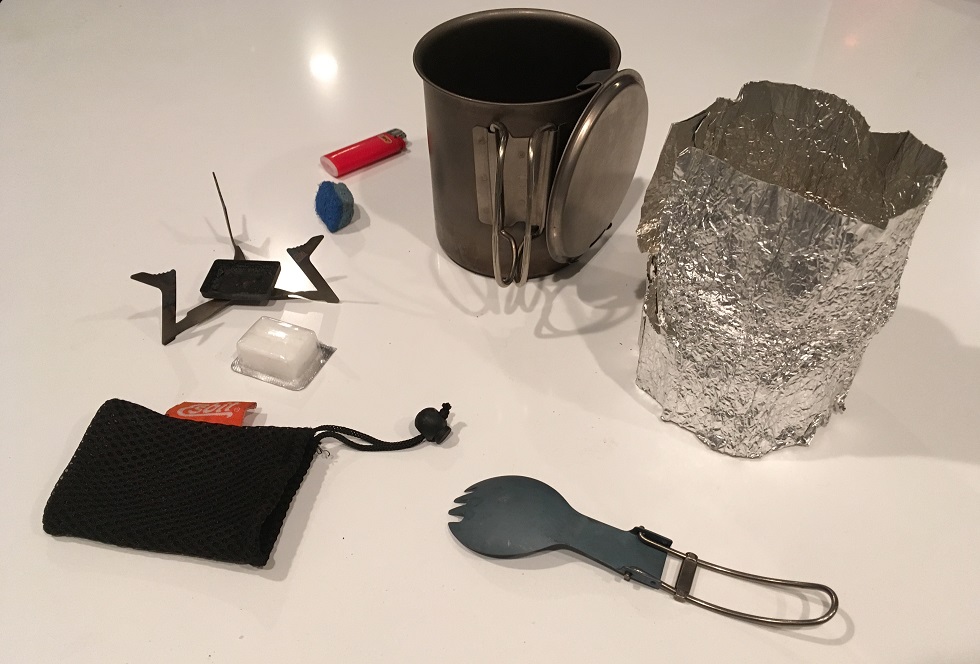
"My luxury item was a 11.5-gram Esbit stove. I found that a warm breakfast to kick things off, and a nice dinner before going to bed, were critical in keeping spirits up and getting calories in."
Toiletries and Other Small Items
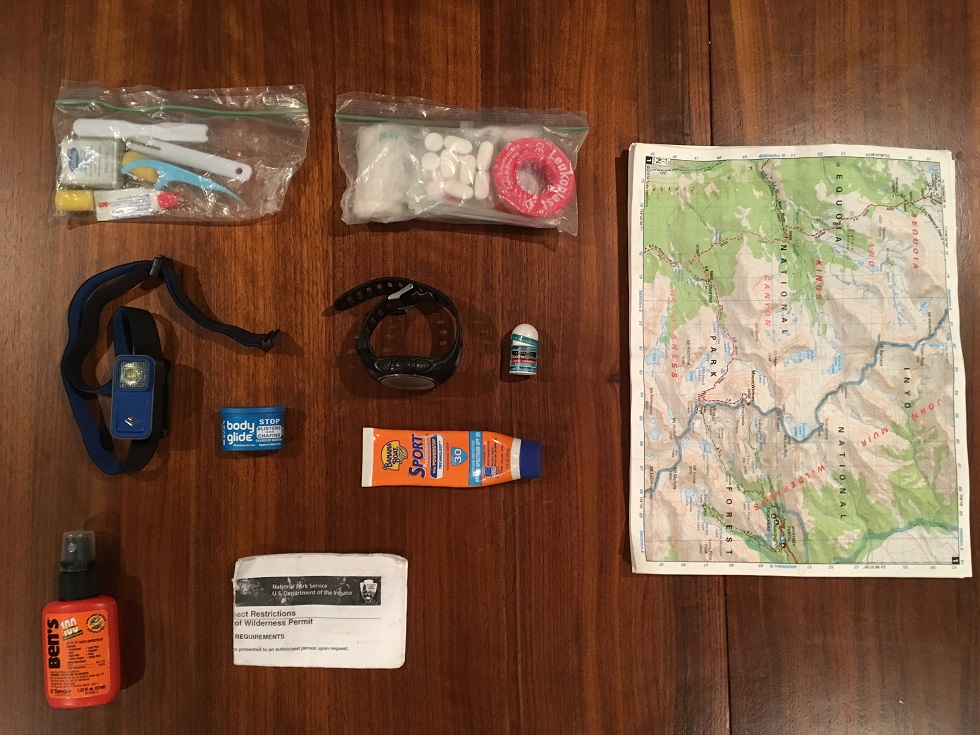
A few minimal toiletries kept me somewhat feeling human. I used a small, ½ oz container to bring some biodegradable soap from Dr Bronner's. Then, ZPacks also makes a small toothbrush to get the gunk off my teeth after a day of bars and electrolyte drinks. Sunscreen from Banana Boat, a small lip balm, and of course some Deet that I repackaged in a smaller spray bottle. However, I should have just brought the original Ben’s container since it ate through the plastic and rendered the pump useless! I rounded out the bug protection with a simple head net from Coghlan's; this proved to be an essential piece of gear to keep my sanity through some of the meadows on the trail. Of course, I brought a small First Aid kit that I pulled together from one of the Adventure ones, and added a few meds (Ibuprofen, aspirin, robaxin), a needle and some thread from a sewing kit, and Leukotape in the 1cm European width.
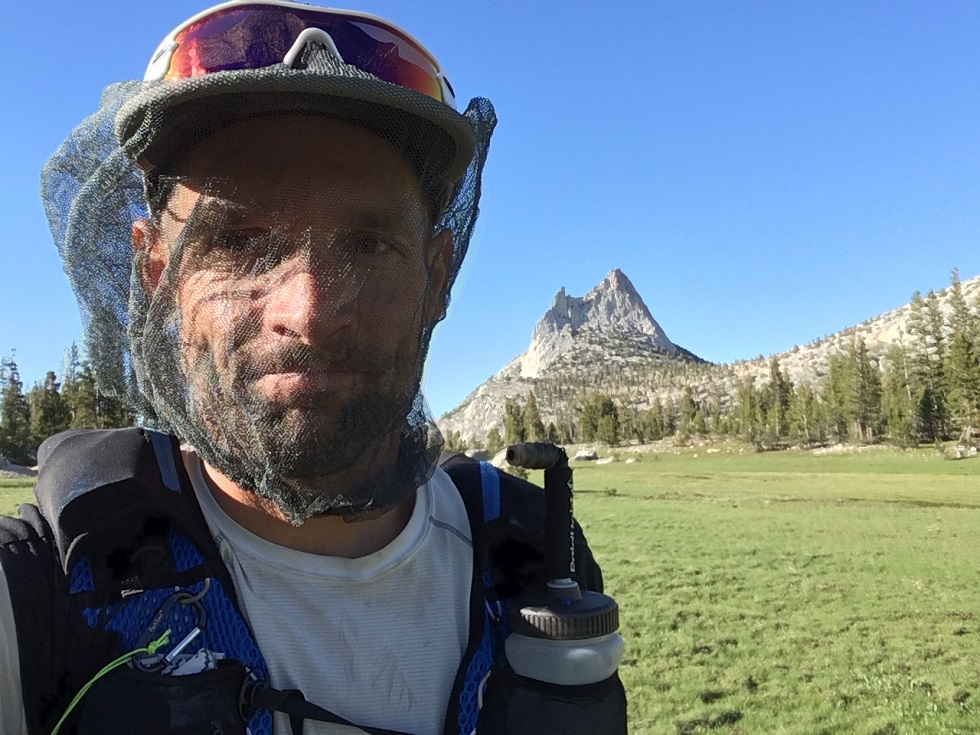
"I rounded out the bug protection with a simple head net from Coghlan's; this proved to be an essential piece of gear to keep my sanity through some of the meadows on the trail."
Part safety, part essential was my little Spyderco Ladybug knife that worked perfectly to open my bear canister as well. And for a simple, small and lightweight headlamp I brought the Black Diamond Ion, and I had to replace the batteries once.
Tech Gadgets and Cables
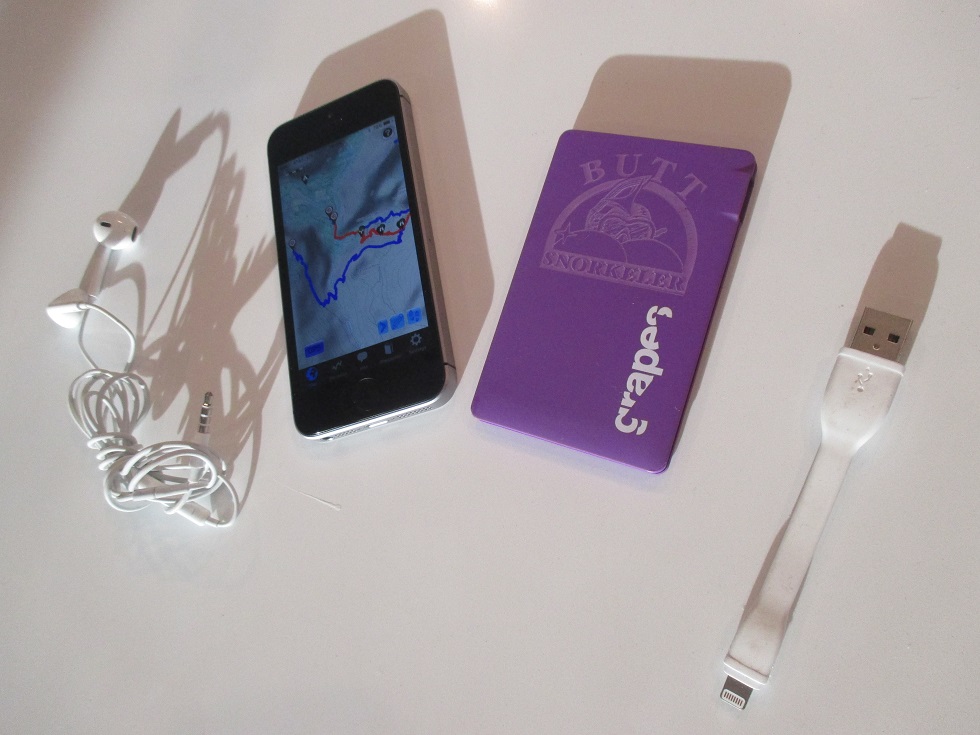
For photos, I decided against a separate camera and used my new iPhone SE. I also brought a nice flat charger from Grapes, that offered a full charge at only 64 grams, including a short charging cable. On the iPhone, I had Guthook's JMT app to make sure I was on course. In airplane mode, even though I was taking plenty of photos and using the GPS app all the time, the phone lasted six days!
"For photos, I decided against a separate camera and used my new iPhone SE."
Maps
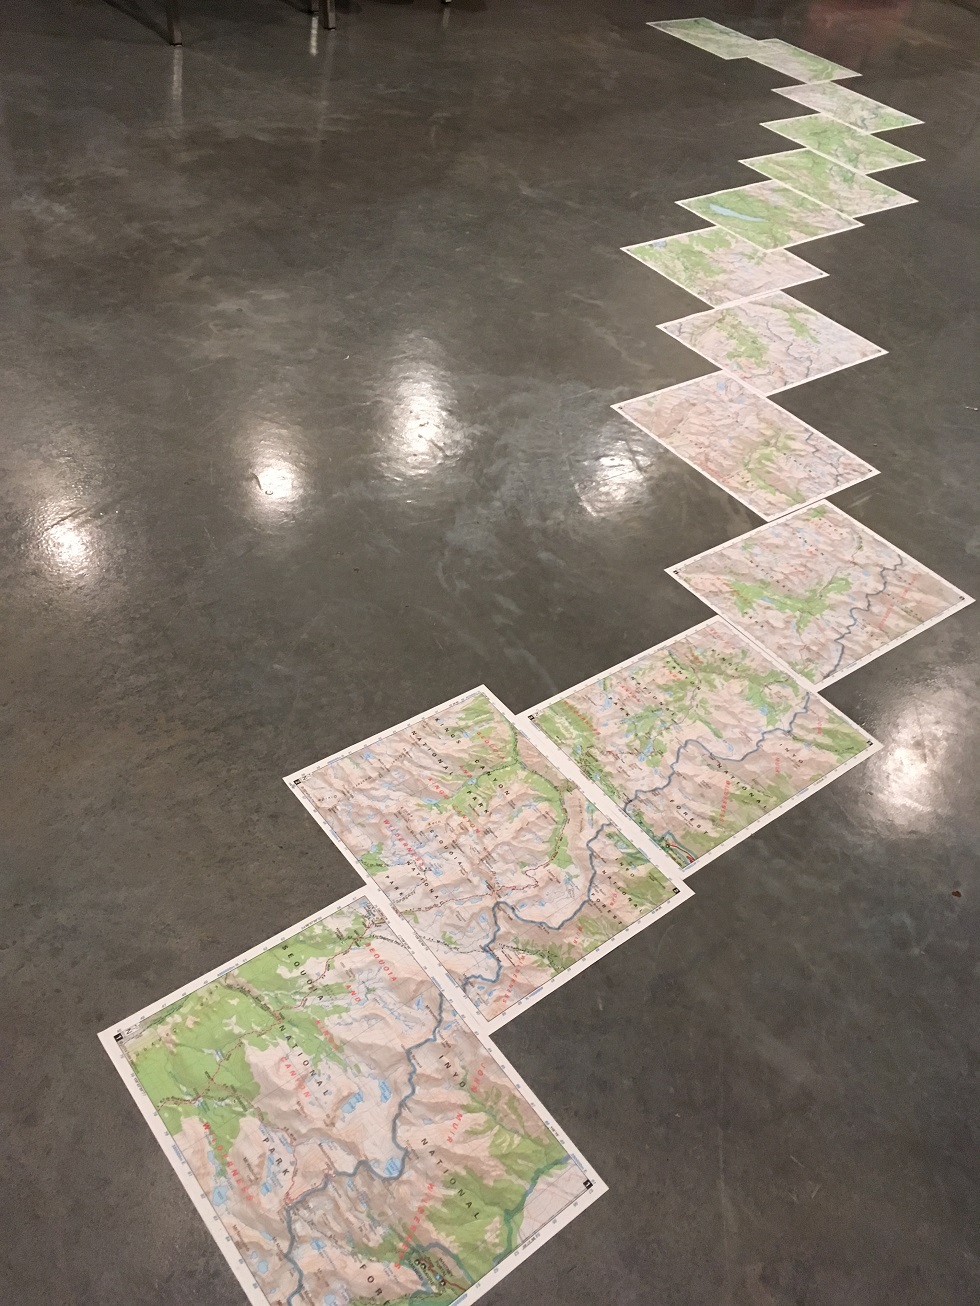
Of course, I had a map set of the whole trail as backup, and a compass on my Suunto watch in case the phone died or fell in a river. And even though I brought the Apple headphones, I barely used them and opted to be in the moment and enjoy the scenery with the original soundtrack by momma nature.
"Of course, I had a map set of the whole trail as backup, and a compass on my Suunto watch in case the phone died or fell in a river."
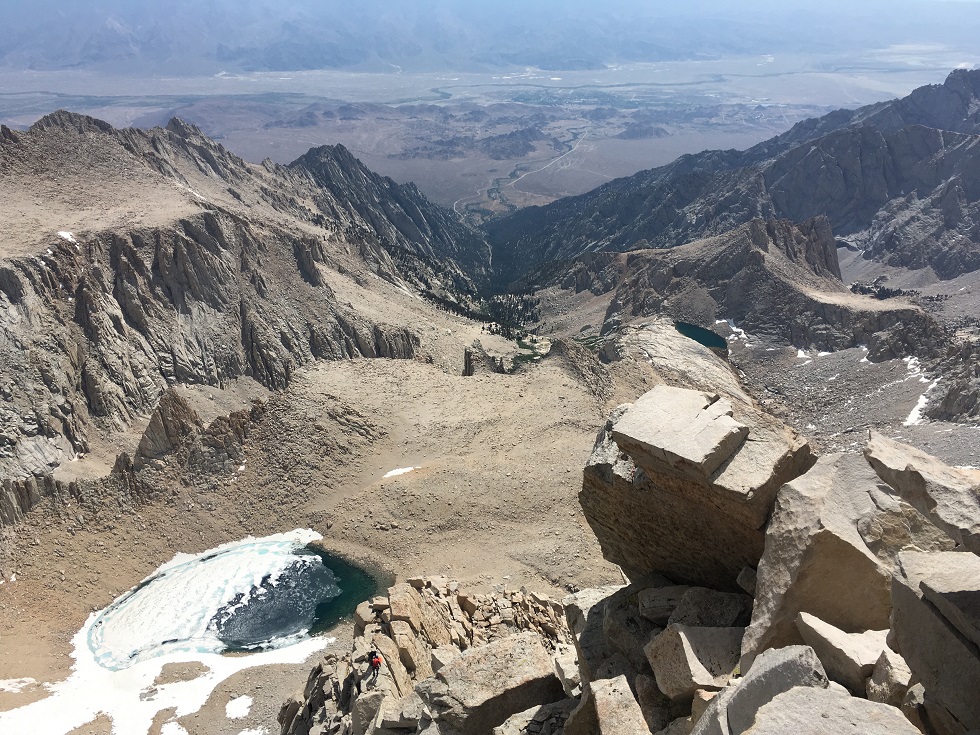
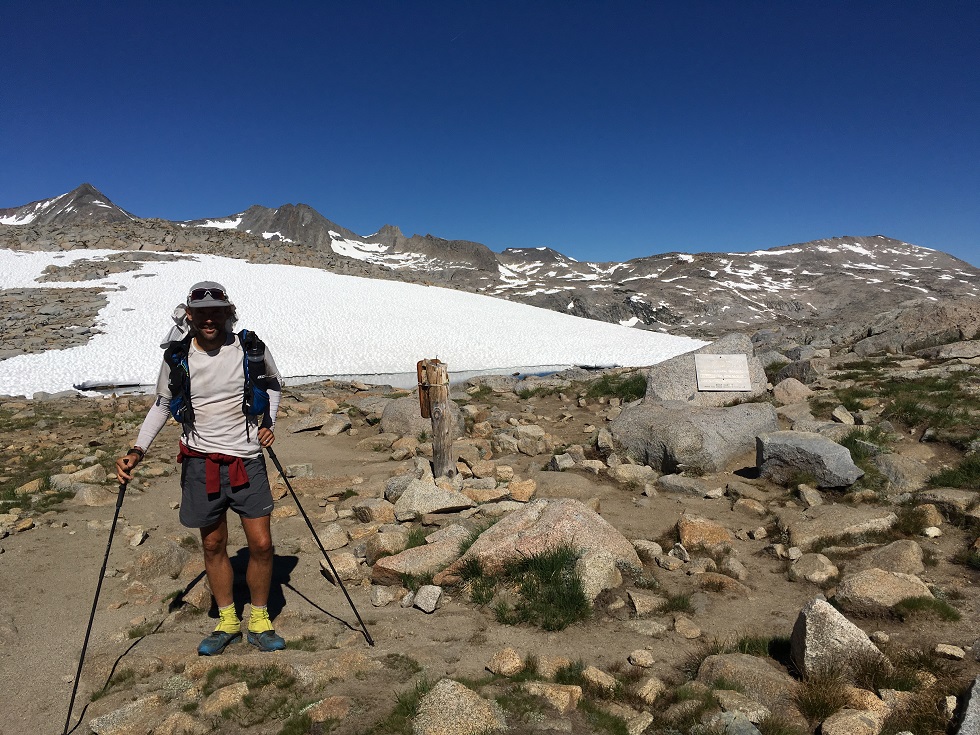
Top of Mt Whitney, already 10 miles in, but here is where the John Muir Trail starts if you hike ‘NoBo’ (north bound).
Clothing
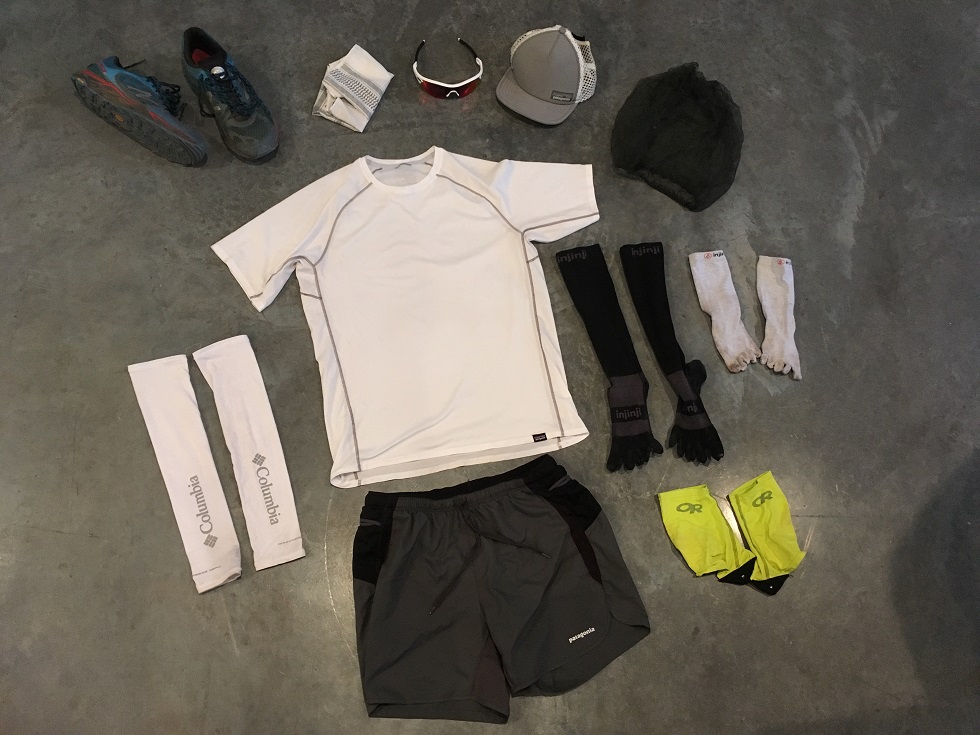
I’d been obsessing about the clothing to bring for a while and had put a lot of time into figuring out what worked best for me. Because of the exposure to sunlight I wanted to keep the colors light in case it got really hot. My shirt was a Patagonia Capilene 1 Tee in white. Even though this is a very lightweight tee, it did so well I was blown away. I really put this thing through the ringer; it had to deal with the endless rubbing of the pack, my sweaty armpits and lots of dirt and dust. It looked destroyed after the trip, but came out of the wash like new. It also dried super fast after the few wet river crossings; this thing is amazing. My shorts were the Strider Pro 5 inch. These are running shorts, but the little stash pockets on the side are super handy to stash a folded map, some body glide, a small wipe for my sunglasses, trail trash, empty wrappers, etc. Also, because they are a bit shorter, they don’t grab your thighs when high-stepping going up the passes. The non-elastic drawcord on the front can be synched down as I lost some weight over the trip.
"My shirt was a Patagonia Capilene 1 Tee in white. Even though this is a very lightweight tee, it did so well I was blown away."
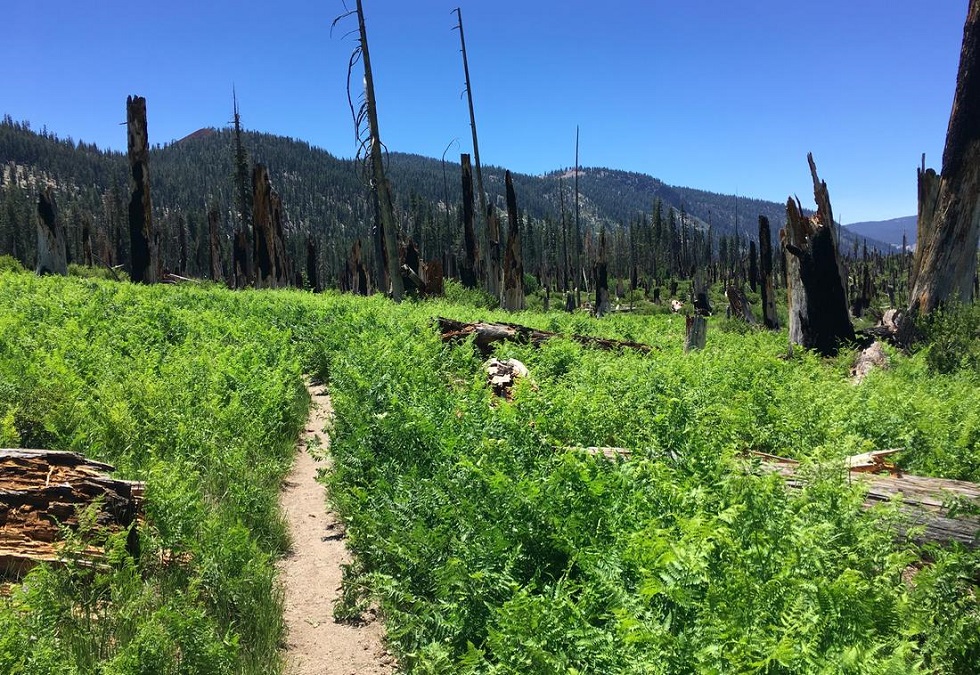
Before I went on the trip, I debated if I should bring sunsleeves. I’m super glad I did. These from Columbia actually kept my arms cooler throughout the height of the day, and saved me a ton of sunscreen. Especially on exposed and burned sections like this one, close to Devils Postpile.
"Before I went on the trip, I debated if I should bring sunsleeves. I’m super glad I did."
For my noggin, I tried a lot of different types of hats and visors, but settled on the Duckbill Trucker from Patagonia. Enough cover from the sun to not have to sunscreen my head, soft and pliable, lightweight, and the snap on the back allowed me to attach it to my pack for the first hour in the morning when I hiked with my thin Merino beanie, and as soon as I got warm I’d swap them out. Then, a simple white bandana served as a towel, face wipe, and I tucked it into my hat to keep the sun off my neck. Since I was hiking north bound, that was most of the day and afternoon.
"Then, a simple white bandana served as a towel, face wipe, and I tucked it into my hat to keep the sun off my neck."
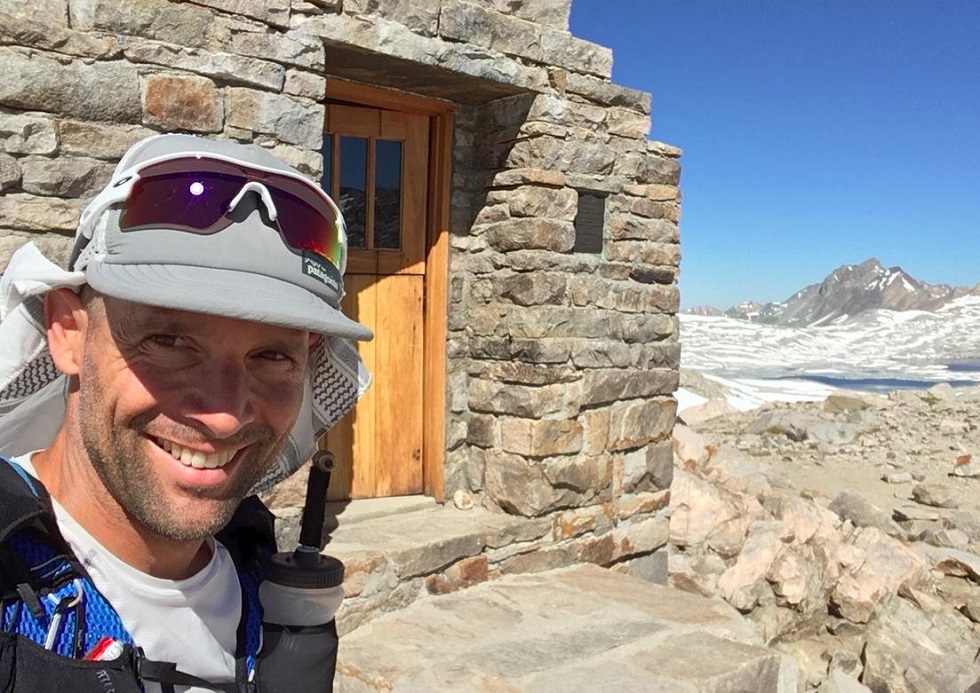
My socks were going to be Injinji’s for sure. The only way to keep blisters at bay and they spread my toes out too. I brought two pairs of their lightest liner socks that I usually like to run in but this was a mistake. The Sierra dust ate them up and I blew holes in the big toes within a few days and ran with the Injinji compression socks after that. In hindsight I should have brought two pairs of those instead. They were amazing at keeping the dirt and sun off my calves.
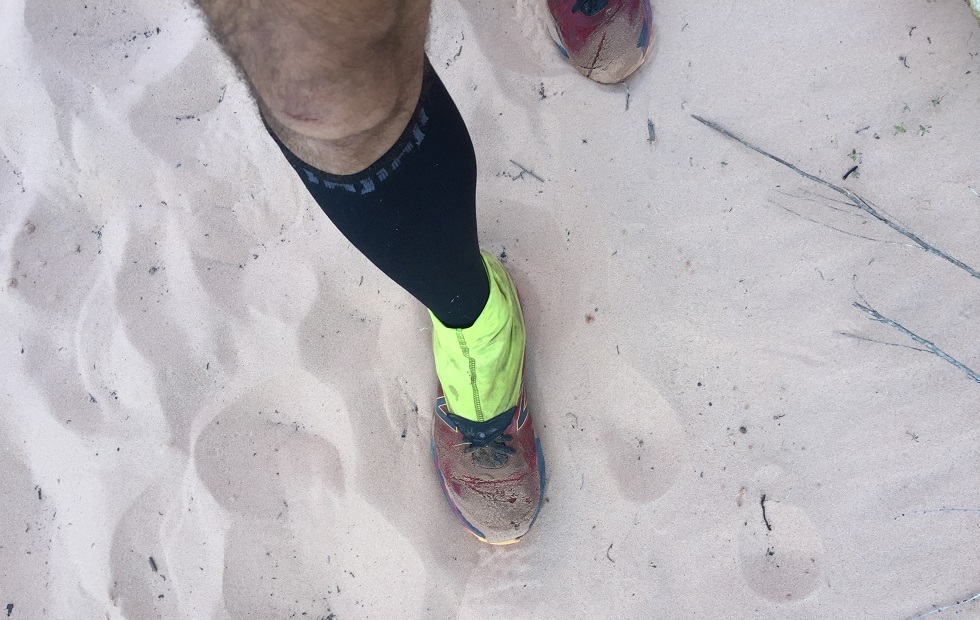
Other essential items I would not do this trip without are my OR gaiters to keep pebbles out of my shoes, and my old school Oakley Radar sunglasses. Right before the trip I got a replacement lens with their new Prizm technology. It was truly amazing and a big step up from the plain Polarized ones I had before. The Prism really brings out the colors, and there was just so much more depth in the terrain. I wore these morning to night and barely took them off.
"Other essential items I would not do this trip without are my OR gaiters to keep pebbles out of my shoes, and my old school Oakley Radar sunglasses."
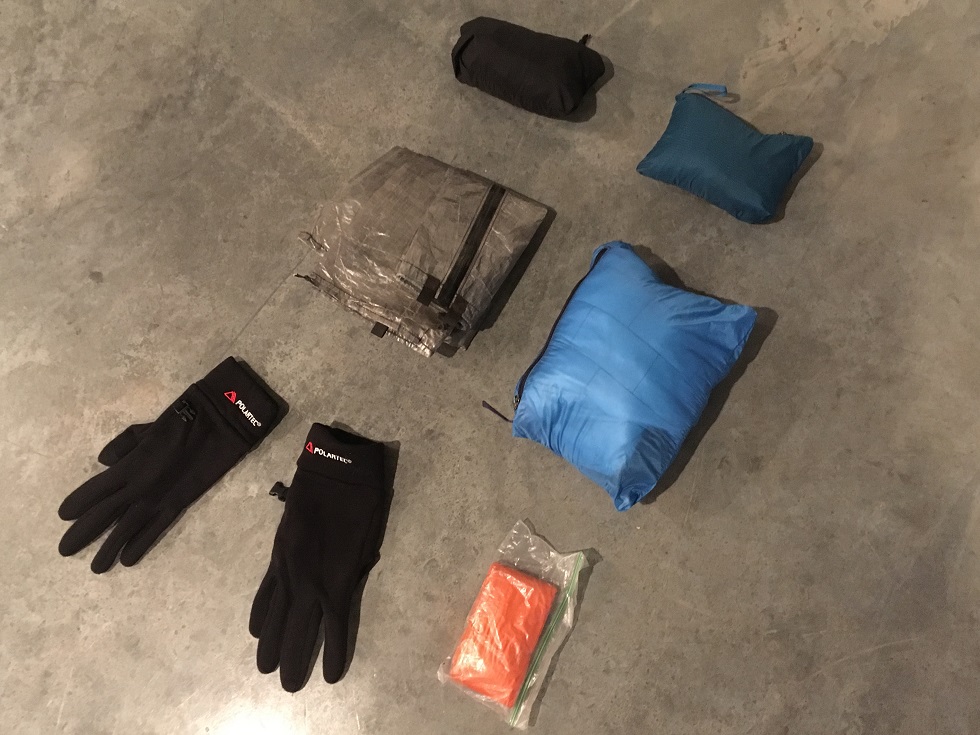
For rainwear I had a few options, but after I checked the weather a few days before leaving I realized there was no big storm front going through so I opted for the lighter pieces with just DWR and no laminated fabrics. The Houdini pants were key. Besides light rain gear these became my camp pants (over the silk bottoms) and in the cold morning I’d wear them over my shorts and take them off as soon as it warmed up. They easily stow into the back pocket (I did add a cord to the miniscule puller on that pocket) and are just big enough to pull on and off over my shoes.
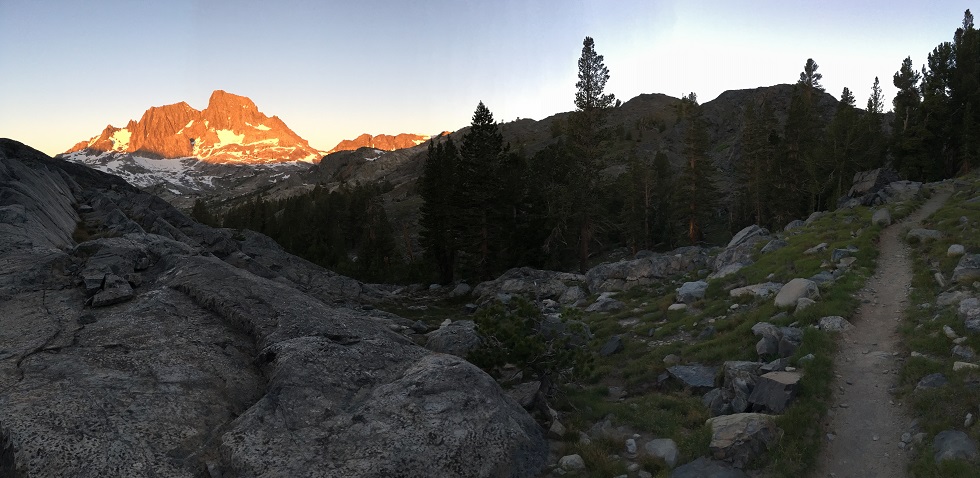
And those cold mornings on the trail are not as bad as they sound.
The other rain gear I brought was a Houdini shirt (never used this and would not bring it again), a poncho, and ZPacks Rain Kilt which I used as a ground sheet for the tent a few nights.
"For rainwear I had a few options, but after I checked the weather a few days before leaving I realized there was no big storm front going through so I opted for the lighter pieces with just DWR and no laminated fabrics."
Then there were a few items I brought to keep warm. Maybe the Polartec Powerstretch gloves were the item I used the most. My fingers get cold first so sometimes I only used the gloves when it started to hail and was fine since my core kept the rest of me warm as long as I kept moving. At night I used my Patagonia Nano Pullover to stay warm and I even slept in this one night when it got really cold. Finally, my long-sleeve sleep shirt was also my colder weather layering and most mornings I layered it over my short-sleeve tee for the first few hours.
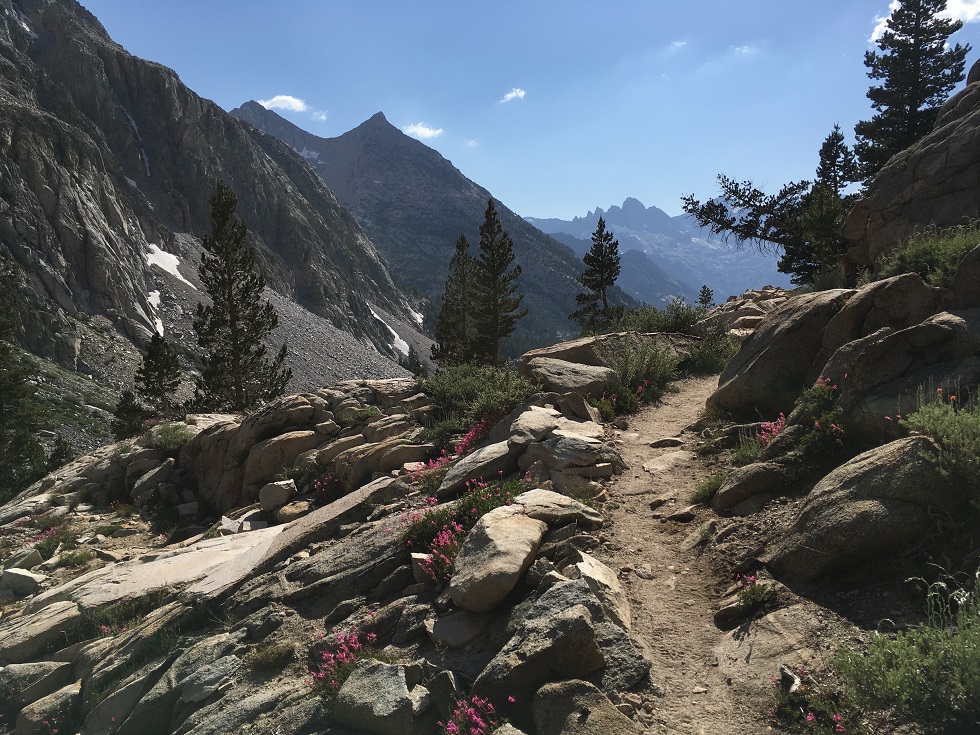
Water Gear
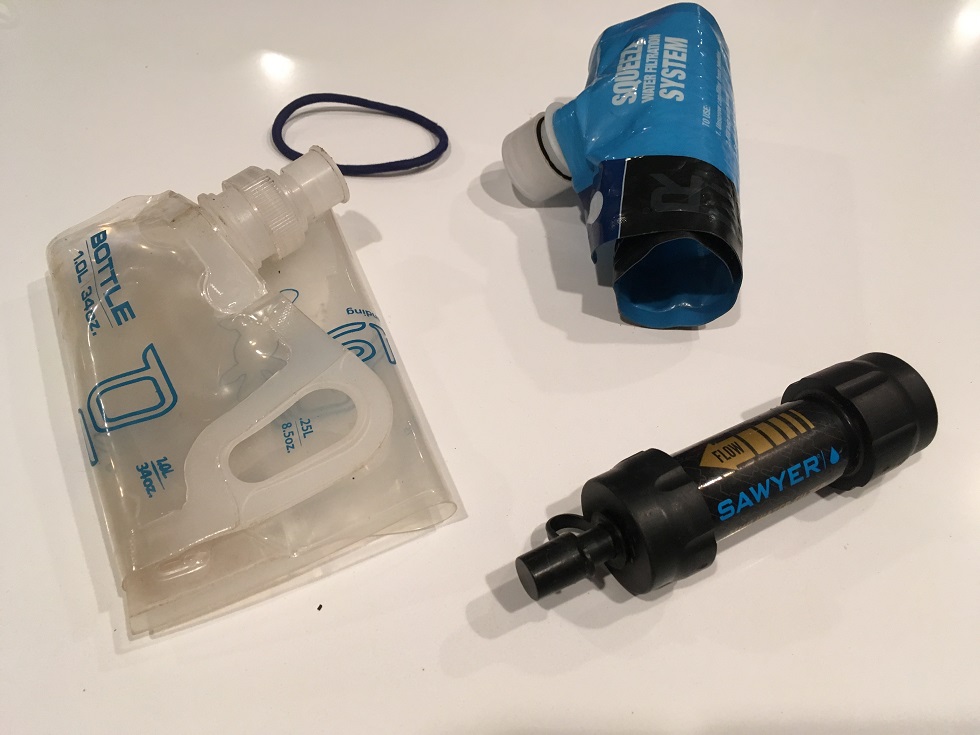
Last but not least, my water strategy. I chose to bring a Sawyer Mini with a squeeze bottle after using it in Zion. For the weight and size this is the best option in my opinion. I debated if I would take Aquamira drops as a backup, but the Sawyer did so well in my tests that I decided not to and I had zero issues. Some people reported the squeeze bottle leaking, so I did bring a Platypus PlusBottle as backup and to store camp water in case a stream was a bit further away. I used the Platypus a few times at camp for cooking and would probably bring it again, but the Sawyer squeeze bag did great on my trip and never failed. I brought a second cap that had a little hole in it so I could wash my hands away from streams, and it doubled as a ‘trail bidet’ since I didn’t bring toilet paper. How about I spare you the details on this one.
"I chose to bring a Sawyer Mini with a squeeze bottle after using it in Zion. For the weight and size this is the best option in my opinion."
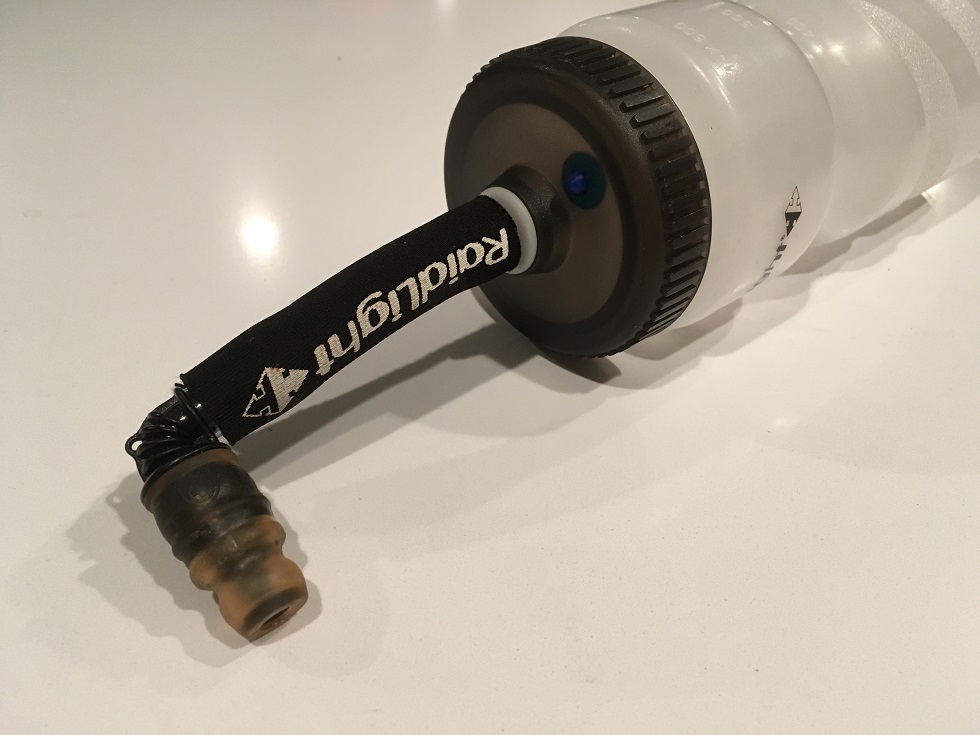
After trying a soft bottle from Salomon and another one from Raidlight, I settled on the larger hard plastic one from Raidlight. Even though the mouth piece is not optimal, it’s just the easiest design to shove into the power-mesh pockets on the front of the Salomon vest and with a 750ml bottle I only needed to bring one bottle and use the other mesh pocket for food and such.
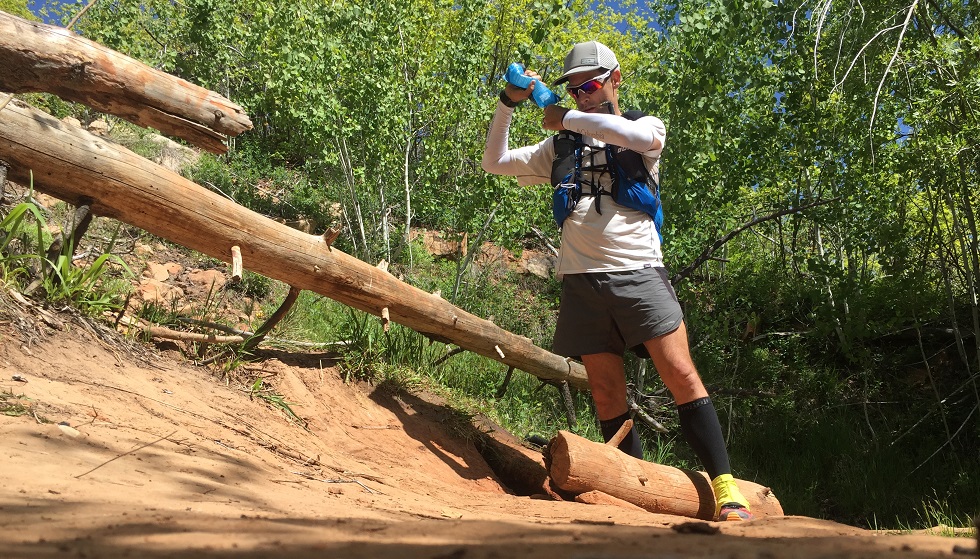
Squeezing water through the Sawyer filter straight into my water bottle, nice and efficient, just the way I like it!
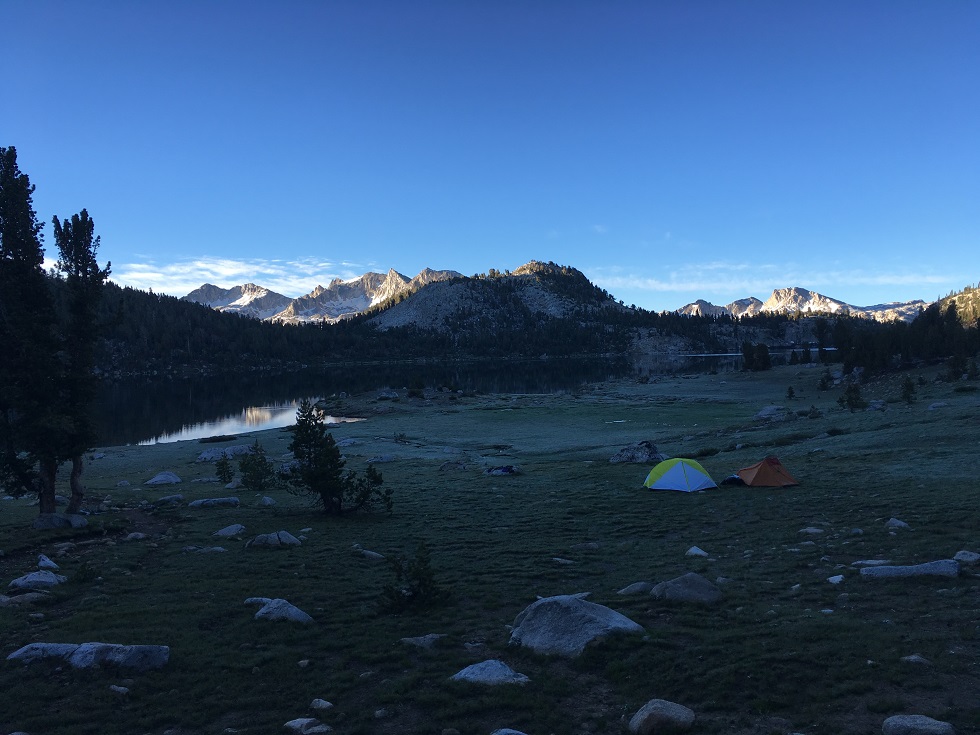
Waking up at Virginia Lake with views like this made me forget all about the mosquito attacks the night before.
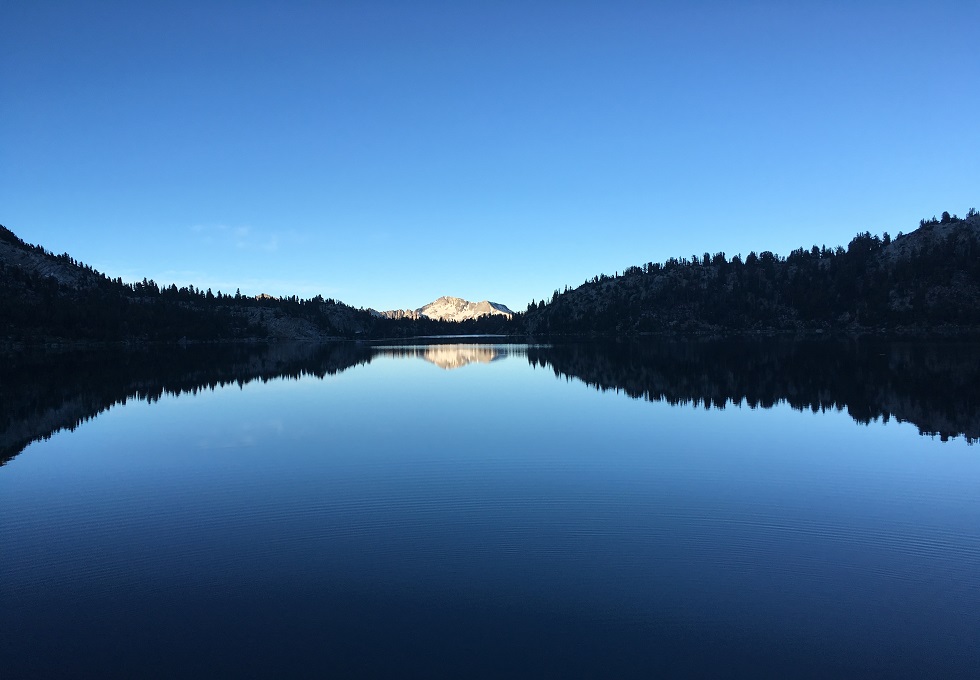
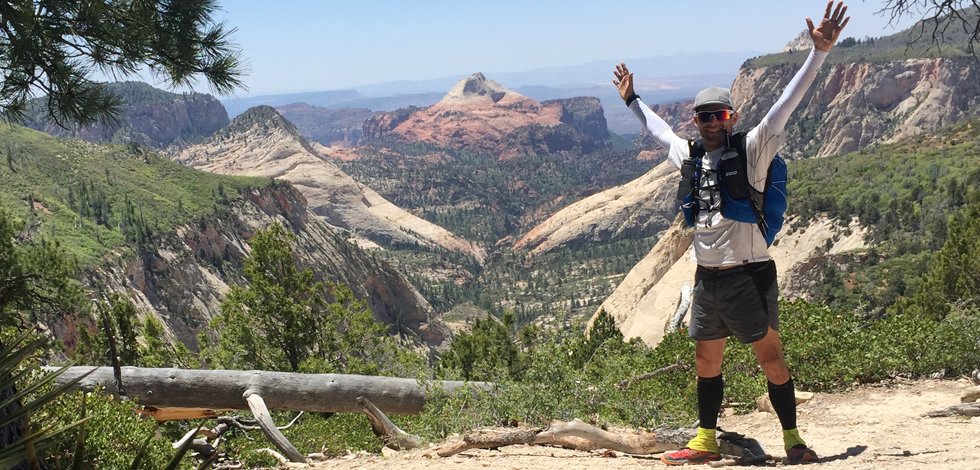
Old trees and even older mountains help to distract you from the pain in your feet.
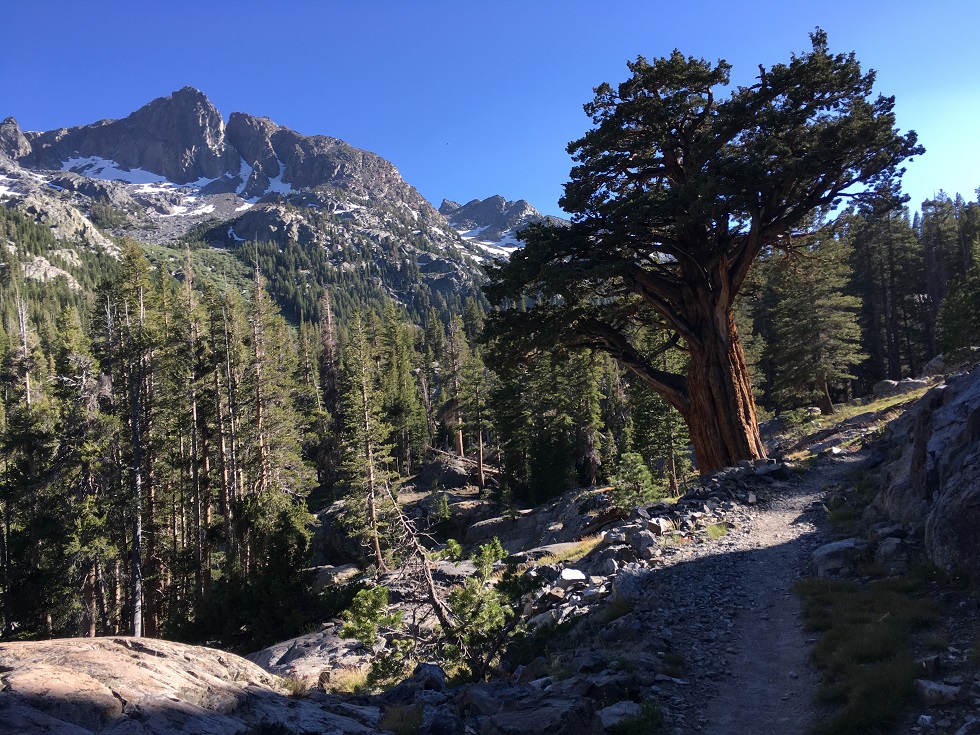
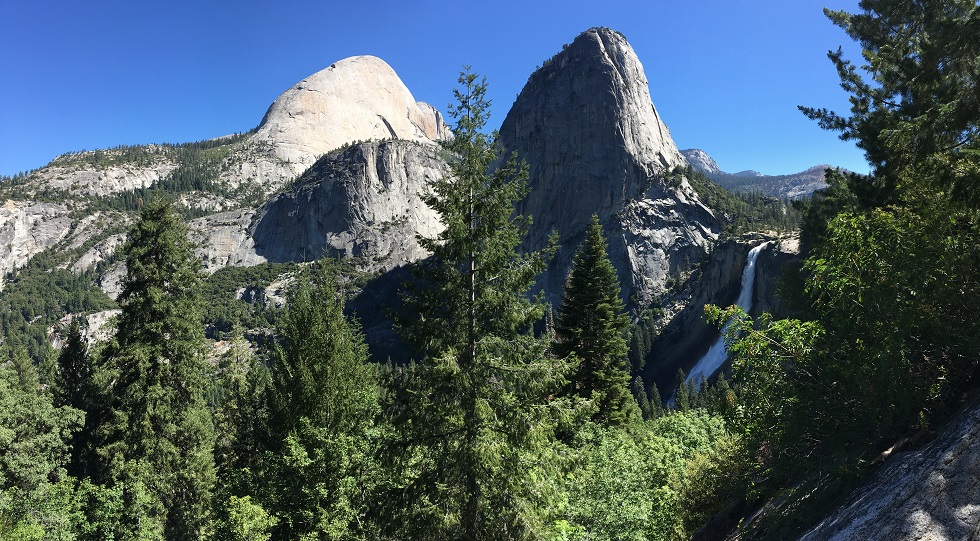
Nevada Falls and Half Dome seen from the JMT; this is close to the end of the trail and a hot section in the midday sun.
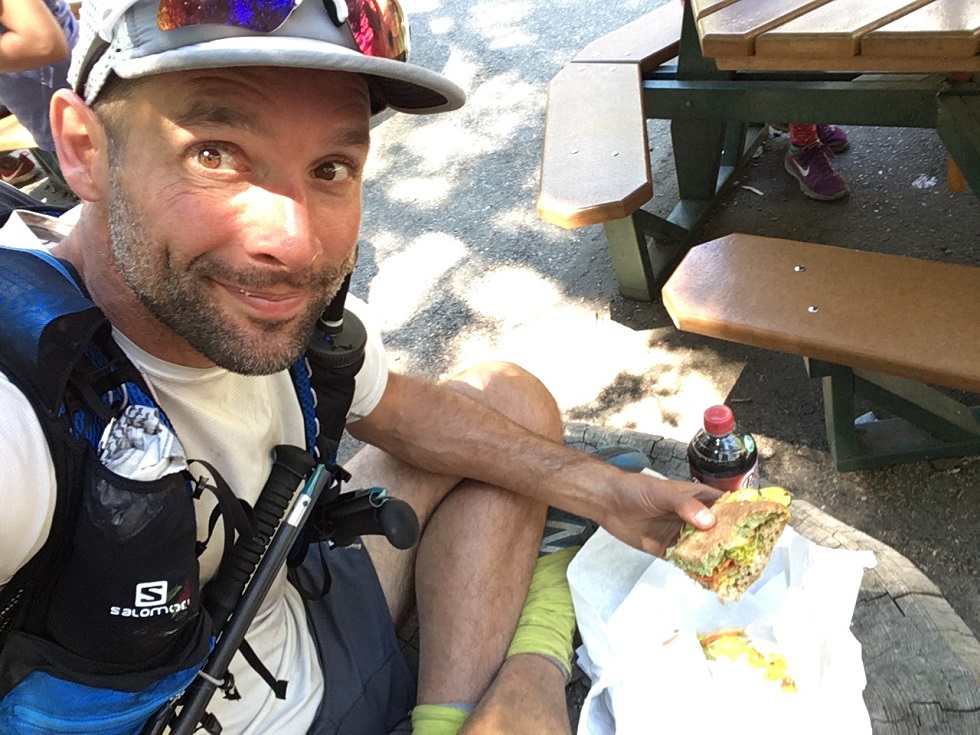
Finally, a well-earned sandwich at Degnan's in the Yosemite valley; you have no idea how good it tasted! (yes I need to shave)
Conclusion
So in the end, I did better than I thought on my trip. Maybe it was the preparation I did, the training, or just the incredible views moving me forward… But mostly I think choosing a pack that worked for me was key. The S-LAB Peak 20 is a lightweight, running inspired pack-vest that because of its design forced me into bringing just the essentials and kept it simple. Now I have nothing but respect for people who take their time on these beautiful thru-hikes, and you should for sure Hike Your Own Hike (HYOH). But for me, since I only had a week, this was the way to go. And if I can talk one of my friends into it, I would do it again in a heartbeat. Maybe in five days this time, because I’m that type-2-fun kind of person I guess.
"The S-LAB Peak 20 is a lightweight, running inspired pack-vest that because of its design forced me into bringing just the essentials and kept it simple."
Other resources:
- If you are interested in my gear list, and specific weights, you can find it here.
- Pacific Crest Trail’s JMT page, you will find the answer to most of your questions here.
- The John Muir Trail Facebook group is a great place to post any questions you have, you can find it here. (closed group, but just send your invite request and it'll be approved)
- Similarly, the Yahoo group also is a solid resource, here.
- Digital maps of the trail, here.


 Carry Awards
 Insights
 Liking
 Projects
 Interviews
