


 Carry Awards
 Insights
 Liking
 Projects
 Interviews
Carryology delivered. Your inbox. every two weeks.
Only the best stuff (and giveaways!), we promise.

Langly

Langly
Putting the focus on protecting your camera gear, Langly helps you get that great shot by getting your photography gear where it needs to go. With offerings ranging from backpacks and lens carriers to hand and neck straps, Langly offers carry solutions to suit a variety of photography environments and needs.
Visit Langly-
Best New Gear: May 2018
Durability, adaptability and organization are key features across the best new gear of May. From customized... Read more
-
Is This The World’s Best Photography Jacket?
Langly camera bags have been all over the globe (to all seven continents, in fact). Now... Read more
-
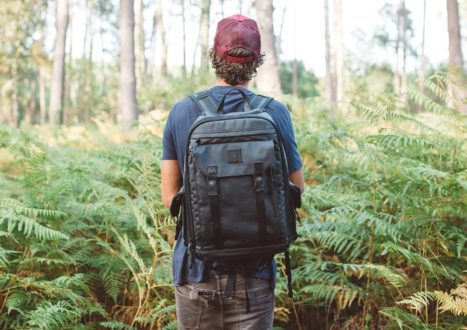

Langly Multi Camera Pack Review :: Road Tests
We’d like to extend a warm welcome to our new contributor and roaming photographer, Will Hartl.... Read more
-
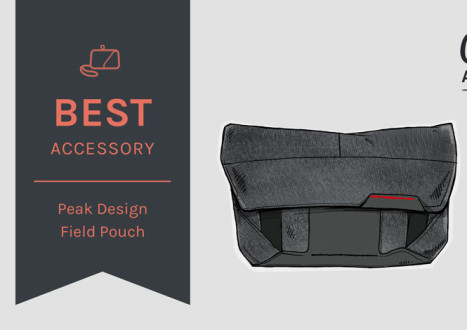

Best Accessory Results :: Carry Awards IV
The Field Pouch works great as a stand-alone small camera shoulder bag. It also works great... Read more
-
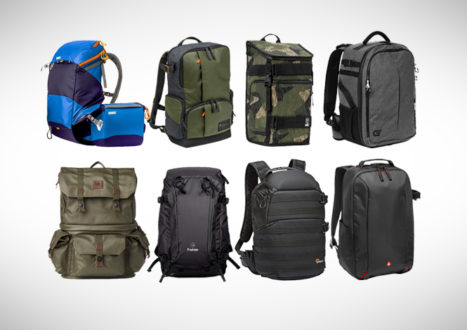
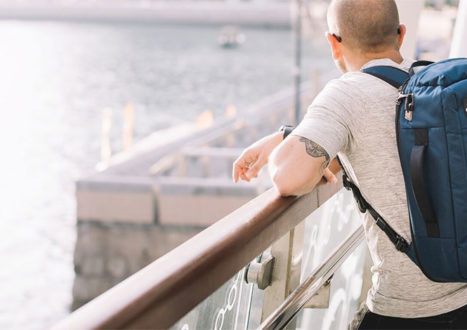
The Best Camera Backpacks Buyer’s Guide 2019
Camera backpacks need to tick a lot of boxes: they have to provide comfortable carrying, along... Read more