Thule
Thule
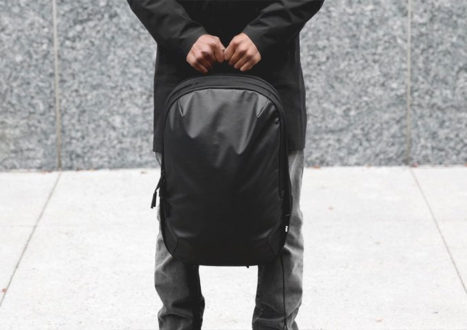
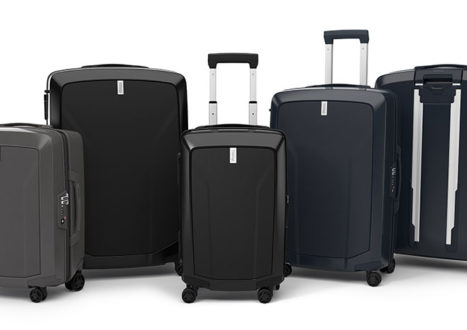
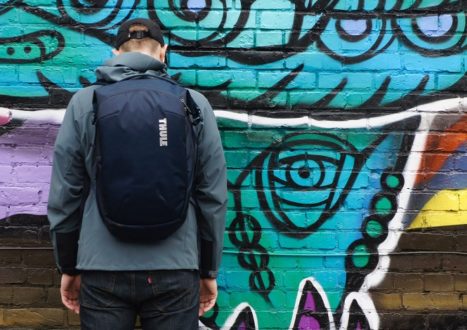
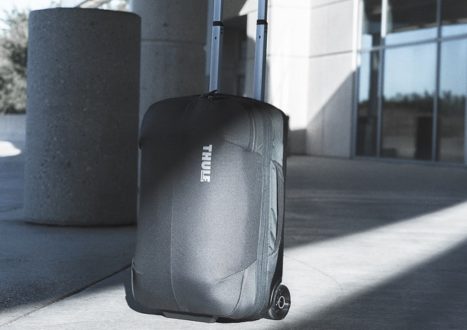
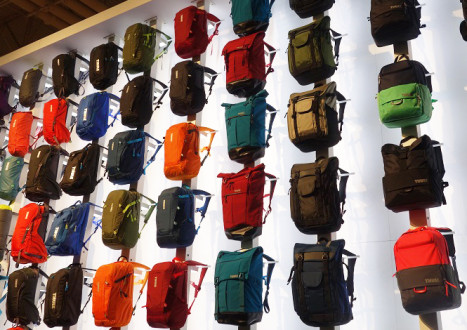
If you need to carry something, Thule probably offers a way to do it. The Swedish brand firmly believes in embracing an active life and provides a diverse range of carry to help you do just that. Urban and outdoor backpacks, luggage, camera bags, tech cases, cycling bags, car racks, bike trailers and more ensure all aspects of your carry game are covered. And with Thule's commitment to quality construction and functionality, you'll enjoy using their gear for years to come.
Visit Thule-

PHOTOGRAPHY
Turn Your Backpack into a Camera Bag with These Inserts
Camera gear is often expensive, so adequate protection is key on the go. But unless you... Read more
-
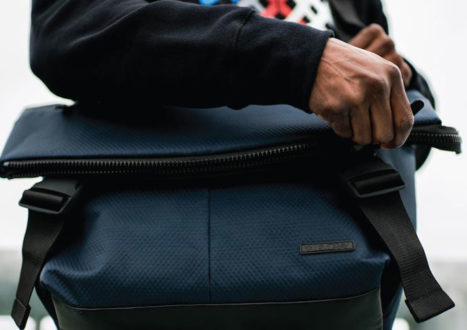

The Best Messenger Bags for Tech, Travel, and EDC (2023)
Backpacks are considered the carry comfort kings. Duffels are the gear haulers. But when it comes... Read more
-

The Best Snowboarding and Ski Backpacks of 2023
Updated on March 7th 2023 The snow’s fallen, the conditions are just right, and the slopes... Read more
-
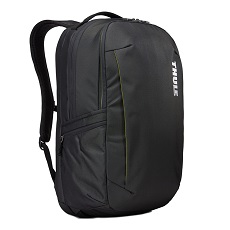
Thule Subterra Backpack 30L
The 30L Thule Subterra Backpack is a great option for travelers who want to keep tech... Read more
-
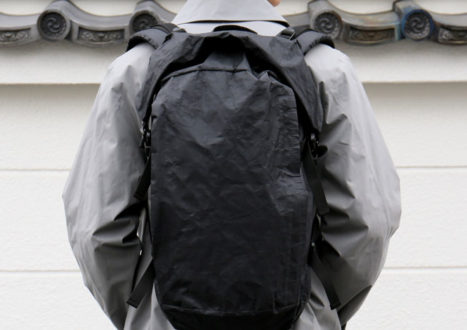
Best New Gear: March 2019
Waterproof bags for outdoor adventures, luxurious leather that will turn heads in the boardroom and about... Read more
-
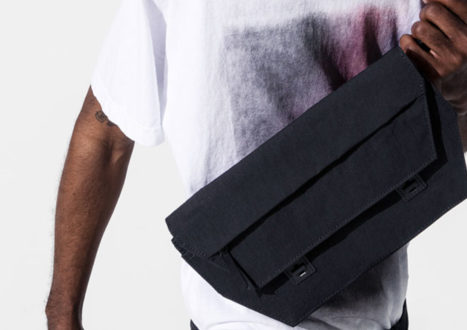
Best New Gear: February 2019
Waterproof innovation to take your pouch game to the next level? Head-turning luxurious travel carry? Decluttered... Read more
-
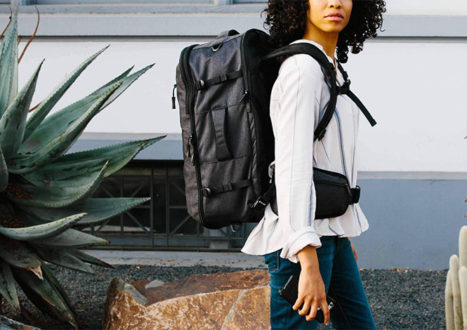
Carry Guide: Find the Best Travel Backpack for You
So here’s the thing. There’s no ultimate best travel backpack to suit everyone at any time,... Read more
-
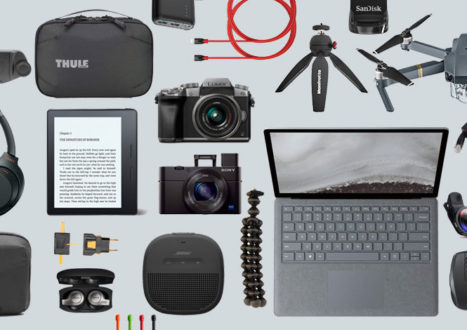
The Ultimate Travel Tech Gear Survival Kit
Whether you’re traveling for work or holiday purposes, it’s likely that tech will be tagging along... Read more
-
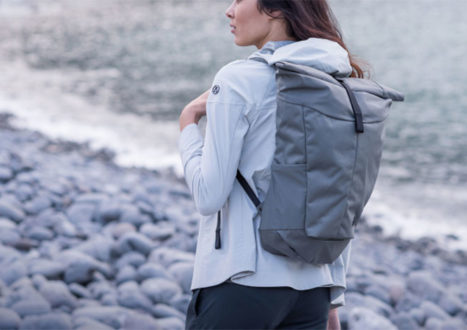

The 20 Best Laptop Backpacks Under $125
Laptops are a pretty common addition to carry setups these days. Whether you’re commuting with one... Read more
-
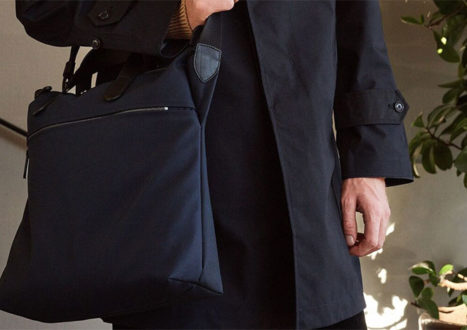
Best New Gear: November 2018
A travel duffel that ups your organization game, a slick EDC pen, and snow packs for... Read more
-
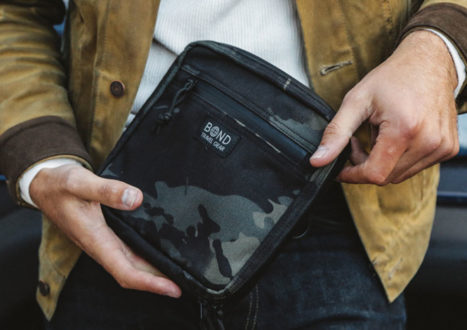

Our Favorite Organization Pouches for EDC Right Now
The little things are important in life. And that holds true for your EDC too. Those... Read more
-
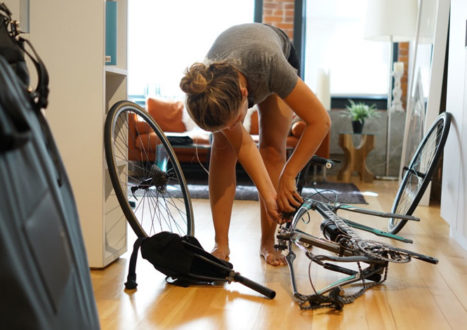
How to Fly With a Bike: 8 Things to Know
Cyclists, if you’ve ever daydreamed about touring through France or spending a week mountain biking the... Read more
-
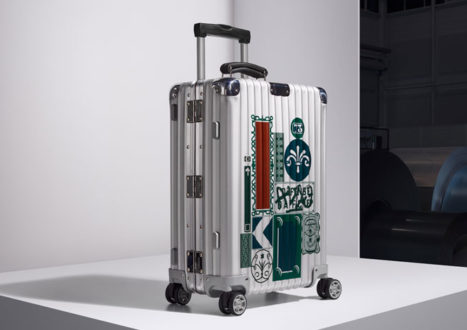

The Best Rolling ‘Checked Luggage’ Right Now
Traveling with just carry-on luggage can save you time and hassle. It helps you avoid check-in... Read more
-


Outdoor Retailer Summer Market 2018: Recap Part II
As Outdoor Retailer 2018 rolled on, we pushed ever deeper into the Colorado Convention Center to... Read more
-

CARRY AWARDS
Brand of the Year – The Sixth Annual Carry Awards
Recognizing a champion in the industry for more than the standard of their releases, this award... Read more
-

CARRY AWARDS
Best Work Backpack Finalists – The Sixth Annual Carry Awards
It begins, our Sixth Annual Carry Awards enters the final stages. To kick things off, we’re... Read more
-
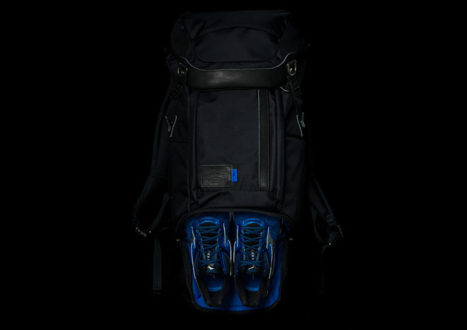
Best New Gear: April 2018
From camera bags to collaborations, and carrying urban essentials to outdoor adventure supplies, April has welcomed... Read more
-
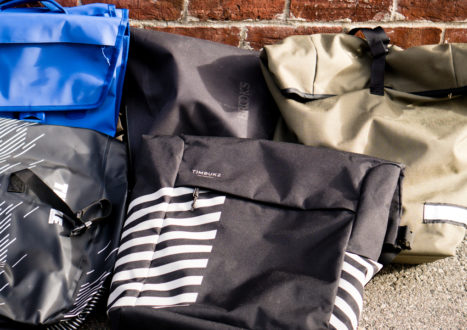

The Best Panniers for Bike Commuting
What’s the one downside of biking to work? The backpack-sized sweat stain on your shirt when... Read more
-
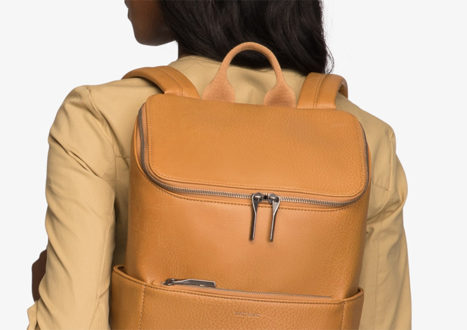
The Best Work Backpacks for Professional Women
Updated August 2018 When it comes to work bags, backpacks are great options for maximum carry... Read more
-
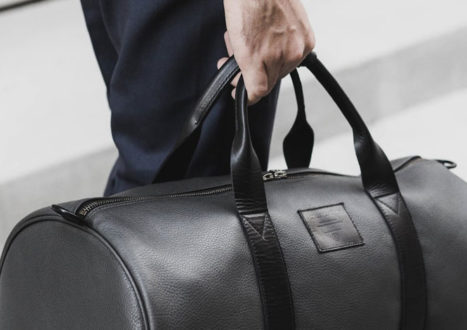

The Ultimate Guide to the World’s Best Duffel Bags
Duffel bags are commonly thought of as the workhorses of the carry world. Durable, versatile gear... Read more
-
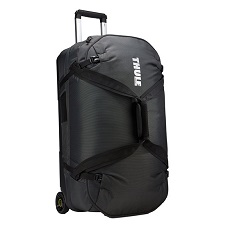
Thule Subterra Luggage 70cm/28in
When you need to carry larger loads, this rolling duffel makes traveling smooth and easy with... Read more
-
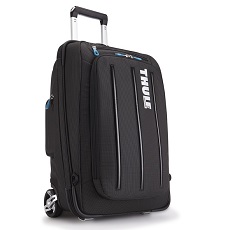
Thule Crossover Carry-on 56cm/22in
Backpack or roller bag? Why choose when you can have both? The Thule Crossover Carry-on functions... Read more
-
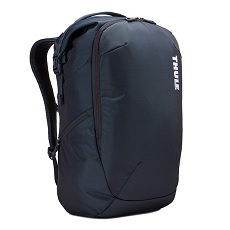
Thule Subterra Travel Backpack 34L
Looking for a backpack that serves as a travel bag and EDC pack? The 34L Thule... Read more
-
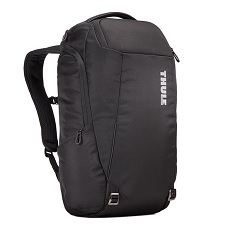
Thule Accent Backpack 28L
The 28L Thule Accent Backpack is a durable and versatile travel backpack that can also double... Read more
-
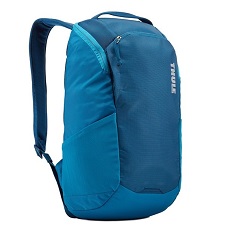
Thule EnRoute Backpack 14L
Need to roam with just the essentials in tow? The 14L Thule EnRoute Backpack is a... Read more
-
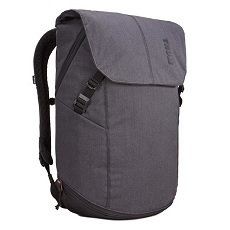
Thule Vea Backpack
The Thule Vea Backpack is a stylish all-in-one bag for work and the gym. With its... Read more
-

Outdoor Retailer Summer Market 2017 :: Recap Part II
As OR 2017 rolled on, the Carryology crew pressed ever deeper into the depths of the... Read more
-
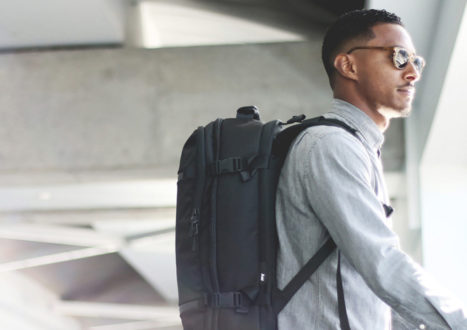
The Best Bags for Business Travel
Business bags need to have a certain grace and formality to them. But if you plan... Read more
-
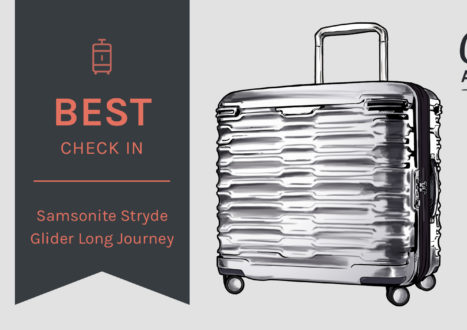
Best Check-In Results – The Fifth Annual Carry Awards
1st Place Samsonite Stryde Glider Long Journey While wheeled luggage can do a lot to reduce... Read more
-

Best Check-In Finalists – The Fifth Annual Carry Awards
Business or pleasure. Outdoor adventures or taxi-to-hotel trips. Our Best Check-In Finalists cater to a range of... Read more
-
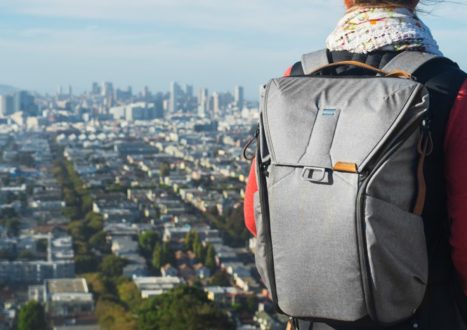

The Best Backpacks for Everyday Carry
Choosing an EDC backpack deserves careful consideration. After all, it’s going to be your daily companion... Read more
-
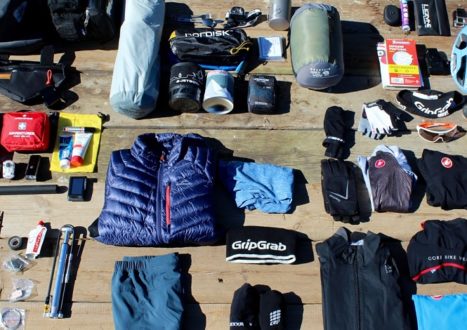
Packing List :: Bike Touring
For Tim Wiggins, cycling is a way of life. From mountain biking to road cycling and... Read more
-

Outdoor Retailer Summer 2016 :: Recap Part II
Day 2 began like all great days in history, with coffee. Promptly after enjoying some of... Read more
-
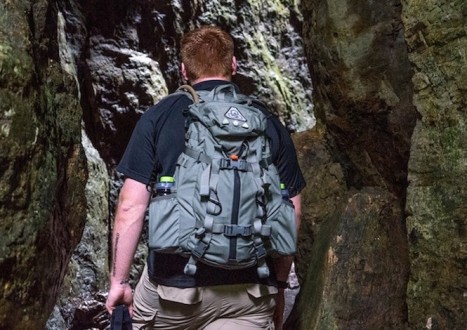

The Quest for the Perfect Pack
Introducing new contributor Nathan Ryan, pack nut and moderator at The Perfect Pack. His first article, a... Read more
-
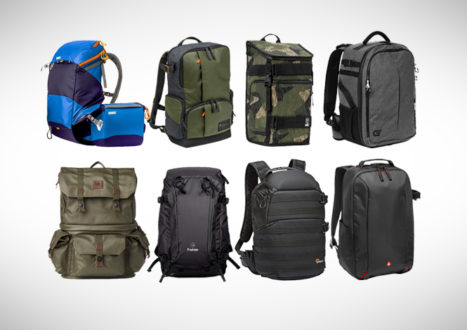

The Best Camera Backpacks Buyer’s Guide 2019
Camera backpacks need to tick a lot of boxes: they have to provide comfortable carrying, along... Read more
-
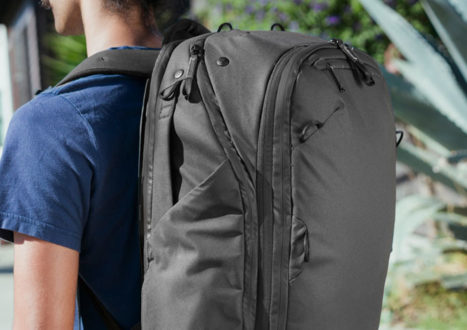
Buyer’s Guide: Best Travel Backpacks
Celebrating the release of our beta Buyer’s Guide we’re dishing up the categories in sweet, easily... Read more
-
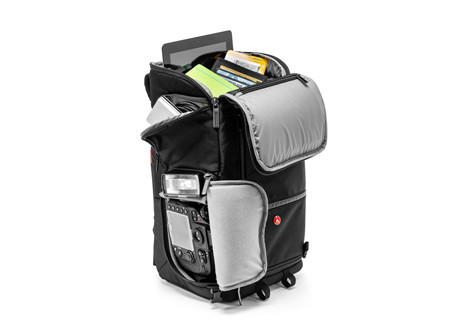

Best of ISPO MUNICH part 1
Sixteen halls full of gear. Ski/snowboard gear. Gym gear. Outdoor gear. Skate gear. Swimming gear. Wearables/sports-related... Read more
-
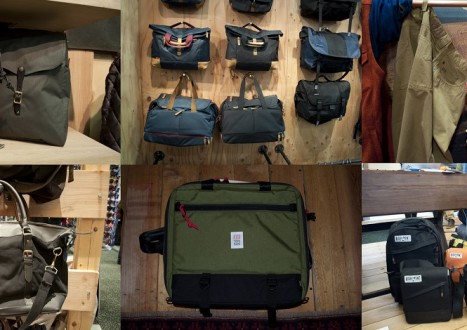

Outdoor Retailer :: Winter Market Recap
Once again, and this time five members strong, Carryology converged upon Outdoor Retailer to unearth the... Read more


 Carry Awards
 Insights
 Liking
 Projects
 Interviews