Carry Awards
 Insights
 Liking
 Projects
 Interviews
Carryology delivered. Your inbox. every two weeks.
Only the best stuff (and giveaways!), we promise.

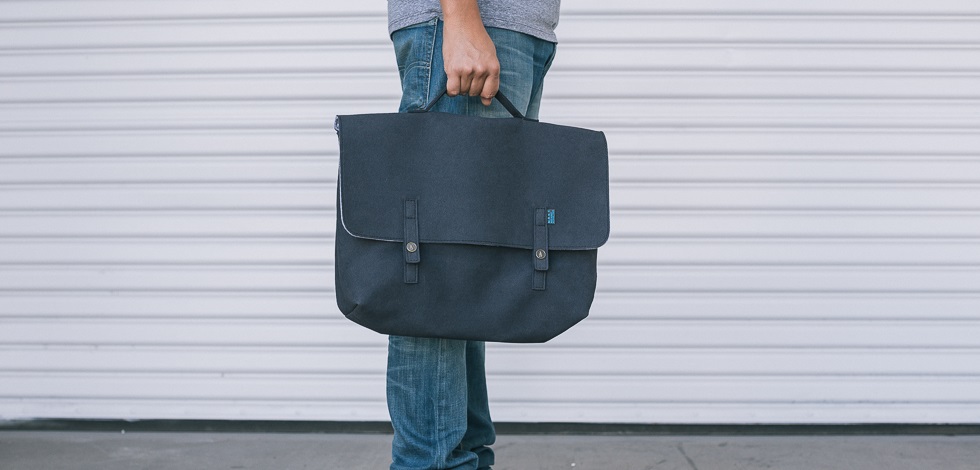
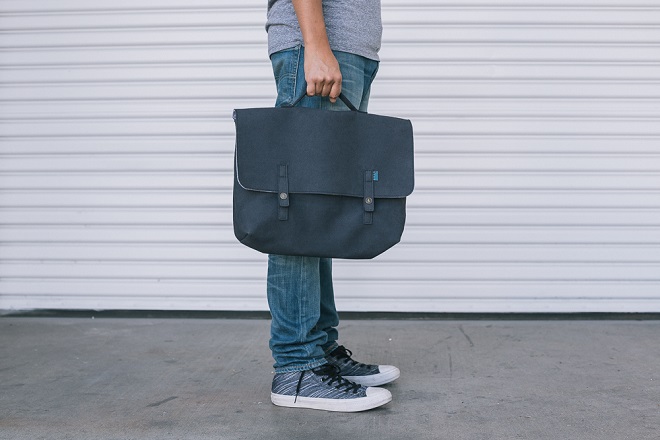
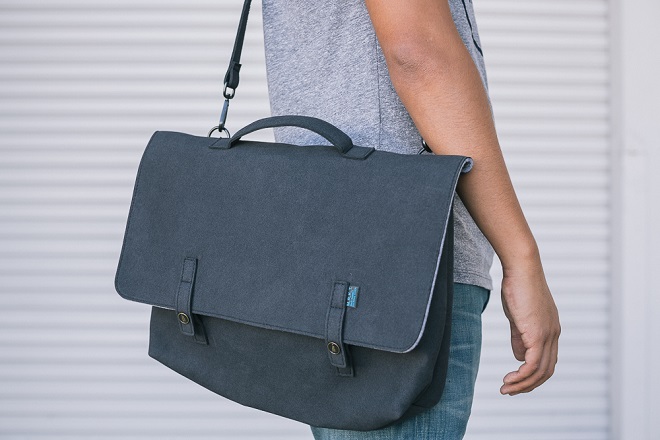
M.R.K.T Kel Briefcase :: Drive By
Minimal and clean, the Mad Rabbit Kicking Tiger (or M.R.K.T for short) Kel Briefcase is a simple option for an everyday bag with a classic style.
The Los Angeles-based brand was founded by Harvard-trained architect Tom Pen and there is a modern architectural approach to the designs. The brand prides itself in the use of unconventional and socially responsible materials, which are also vegan-friendly.
“The Los Angeles-based brand was founded by Harvard-trained architect Tom Penn and there is a modern architectural approach to the designs.”
For the past couple of months I’ve put the M.R.K.T. Kel Briefcase to the test with everyday basic use and the results are below.
Who It Suits
The creative, the college student, and anyone looking for a unique and simple briefcase for their laptop and everyday essential organization. It also fits those looking for a socially conscious and vegan-friendly option.
“The brand prides itself in the use of unconventional and socially responsible materials, which are also vegan-friendly.”
Who It Doesn’t
Anyone who requires more storage, better organization, and durability from a bag. This wouldn’t work as a replacement for a bike messenger bag.
The Good
The M.R.K.T Kel Briefcase is very clean and simple with minimal branding. It is very straightforward for what it does and honest in what it’s capable of.
“The M.R.K.T Kel Briefcase is very clean and simple with minimal branding.”
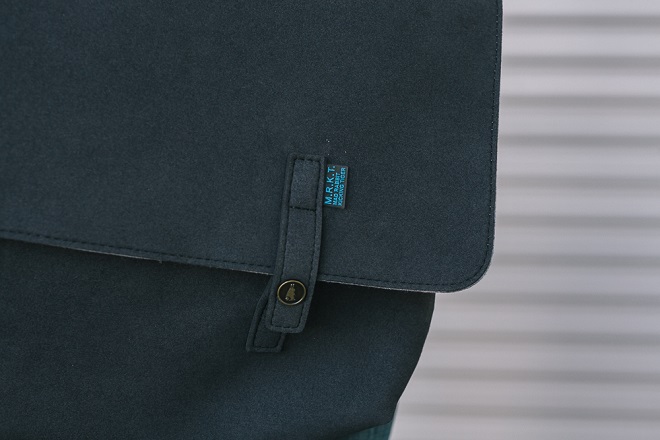
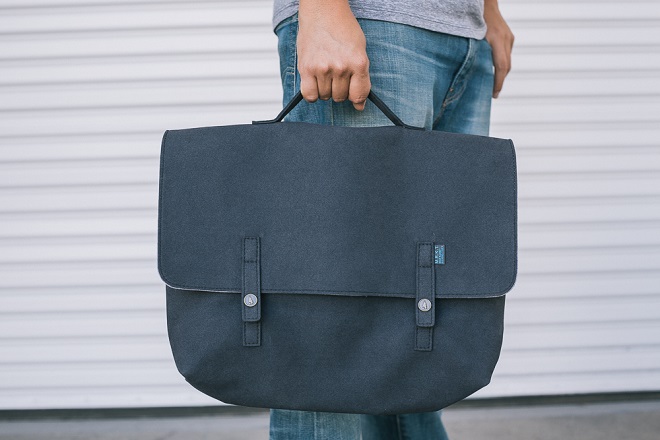
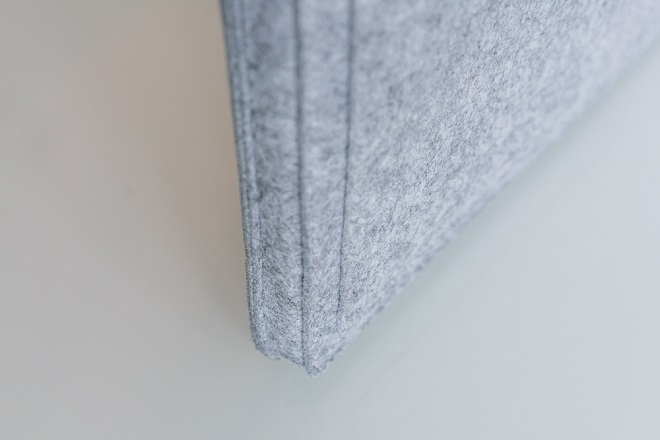
The main feature is the unique use of non-traditional materials such as their MCRO SUEDE, a suede microfiber for the exterior. It gives the bag a soft and premium feel and also helps it stand out from the host of canvas or leather briefcases. The exterior is water resistant in the event of light rain, but definitely would not withstand a heavy downpour.
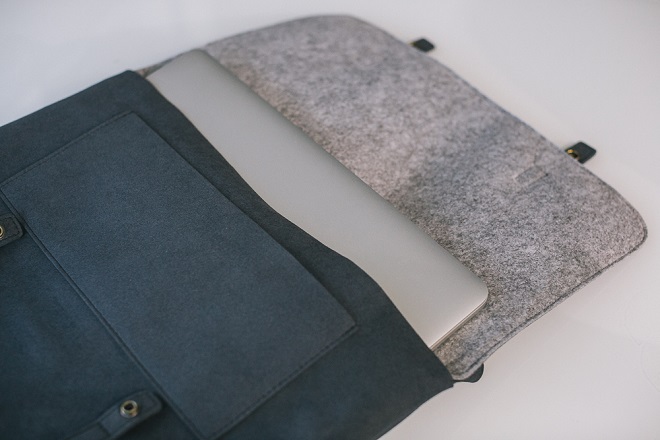
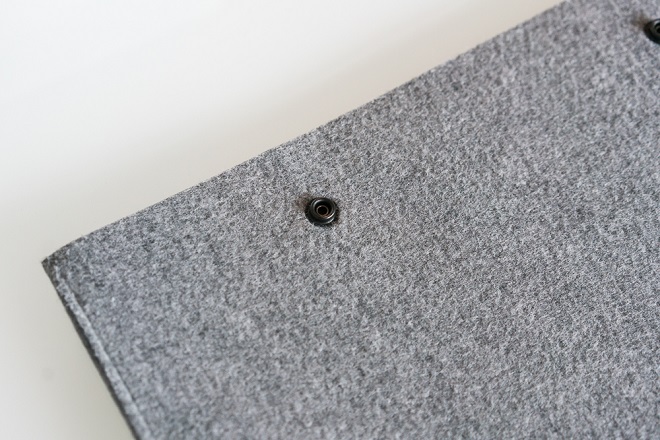
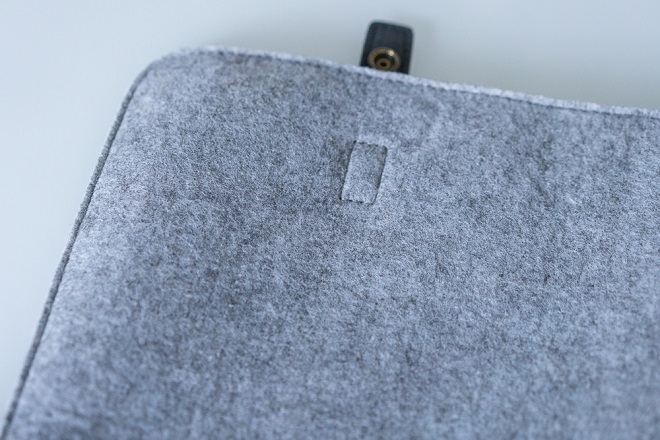
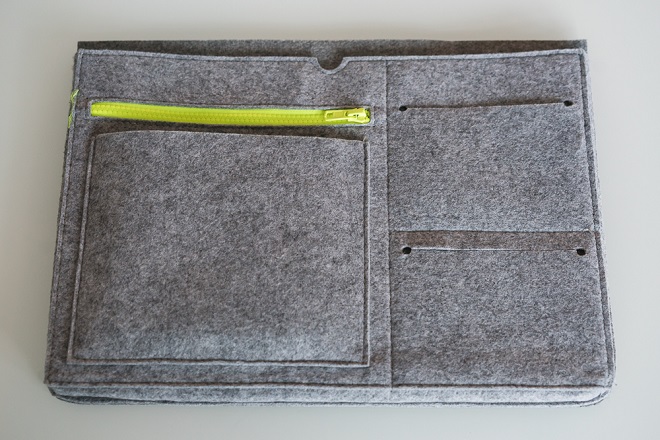
The bag itself is very lightweight and slim, measuring 15.5″ W x 11″ H x 4.5″ D. The interior is made with the brand’s SMRT FELT, which is a synthetic industrial felt that is durable, water resistant, and mildew-free. The internal laptop sleeve is removable to further reduce the overall weight and provide an option to increase the storage capacity. It is very easy to remove and insert and is held with four snap buttons.
“The internal laptop sleeve is removable to further reduce the overall weight and provide an option to increase the storage capacity.”
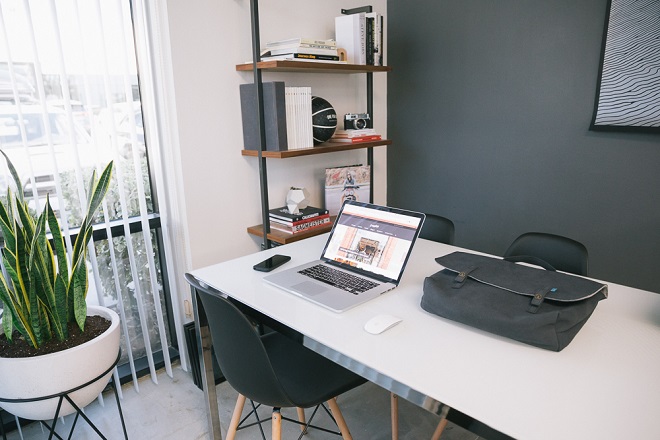
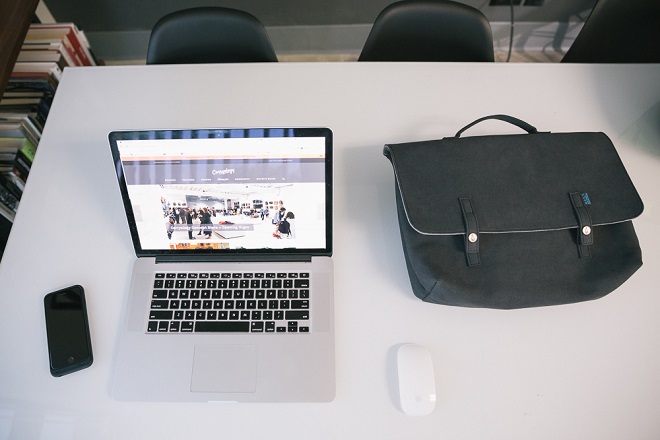
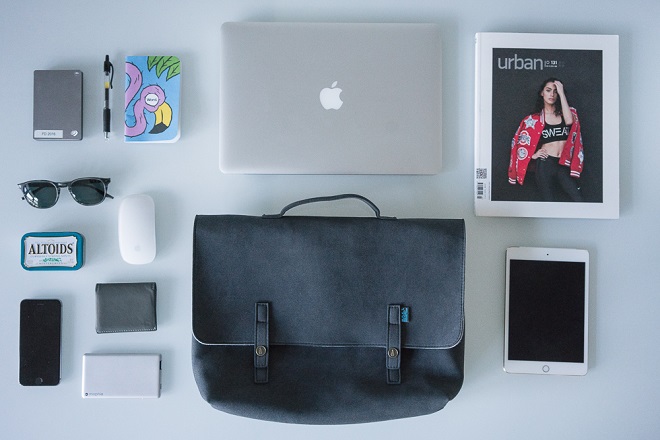
I found the overall look of the bag to be nice. It’s not very technical and it’s not incredibly high-end. It worked well for me to bring into client meetings and to use daily when I needed a very quick option for carry for the most minimal work essentials such as a laptop, portable battery, notebook, and pen. Storage is very minimal, so if you’re looking for larger capacity this briefcase is not for you.
“Storage is very minimal, so if you’re looking for larger capacity this briefcase is not for you.”
The materials used are socially responsible and vegan-friendly. The price is also reasonable retailing at $139.00 USD.
The Not So Good
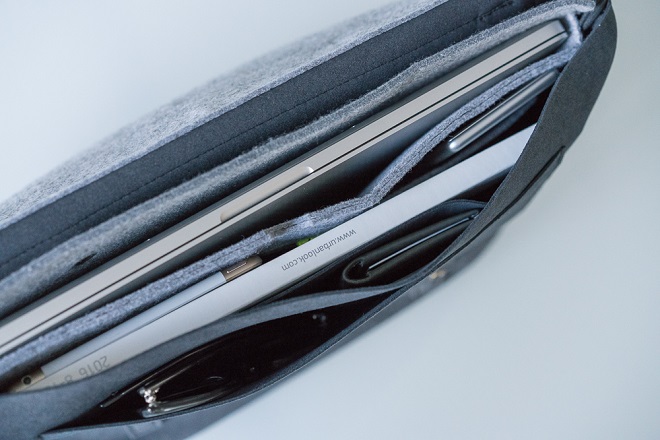
The protection the briefcase provides is very minimal. I never felt 100% confident that my belongings would be safe from a drop or an accidental bump. The internal SMRT FELT laptop sleeve easily fits my 15″ MacBook Pro, but it doesn’t hold the laptop securely in place as it easily slides in and out and there is no other option for enclosing it such as a zipper, snap, or even Velcro. This is also what I found to be the biggest drawback as the laptop sleeve doesn’t offer much in protection as it is very thin at the bottom. The bag itself offers no additional padding or protection.
“The protection the briefcase provides is very minimal. I never felt 100% confident that my belongings would be safe from a drop or an accidental bump.”
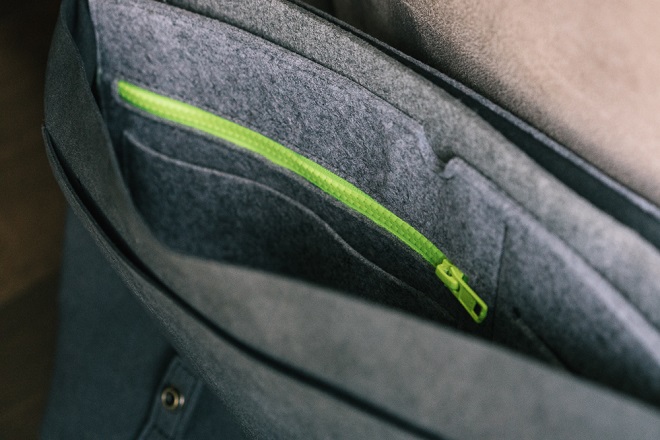
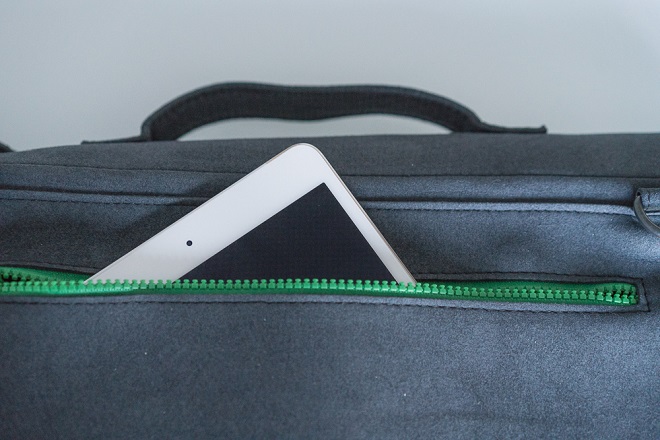
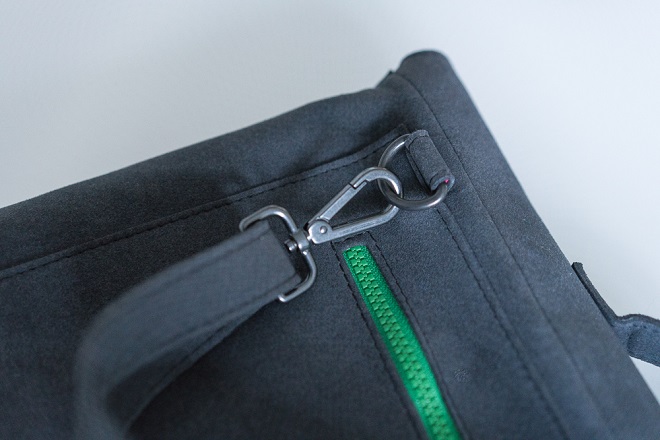
I found the organization to be lacking a bit also. There is one large zipper compartment on the exterior of the bag with a contrasting green zipper (which I did like as a design element and pop of color), but the size I found to be a bit weird. For example, I would have liked to be able to store a standard-sized magazine in this pocket for quick access, but it’s too small and since the protection is lacking I wouldn’t trust my iPad to be stored there, leaving only a few options to fully take advantage of the storage space. Something such as keys would be fine, but the pocket is deep so you would need to dig in to get them out. There are two other pockets attached to the bag itself, one on the outer portion (after you flip open the front flap) and the other internal, both of which do not have any zippers or other enclosures. I wouldn’t put anything of value such as a phone in those as it can easily fall out.
“I found the organization to be lacking a bit also.”
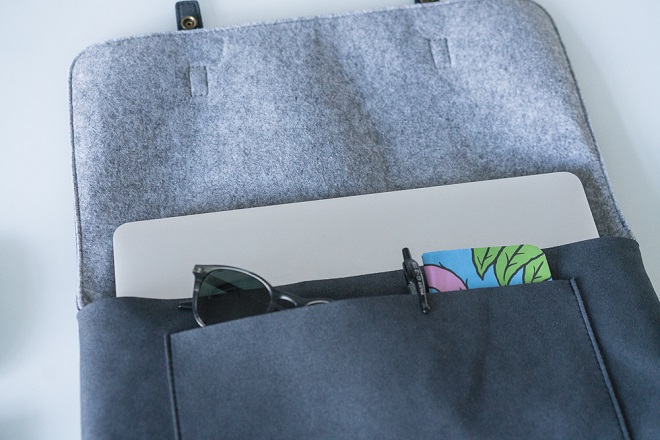
The organization and storage attached to the internal laptop sleeve is a bit better. There is a zippered pocket (in bright contrasting yellow) that can hold things such as a wallet, passport, keys, or an iPad and three other open pockets, which are more like slots, which can fit items like business cards, a mouse, a hard drive, or small notebooks.
“The organization and storage attached to the internal laptop sleeve is a bit better.”
Finally, the Kel Briefcase comes with a thin removable shoulder strap, which I love the versatility of, but hated how uncomfortable it was when the briefcase was packed with my laptop and other items as it dug into my shoulders.
Verdict
The M.R.K.T Kel Briefcase is a good option for those looking for a basic briefcase with clean style and enough storage for a 15″ laptop. It can be used daily and is also nice for work meetings. It definitely is not made for performance, outdoor adventures, or gear heads who require additional protection. If you’re in need of a lightweight and slim briefcase or looking for a vegan-friendly and socially conscious alternative this could be a winner.