


 Carry Awards
 Insights
 Liking
 Projects
 Interviews
Carryology delivered. Your inbox. every two weeks.
Only the best stuff (and giveaways!), we promise.

Backpacks
EVERYDAY CARRY
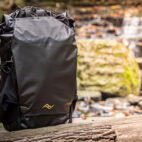
Wingback EVERYDAY PACK 21L | A Modern Minimalist’s Delight
When it comes to backpacks, the Wingback EVERYDAY PACK 21L is like the family member who shows up to Christmas after five years of radio silence. No one quite knows what to expect, but once they open their mouth, everyone is pleasantly surprised by how refined, mature, and elegant they are. Wingback are expert machinists and are known for their impeccable stationery and accouterments, but this is their first visit to the bag side of the equation. Let’s dig in!
Specifications - Pack
- Name: Wingback Everyday Pack 21L
- Brand: Wingback
- Format: Backpack
- Measurement: 46 x 30 x 15 cm
- Capacity: 21L
- Weight: 1.25kg (2.75lb)
- Zippers: YKK No10 reverse coil zips
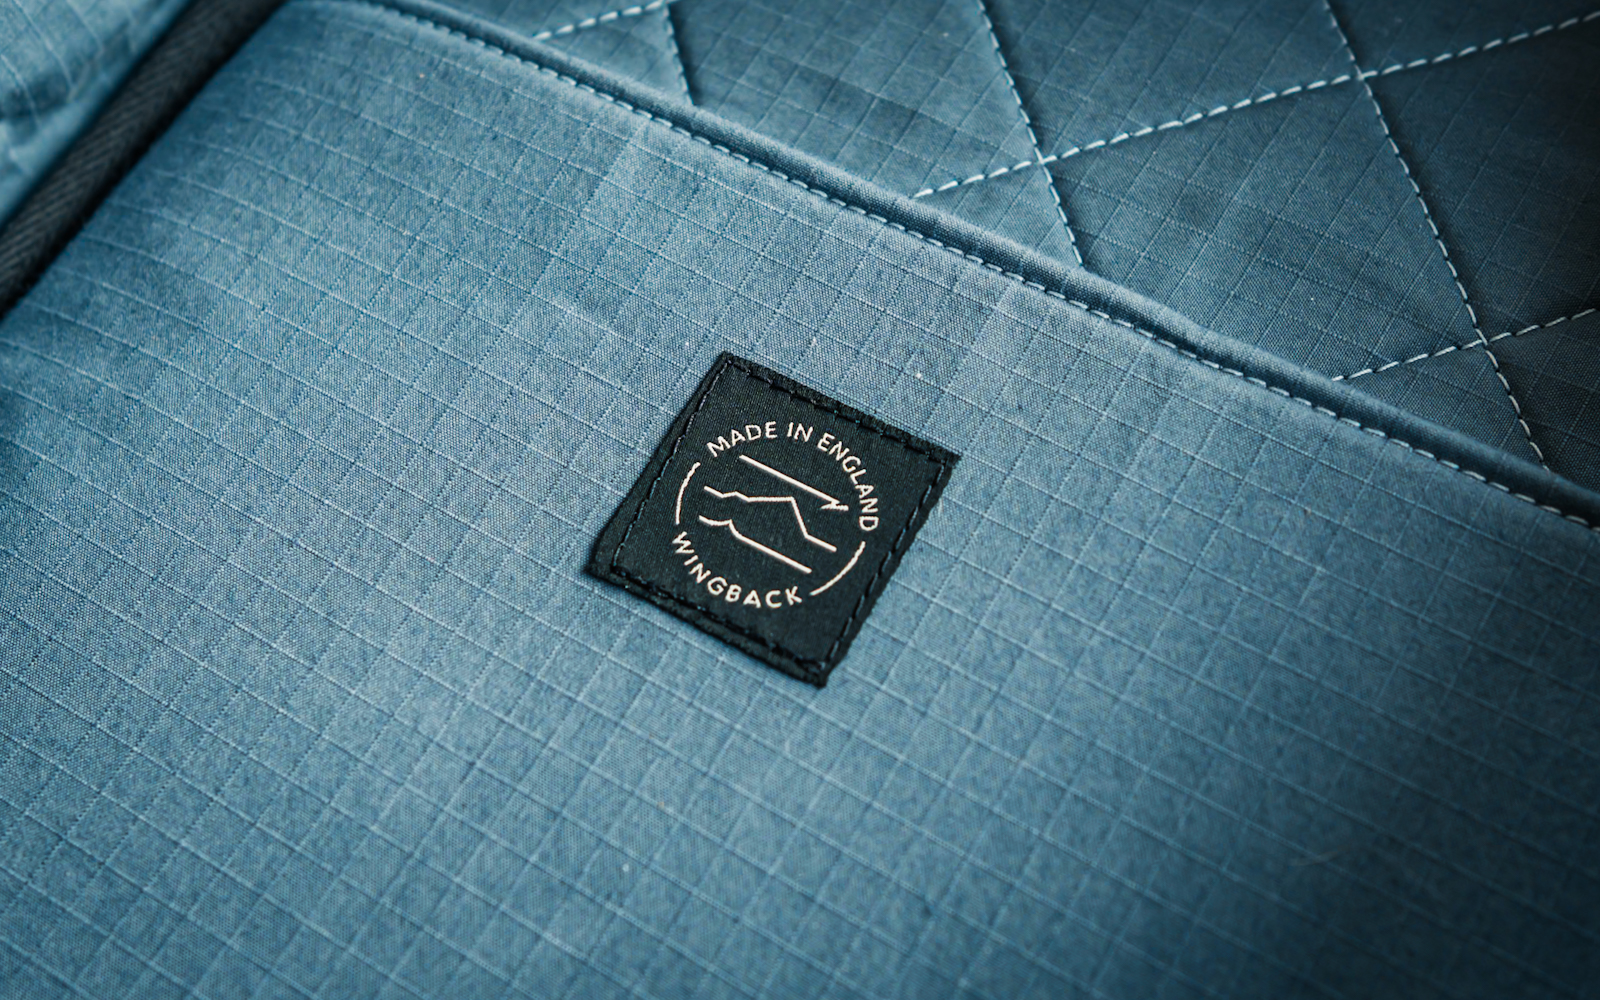
- Material: 100% organic, fluorocarbon-free waxed cotton from Dundee, Scotland
- PriceUS$455
Who It Suits
If you’re a tortured soul struggling in the battle between beautiful modern design and luxurious heritage materials, this bag was made for you. You no longer need either/or; you can have both.
Who It Doesn’t
If you’re looking for lightweight technical fabrics and bold colors, this isn’t the bag you’re likely to choose.
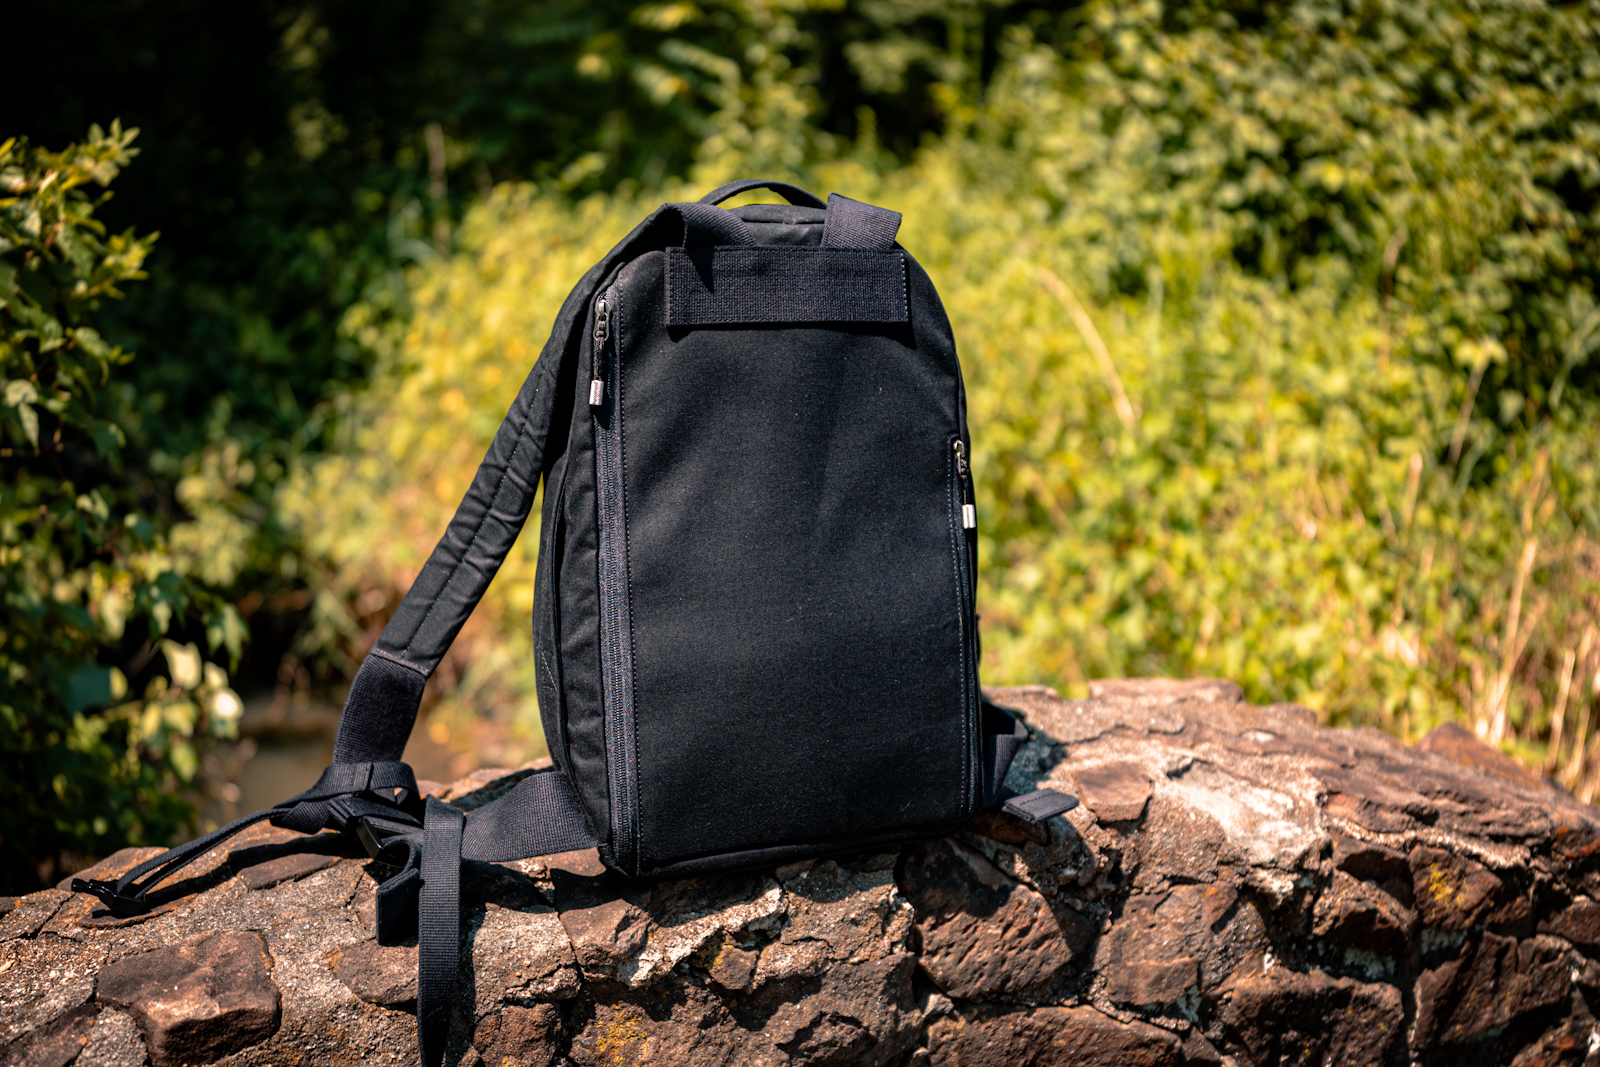
Design and Aesthetics
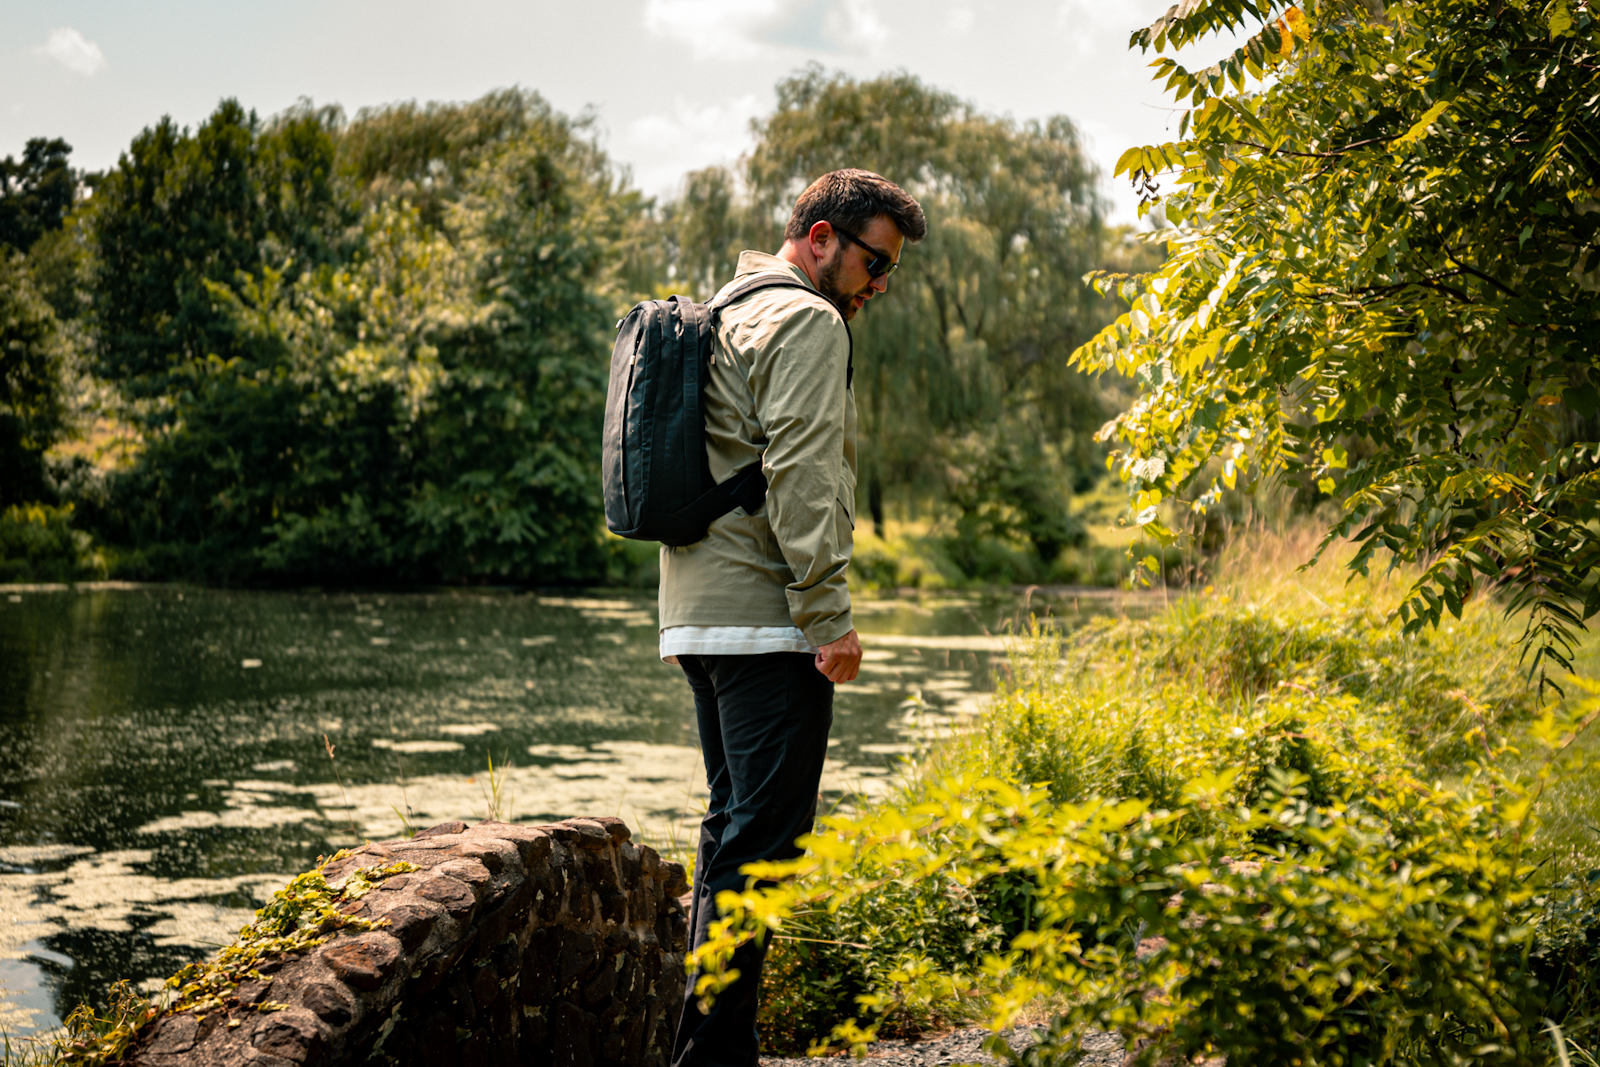
Almost from the very second I opened the box and pulled the Everyday Pack from its recycled cotton storage tote (included by the way!) it made a decidedly quiet statement with its sleek, simple exterior. This pack embodies a gentle style that whispers rather than shouts, making it an attractive option for those who like to fly under the radar whether commuting or exploring.
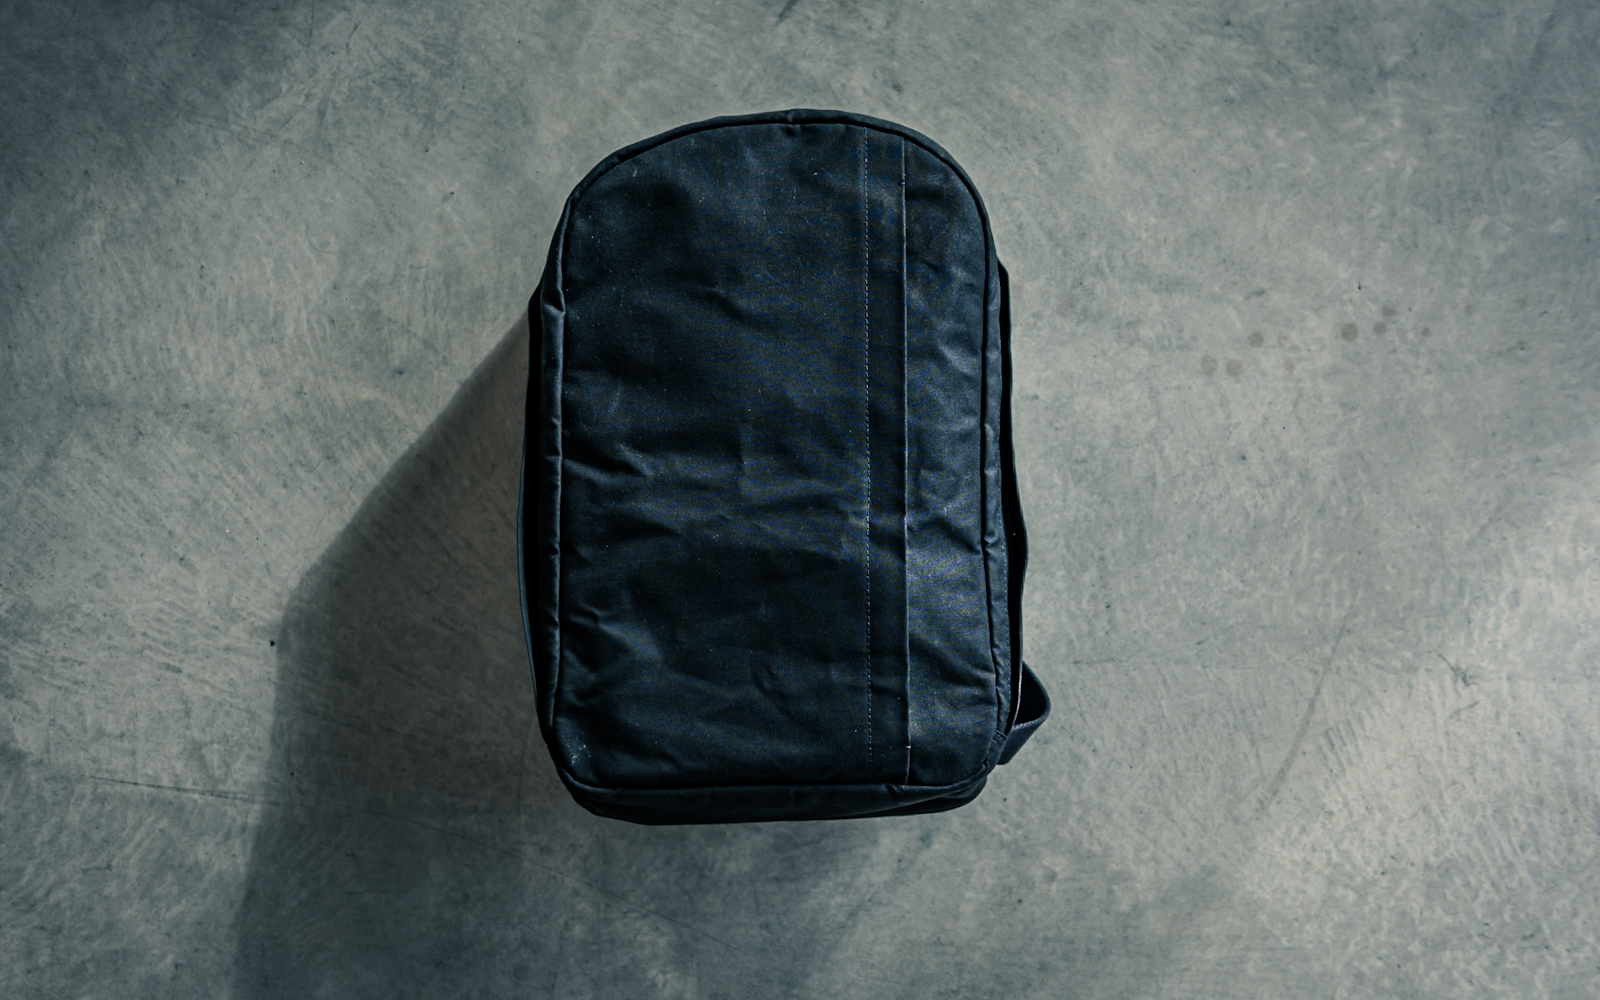
The design philosophy here is very much “less is more,” but it’s executed with such finesse that the minimalism feels deliberate and sophisticated, rather than an afterthought. We shouldn’t be surprised, of course, as Wingback’s previous products, namely their stationery, are executed with the same attention to detail. It is, however, easy to forget that the Everday Pack is the company’s first foray into bags.
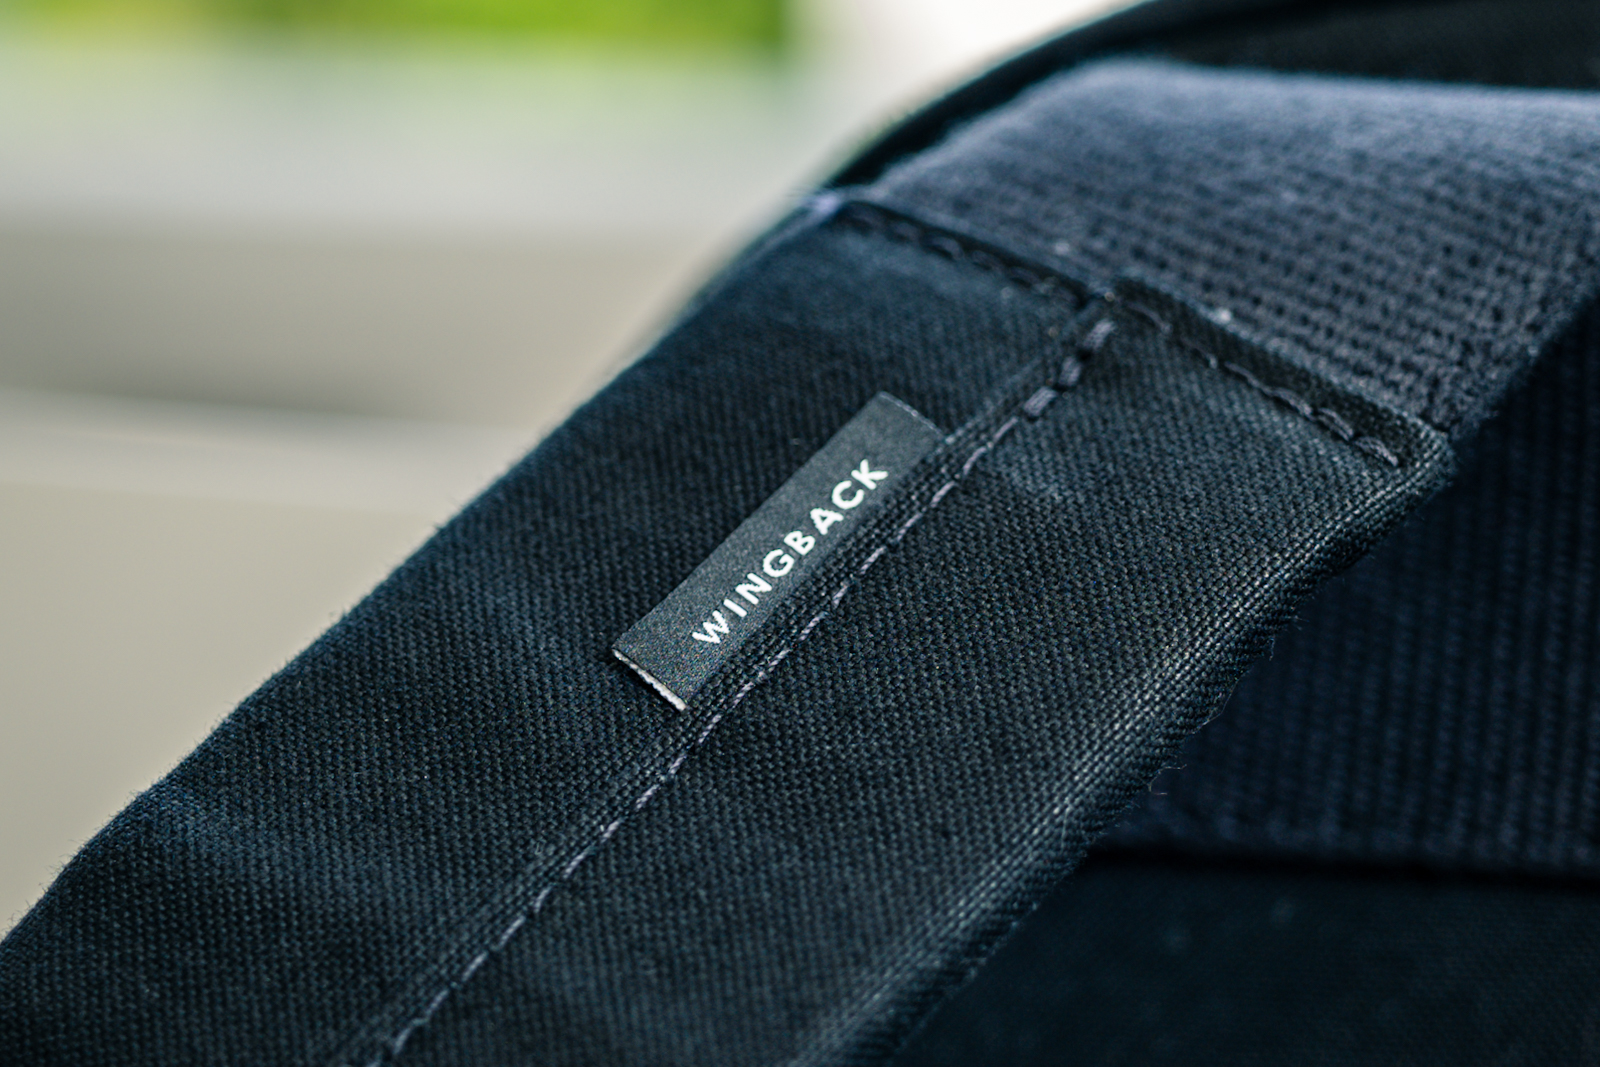
Materials, Hardware and Construction
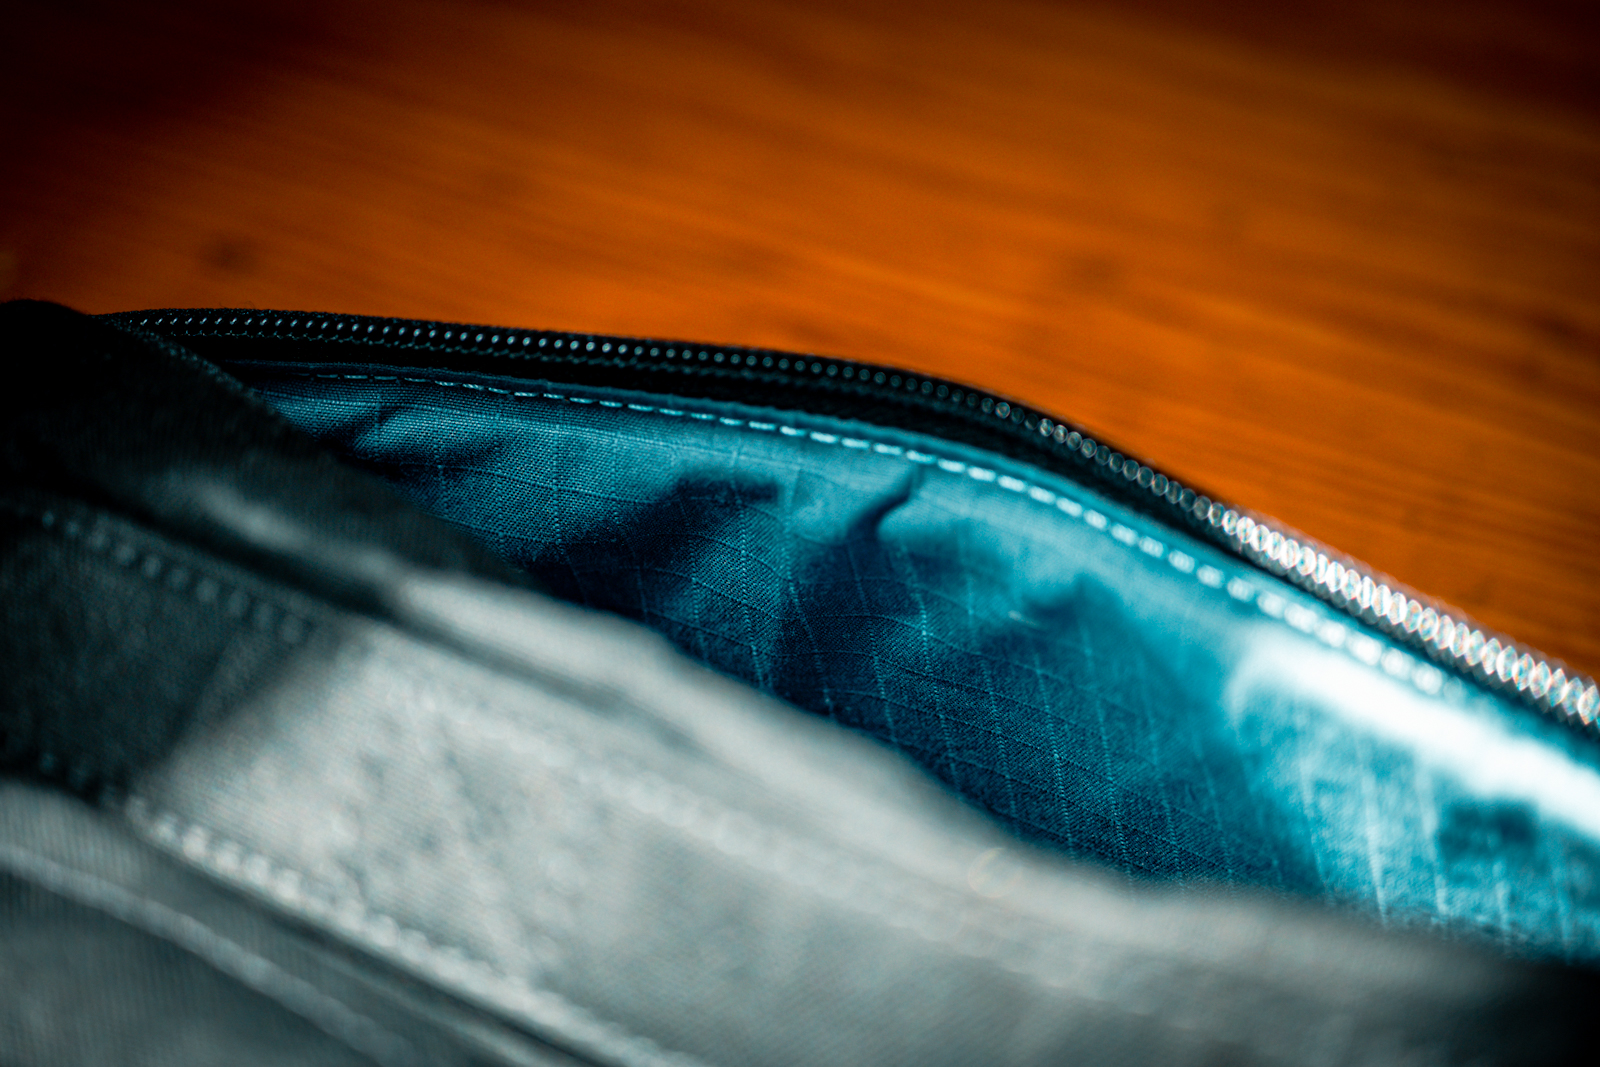
Wingback’s choice of materials here is a testament to their commitment to durability and elegance, and they’ve pulled out all of the stops. The pack exterior is crafted from 100% organic weatherproof waxed cotton from the one and only Halley Stevensons in Scotland. As a heritage fiend, it doesn’t get much better than this from a materials point of view, and it of course feels exemplary in hand and will continue to age fantastically. The interior is a reinforced ripstop cotton and is a good example of how Wingback blends heritage materials and modern advances in their pack. You have the hand feel of a nice gentle cotton, but the durability of a more technical fabric.
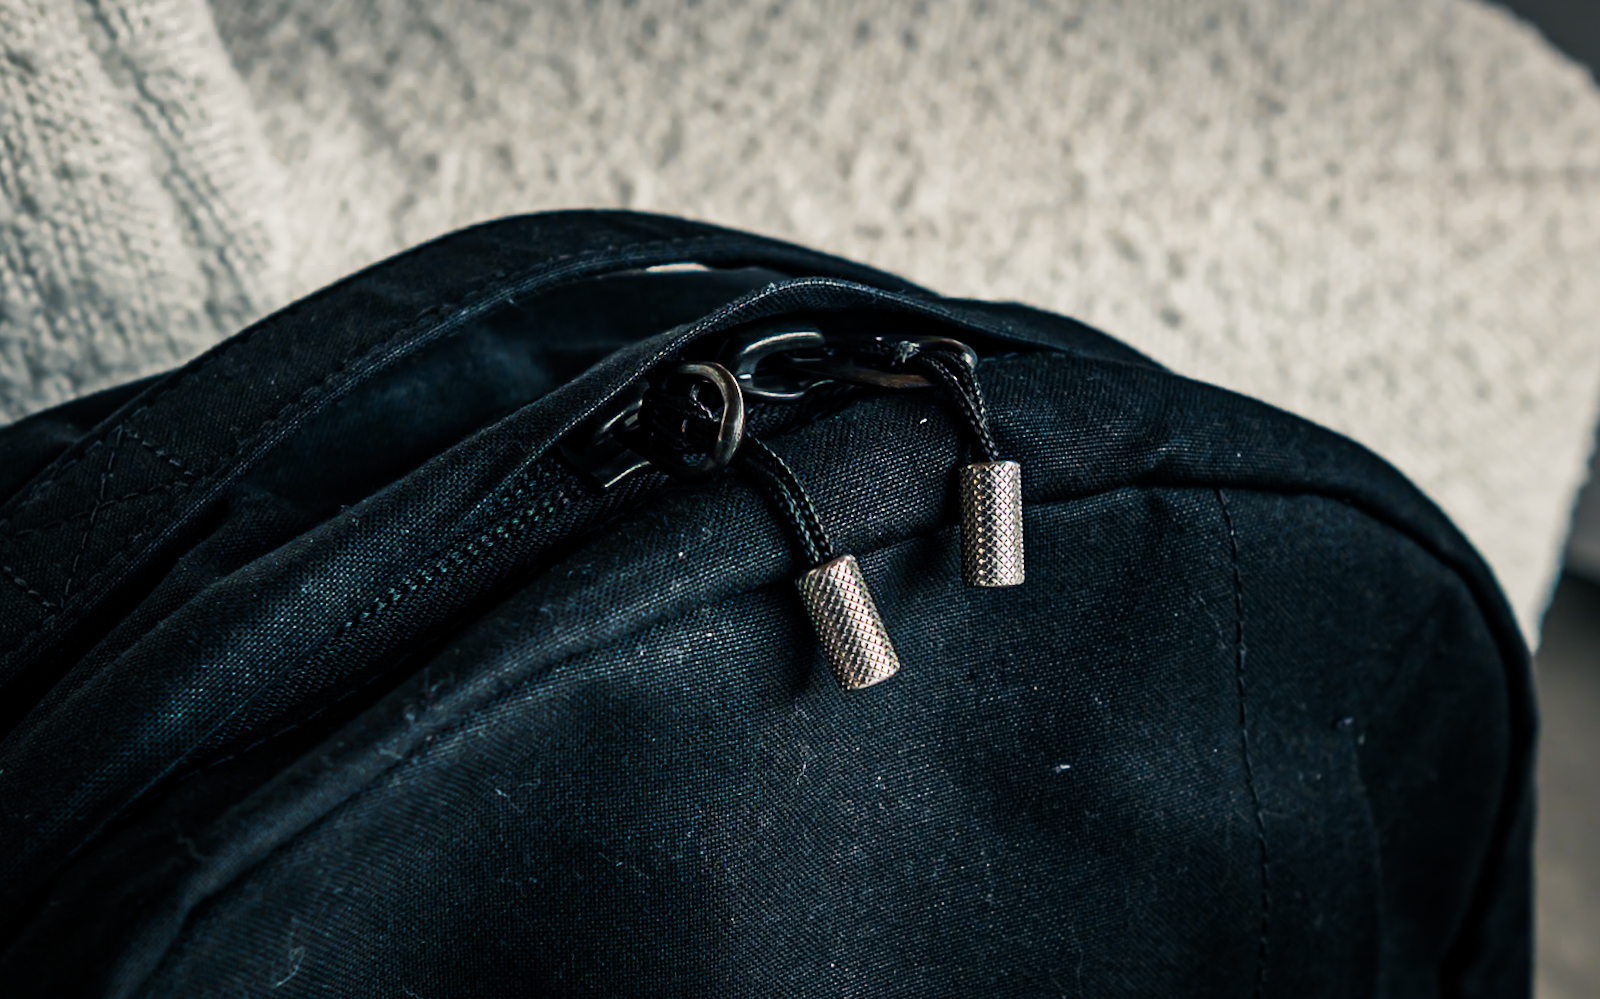
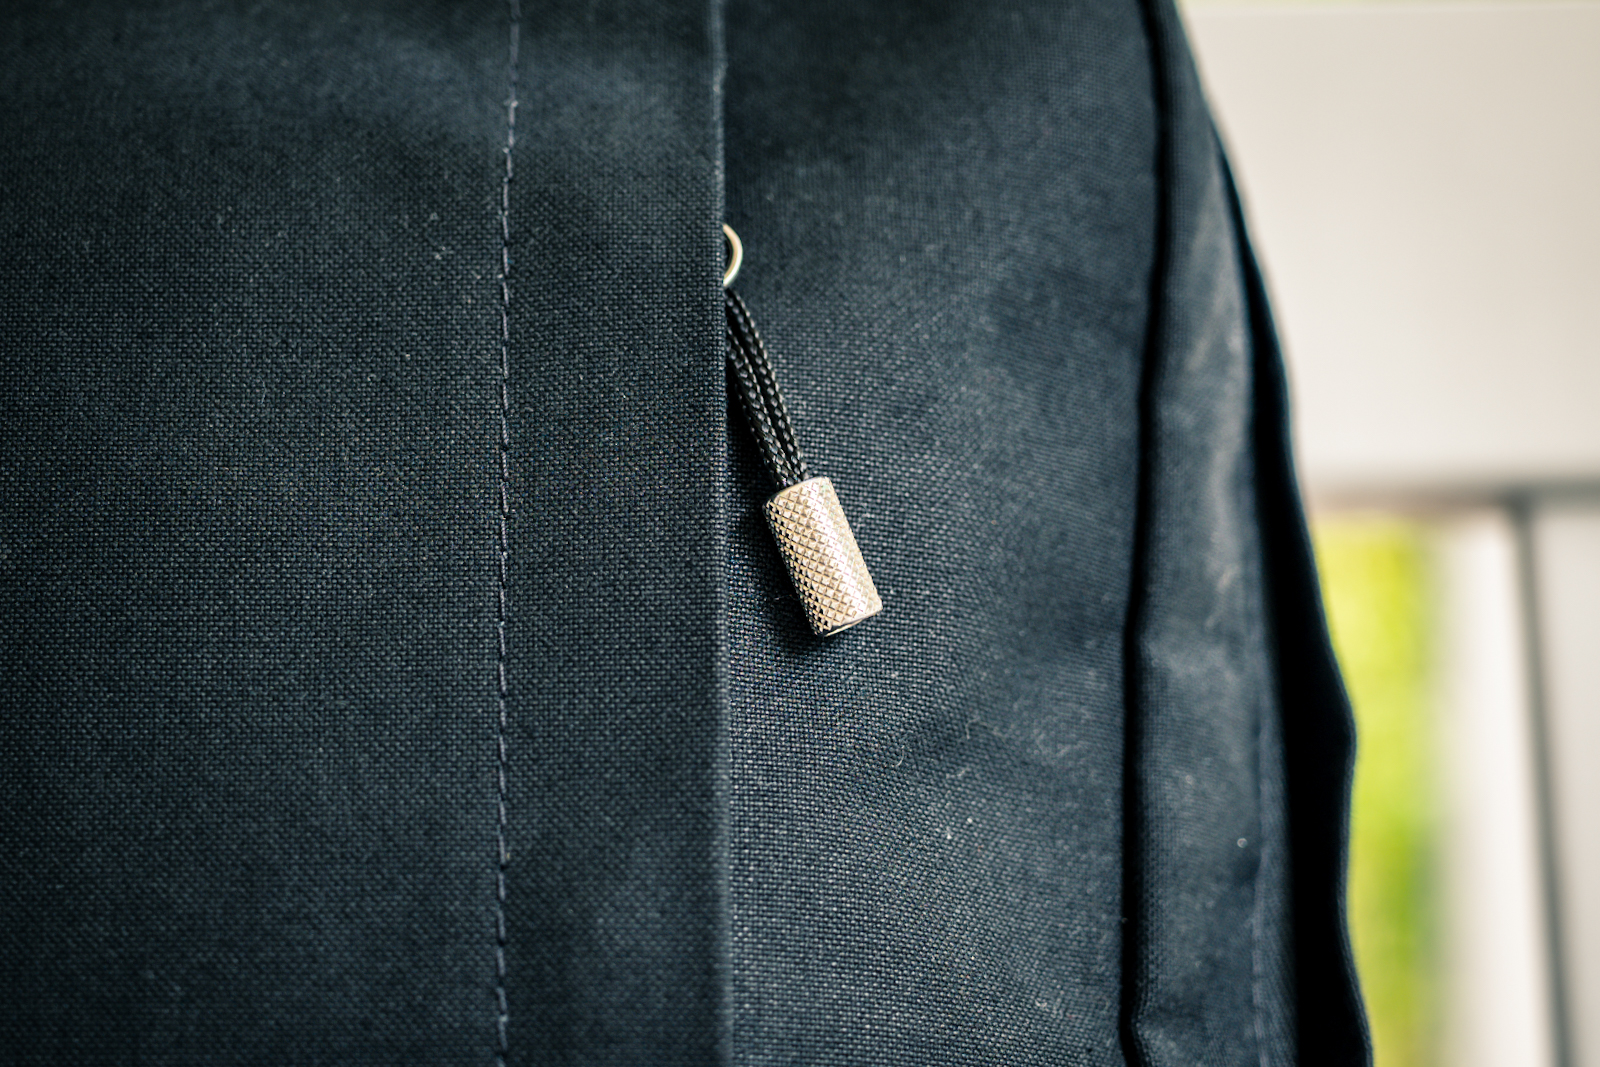
The #10 RC YKK zippers are a joy to use on any bag, and they’re a perfect fit here for the main clamshell opening. But the zippers are only one part of the opening equation here because the pullers are a design feature themselves. Aerospace grade steel, CNC machined in Birmingham, UK. Little touches like these are what make this bag feel like a worthy investment and a wonderful tactile experience.
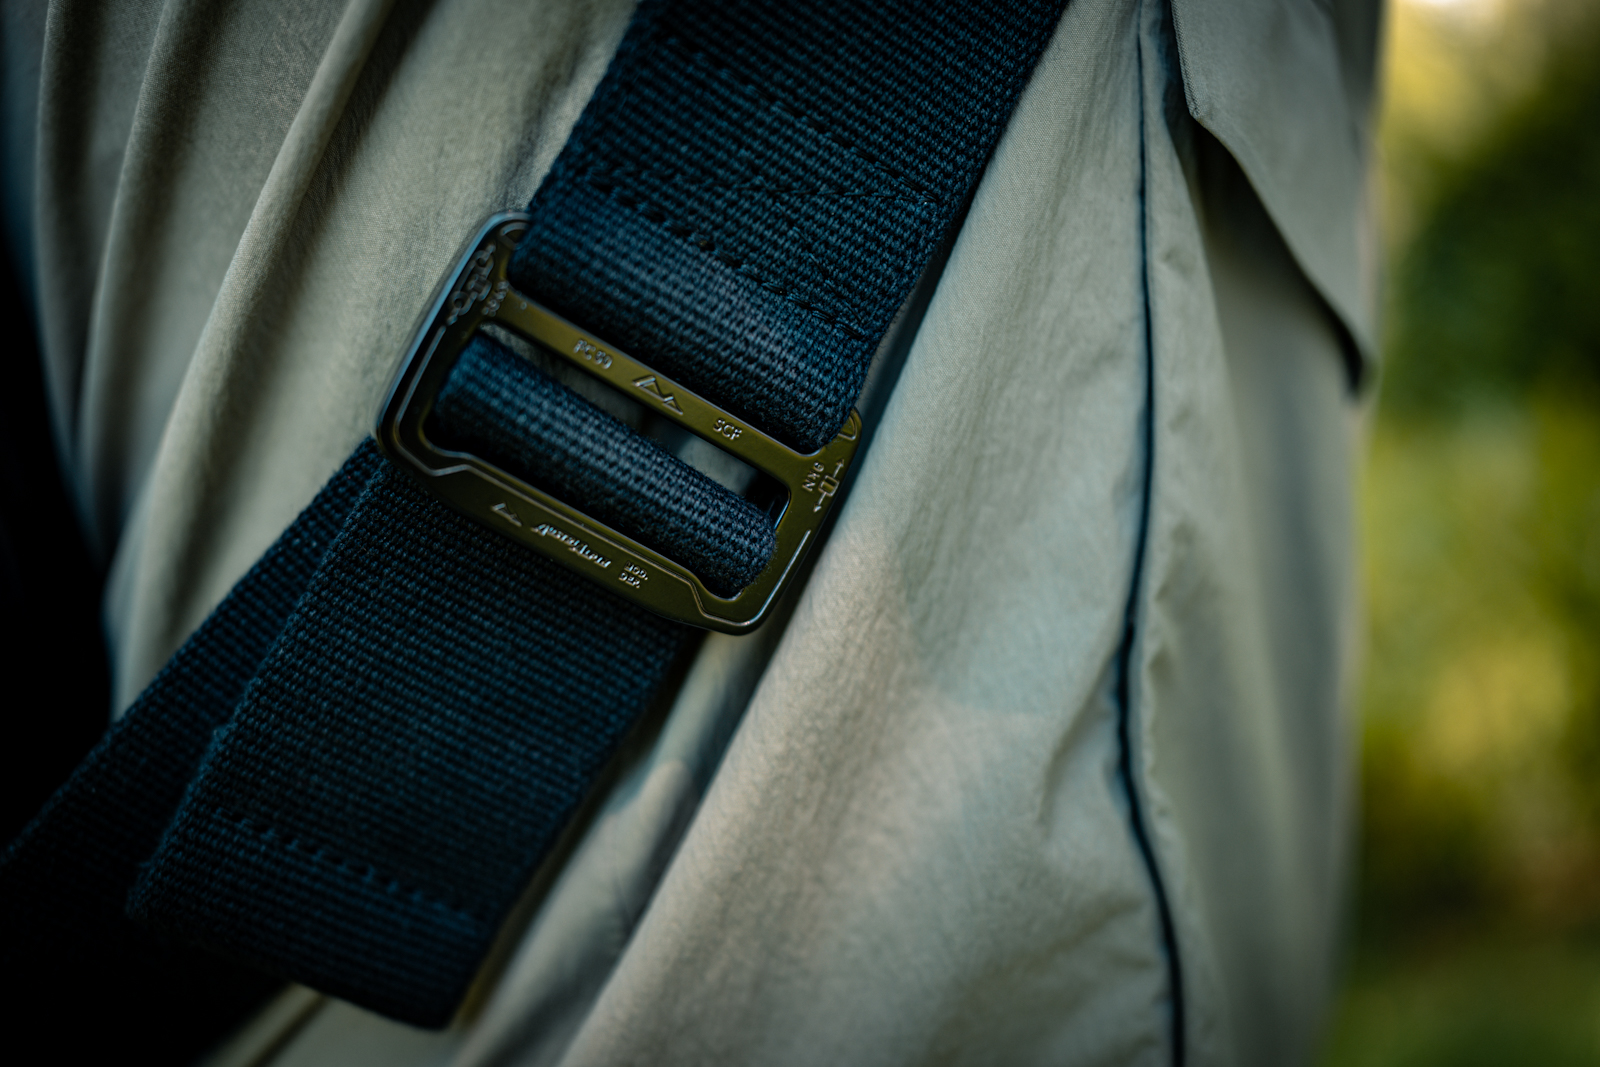
Continuing in the vein of high-quality materials, the hardware is just as impressive, with AustriAlpin COBRA® FRAME Ladder Locks on the shoulder straps, and the optional Halo Strap which can be used as a sternum strap or an accessory strap. The build quality is flawless throughout and I’ve not yet seen a loose thread after my testing over the last few months.

Functionality and Features
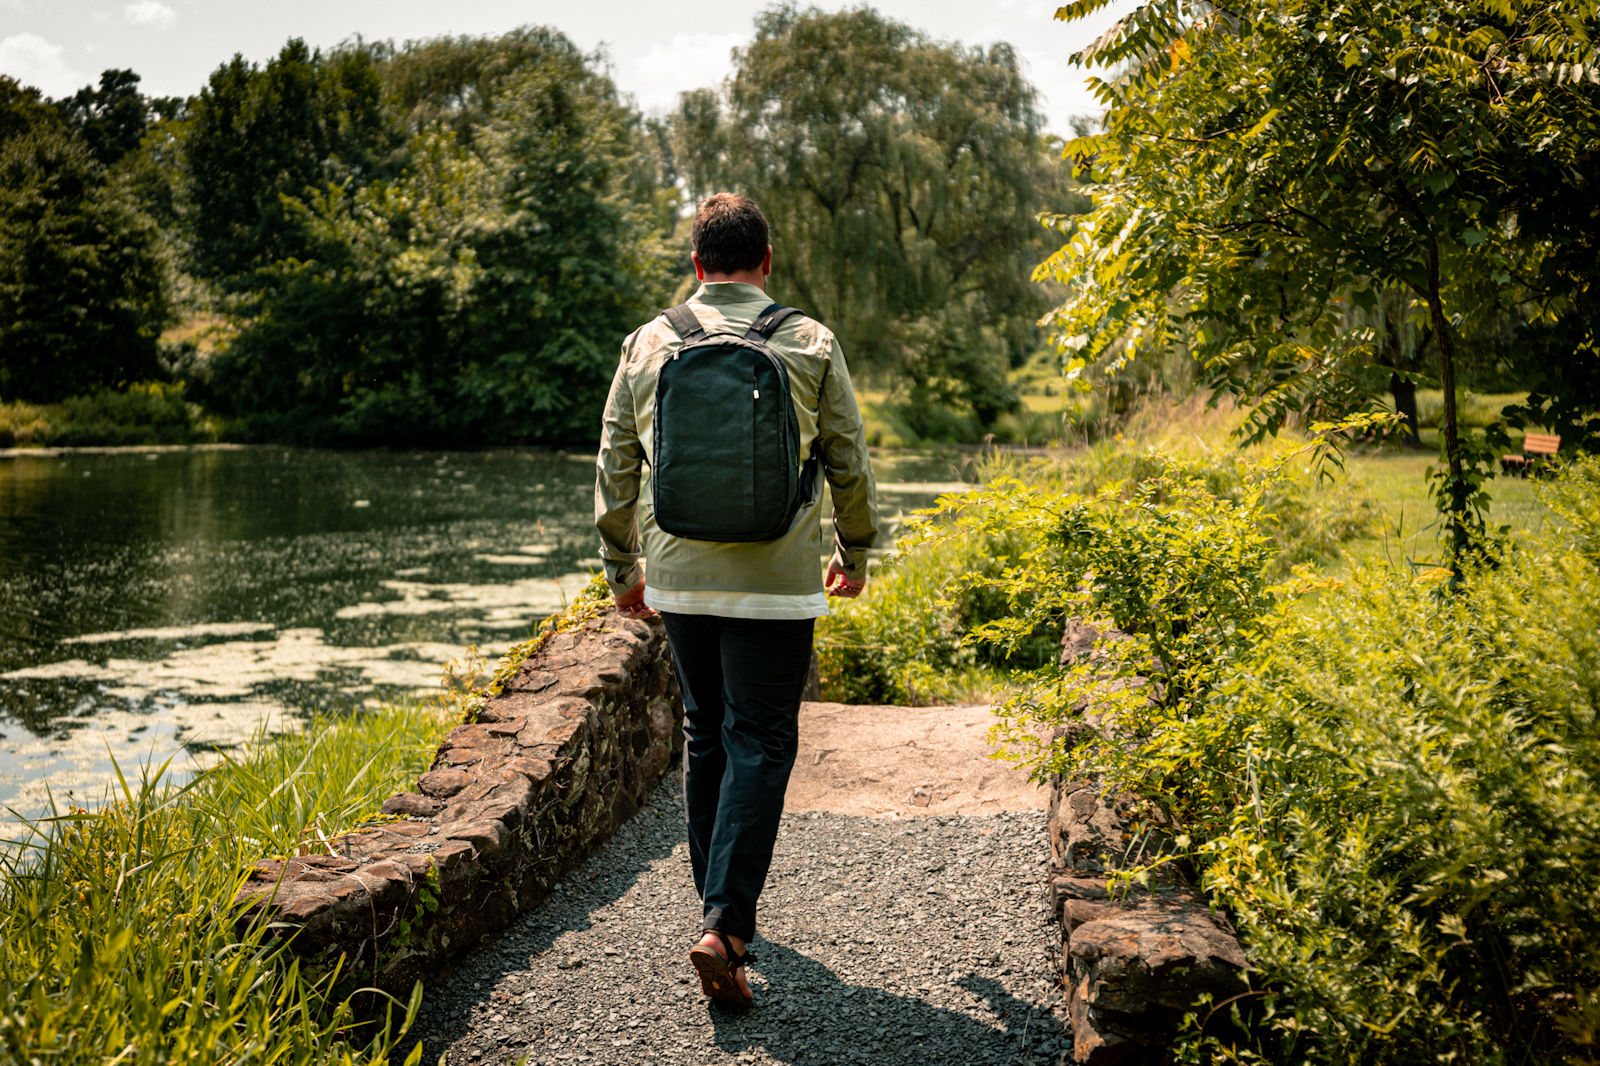
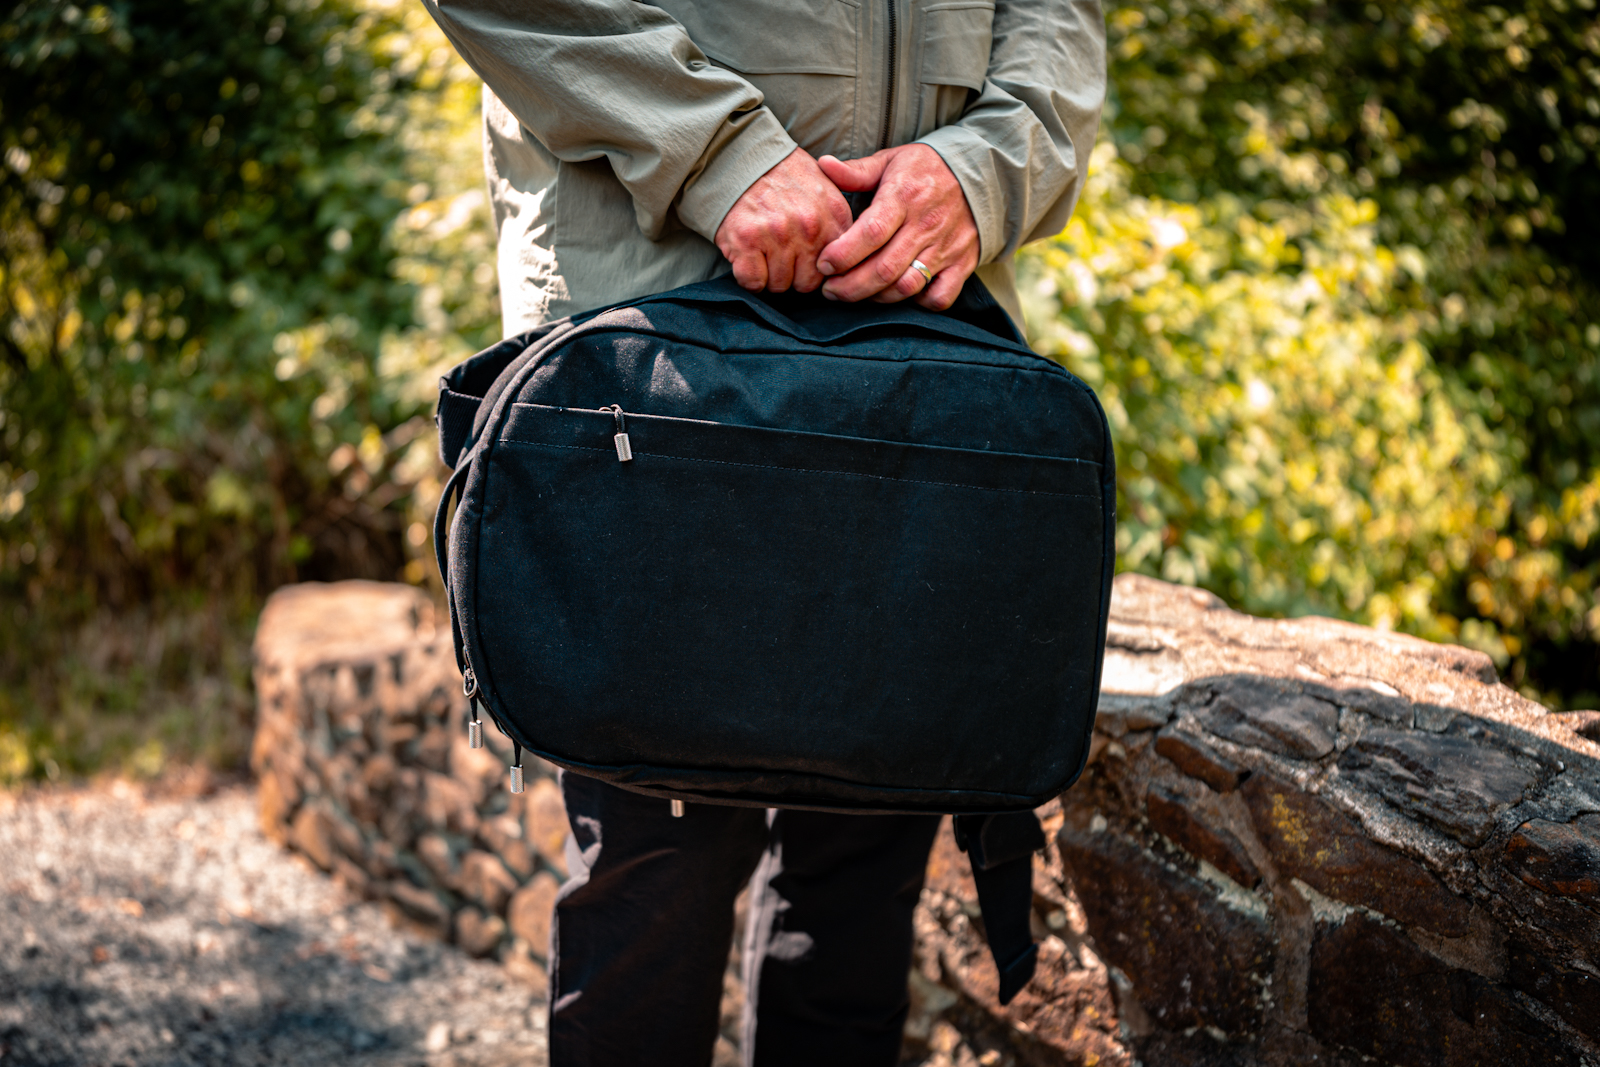
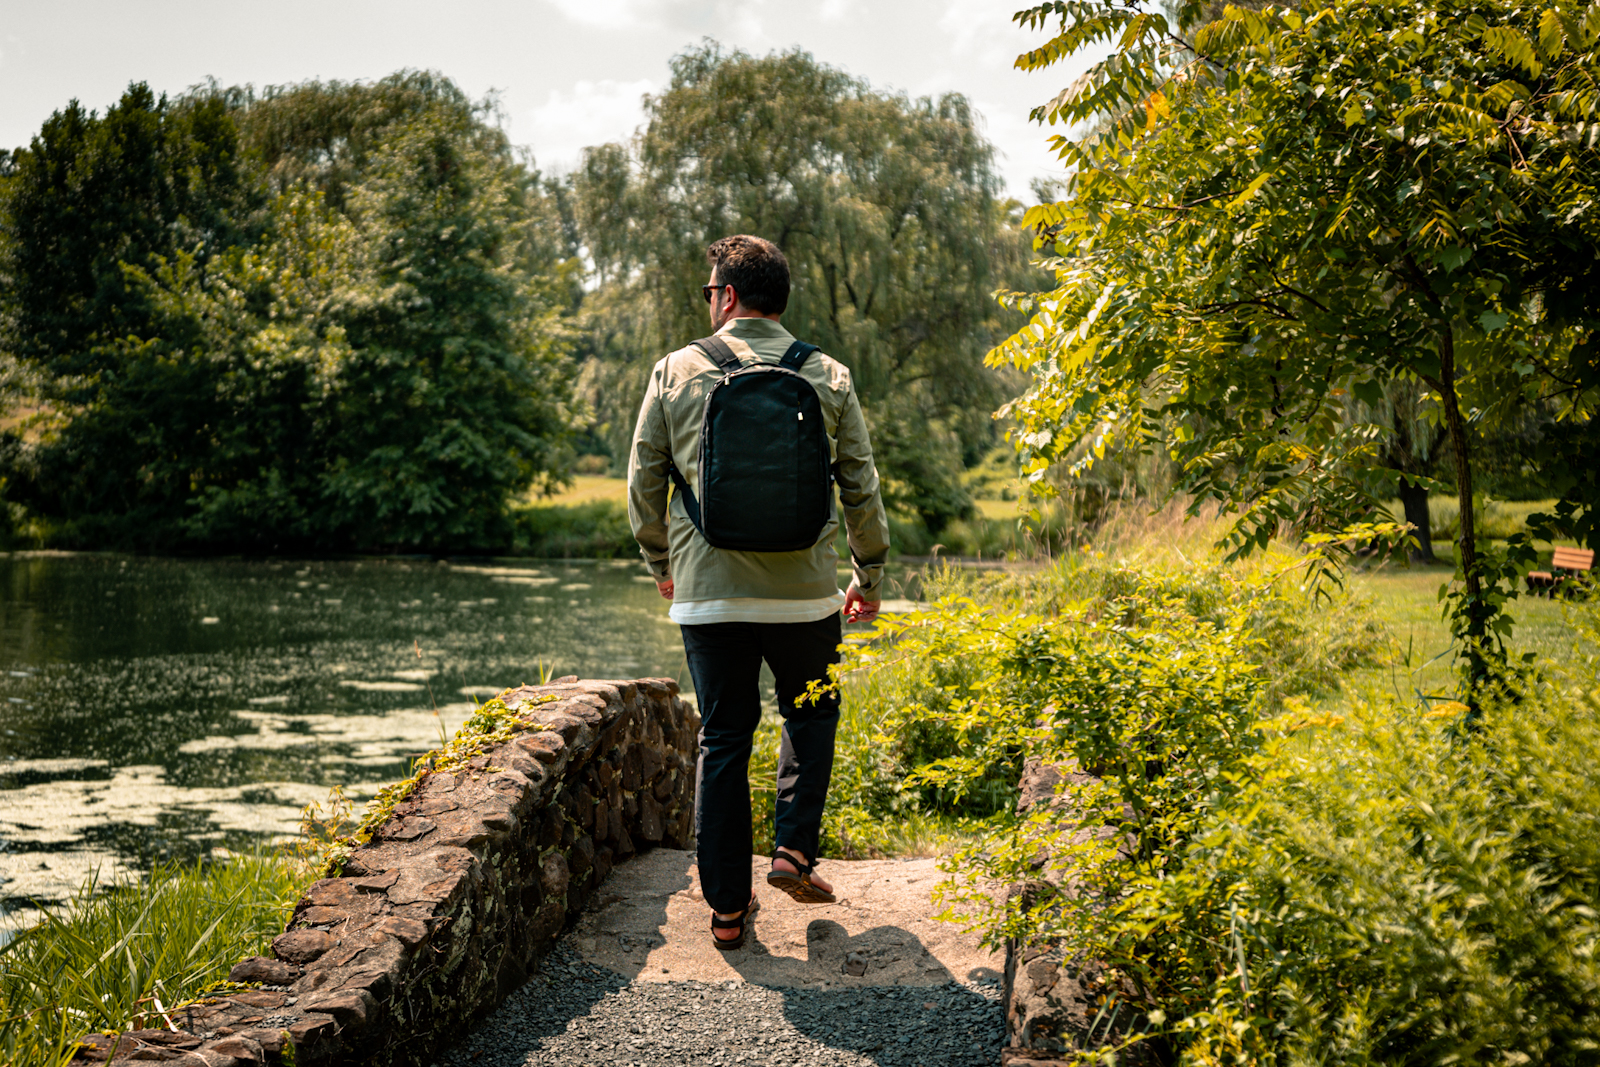
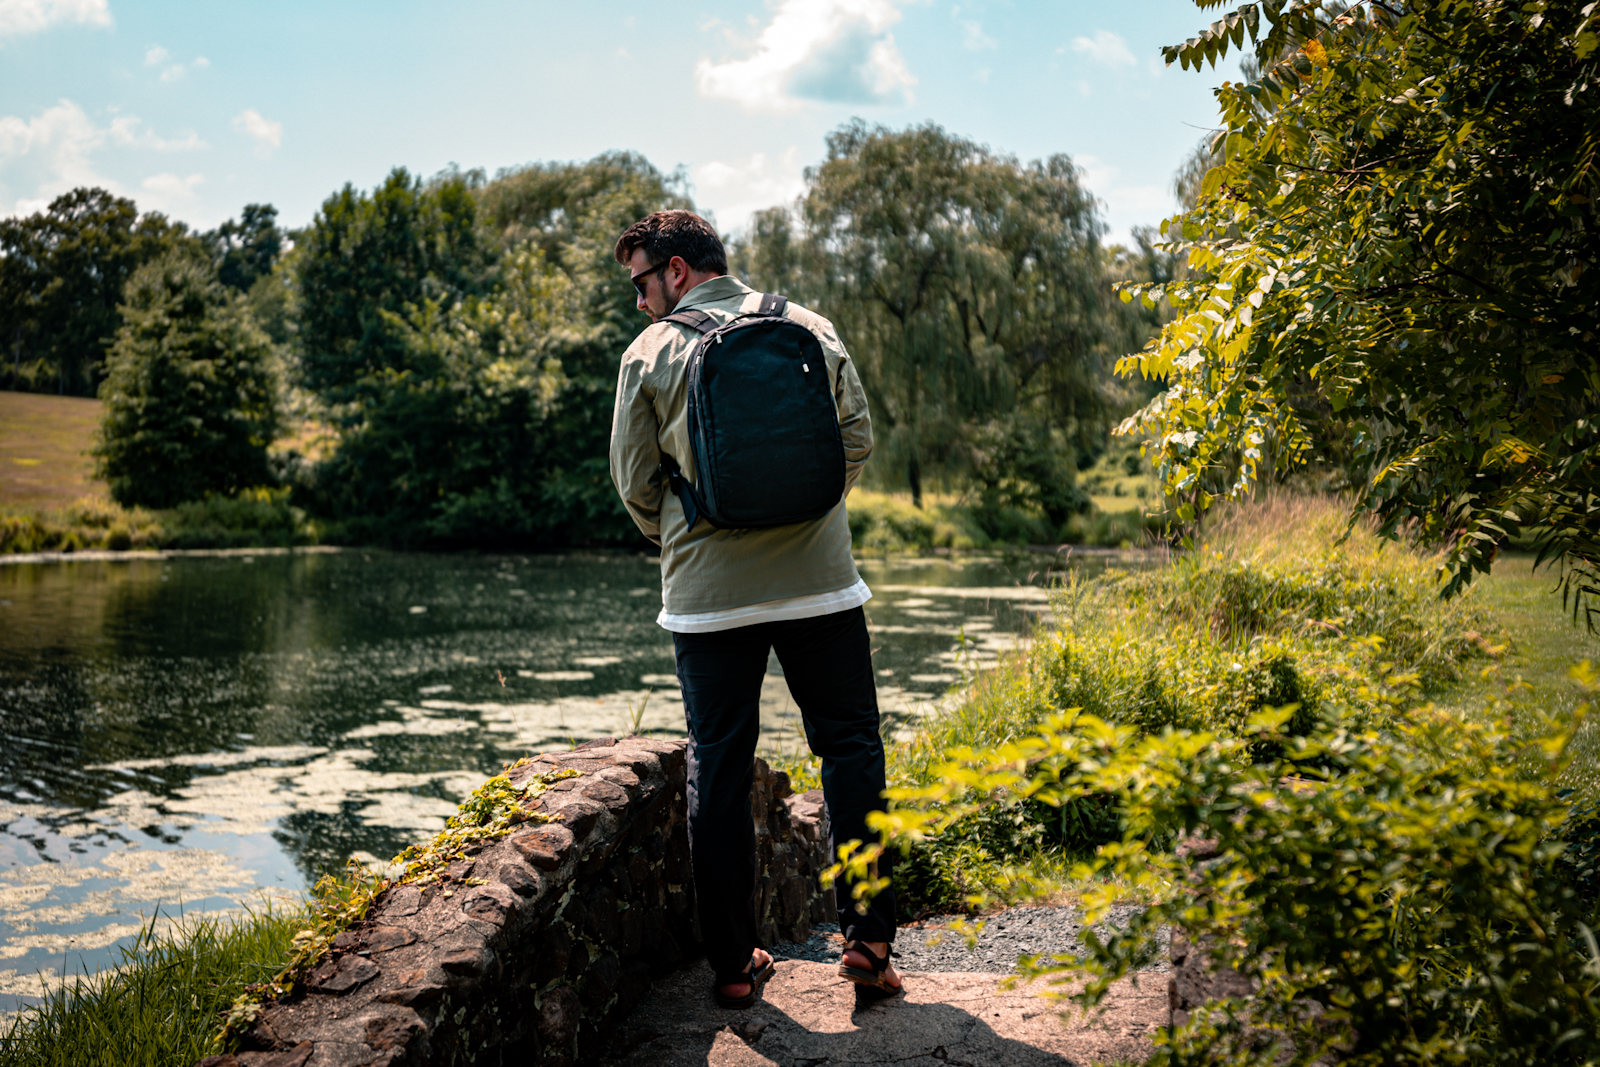
The Everyday Pack is a very easy-to-use, well-made daily bag. I think it performs best as a commuter; even though the build quality and materials can handle the great outdoors, it feels at its best for everyday carry. It’s a slender bag that carries equally well in its traditional backpack format or even in its nimble horizontal briefcase style.
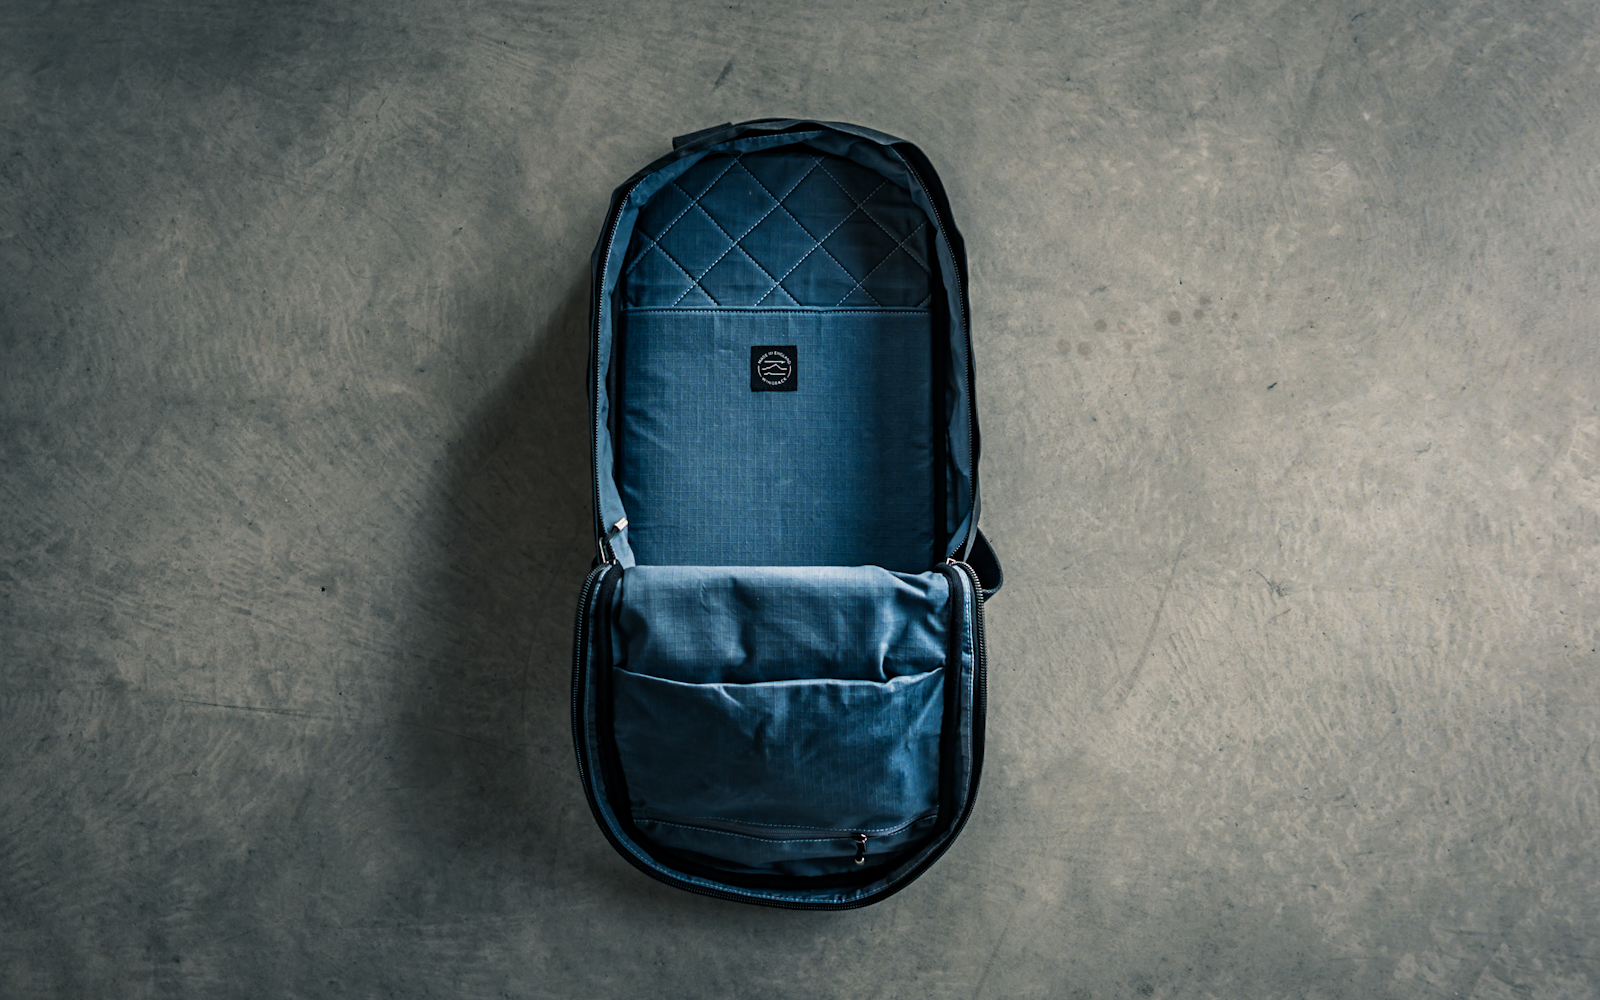
The clamshell opening reveals a spacious well-padded interior that feels surprisingly large for a 21L pack. It comfortably accommodates a laptop up to 15 inches, thanks to a dedicated, padded sleeve that keeps your tech secure and accessible. I have mostly used this sleeve for a tablet though, and put my laptop in the dedicated external-access laptop sleeve.
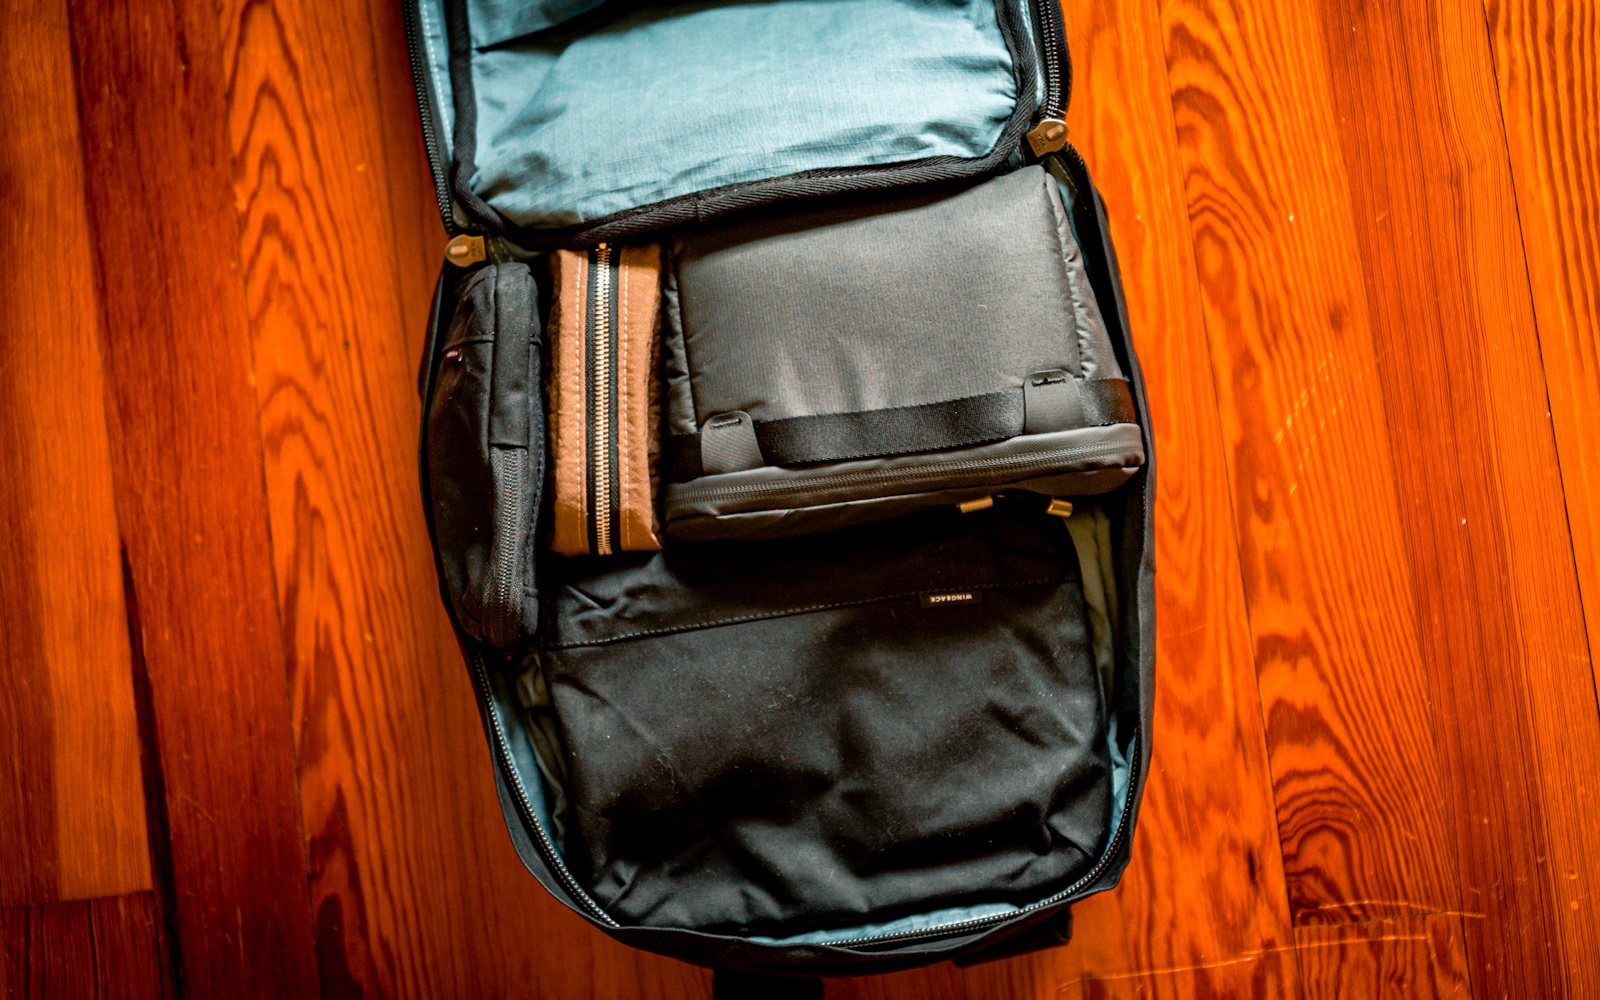
There is a gusseted pocket on the front wall of the bag, and this is the natural home for your midsized items like a Kindle, a small tech kit (like theirs), or even a point-and-shoot camera.
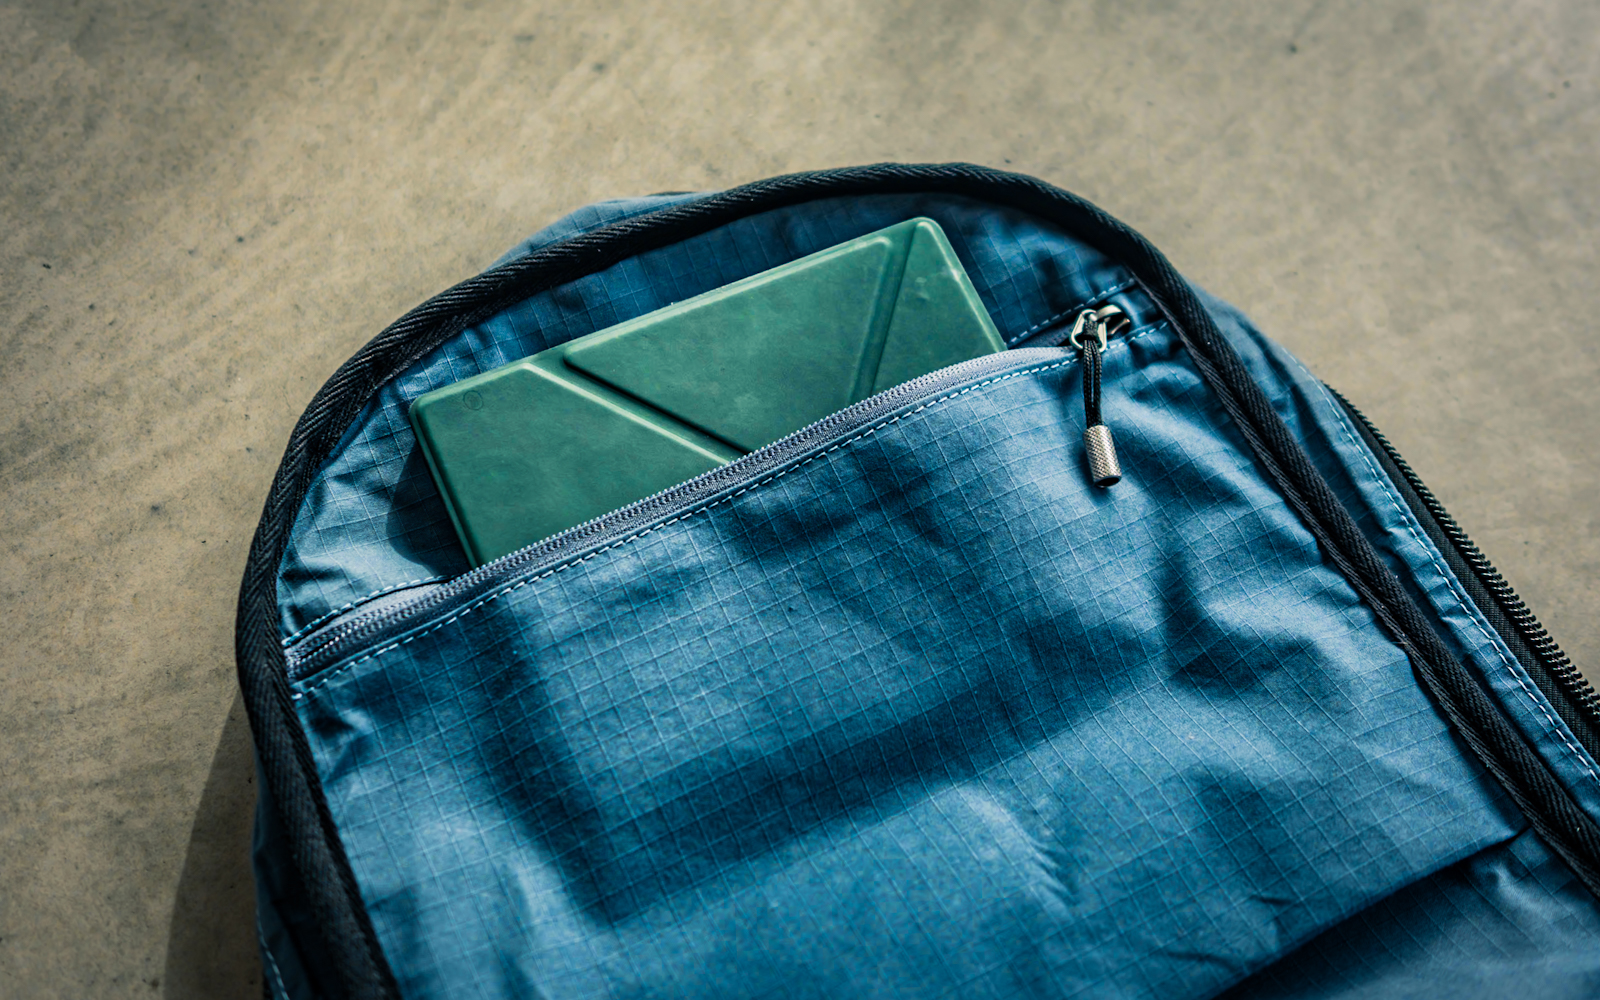
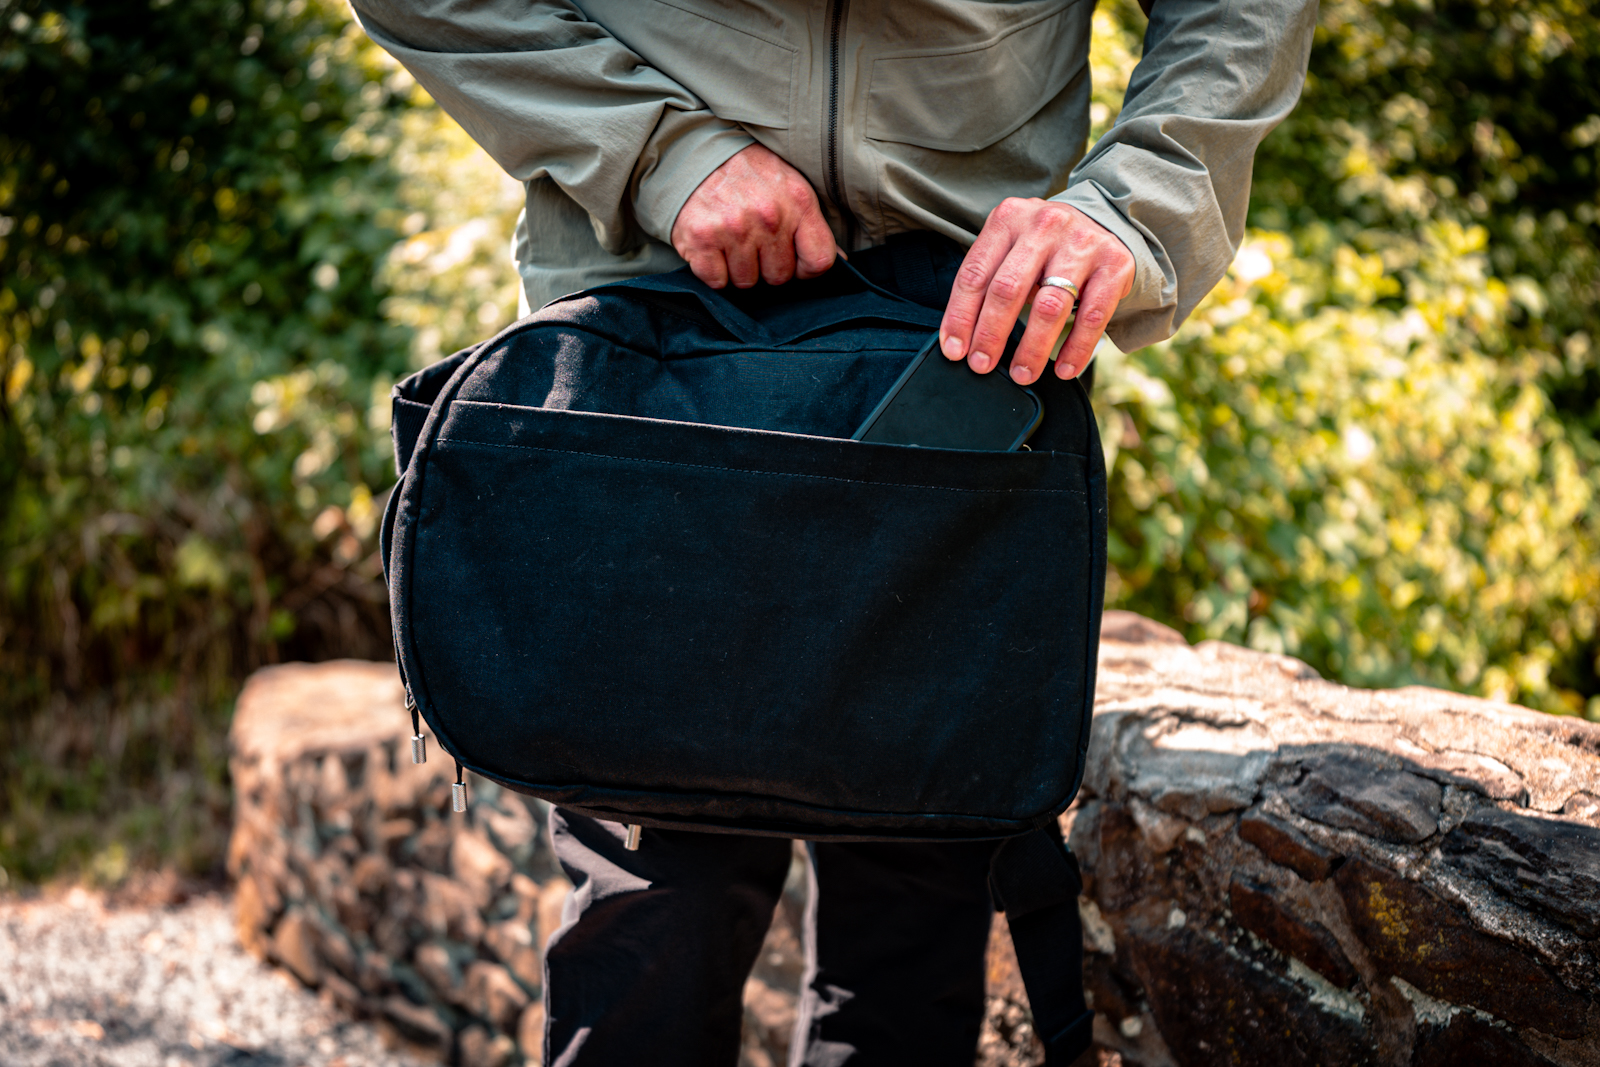
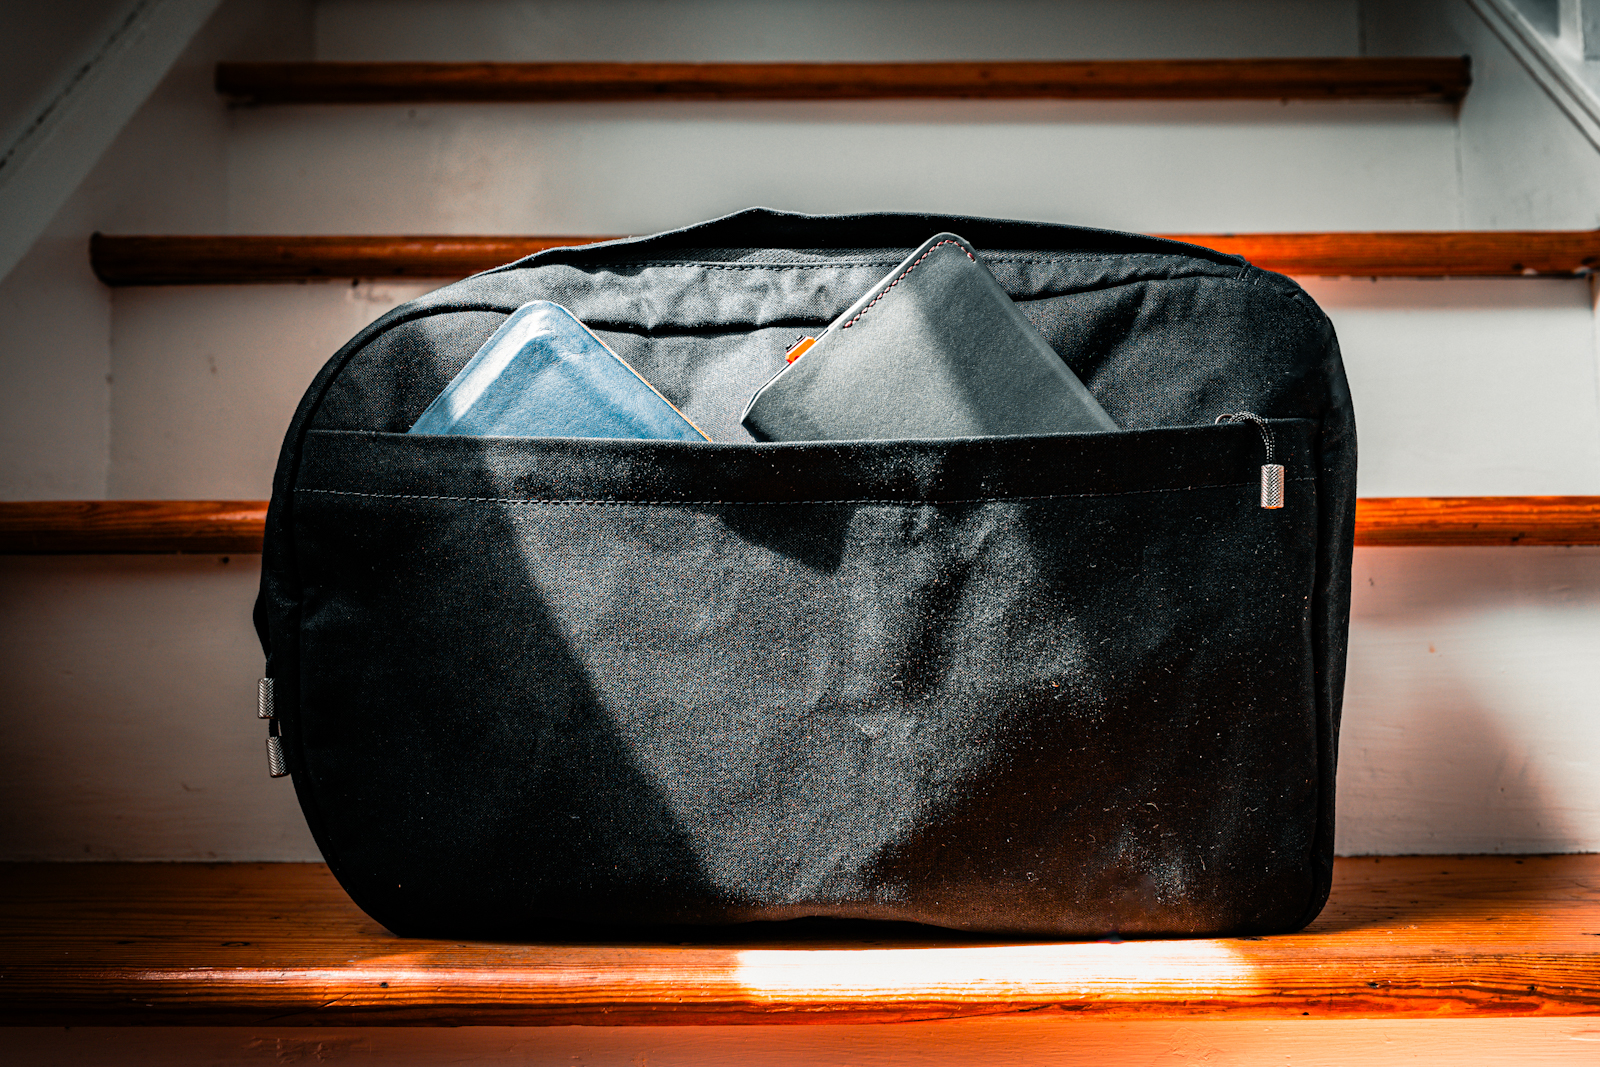
The exterior of the pack features a few pockets that are best used for your EDC. On the front of the bag you’ll find a vertical zipper that runs almost the full length of the front panel, and this houses two horizontal slip pockets that feel tailor-made for a mobile phone, Field Notes notebook and a slim wallet. There is still a good amount of room outside these two slips and you can comfortably fit a lightweight waterproof in there. These slips essentially become your quick access, and are easy to navigate when the bag is swung around on your shoulder.
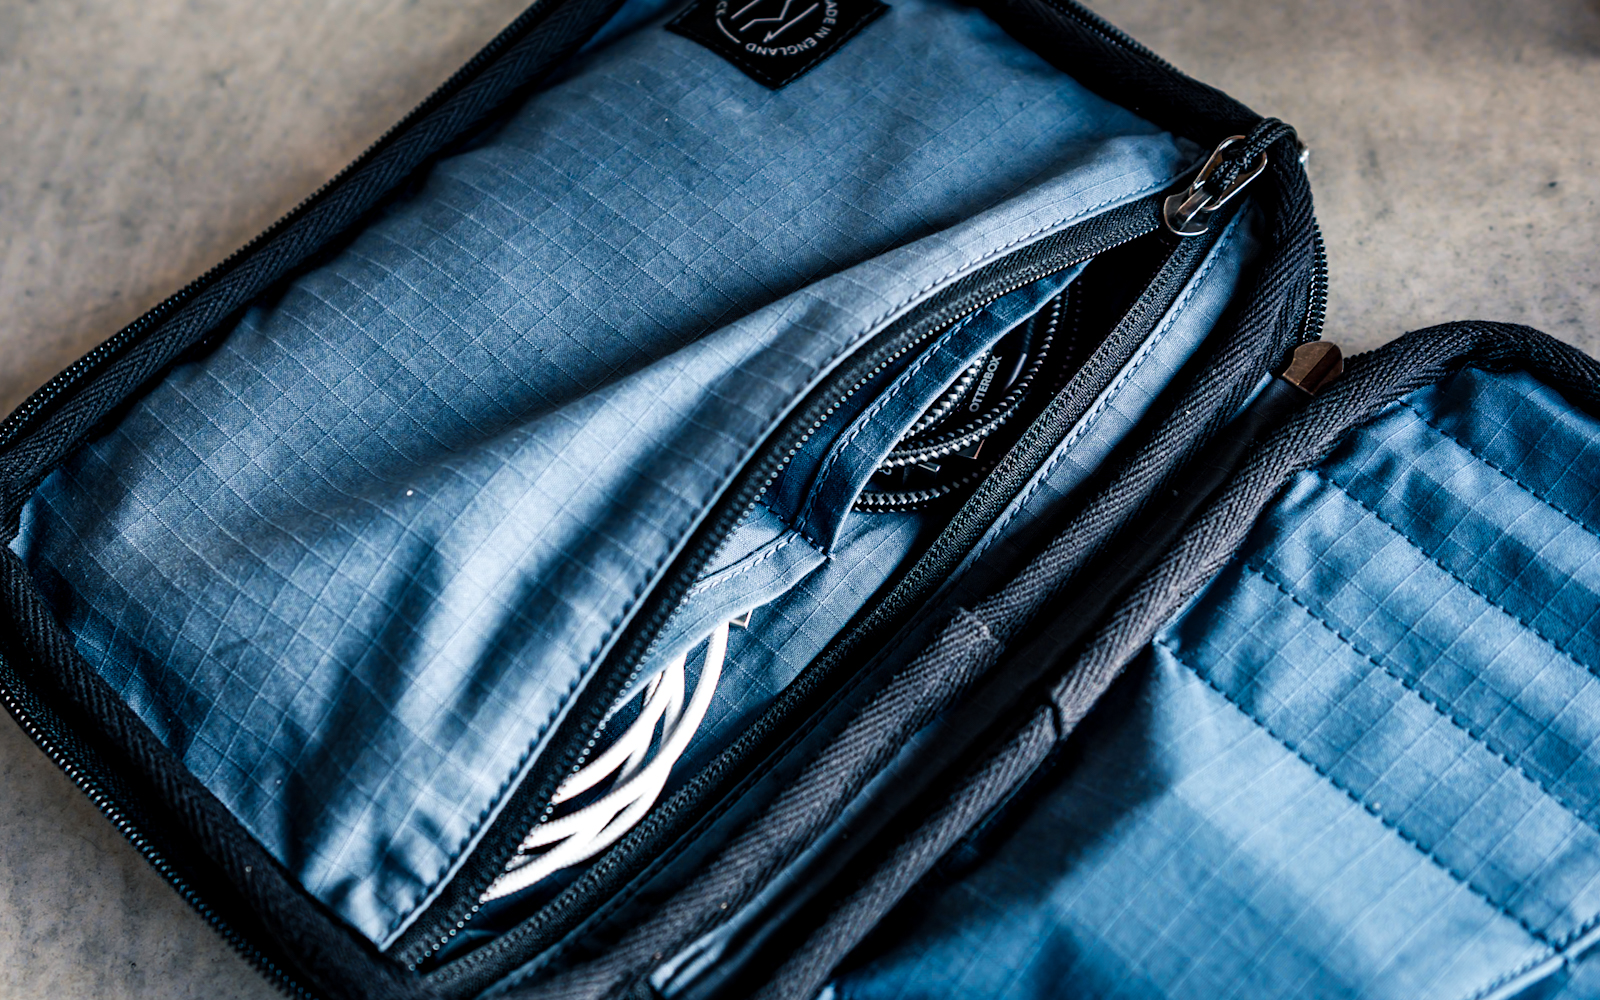
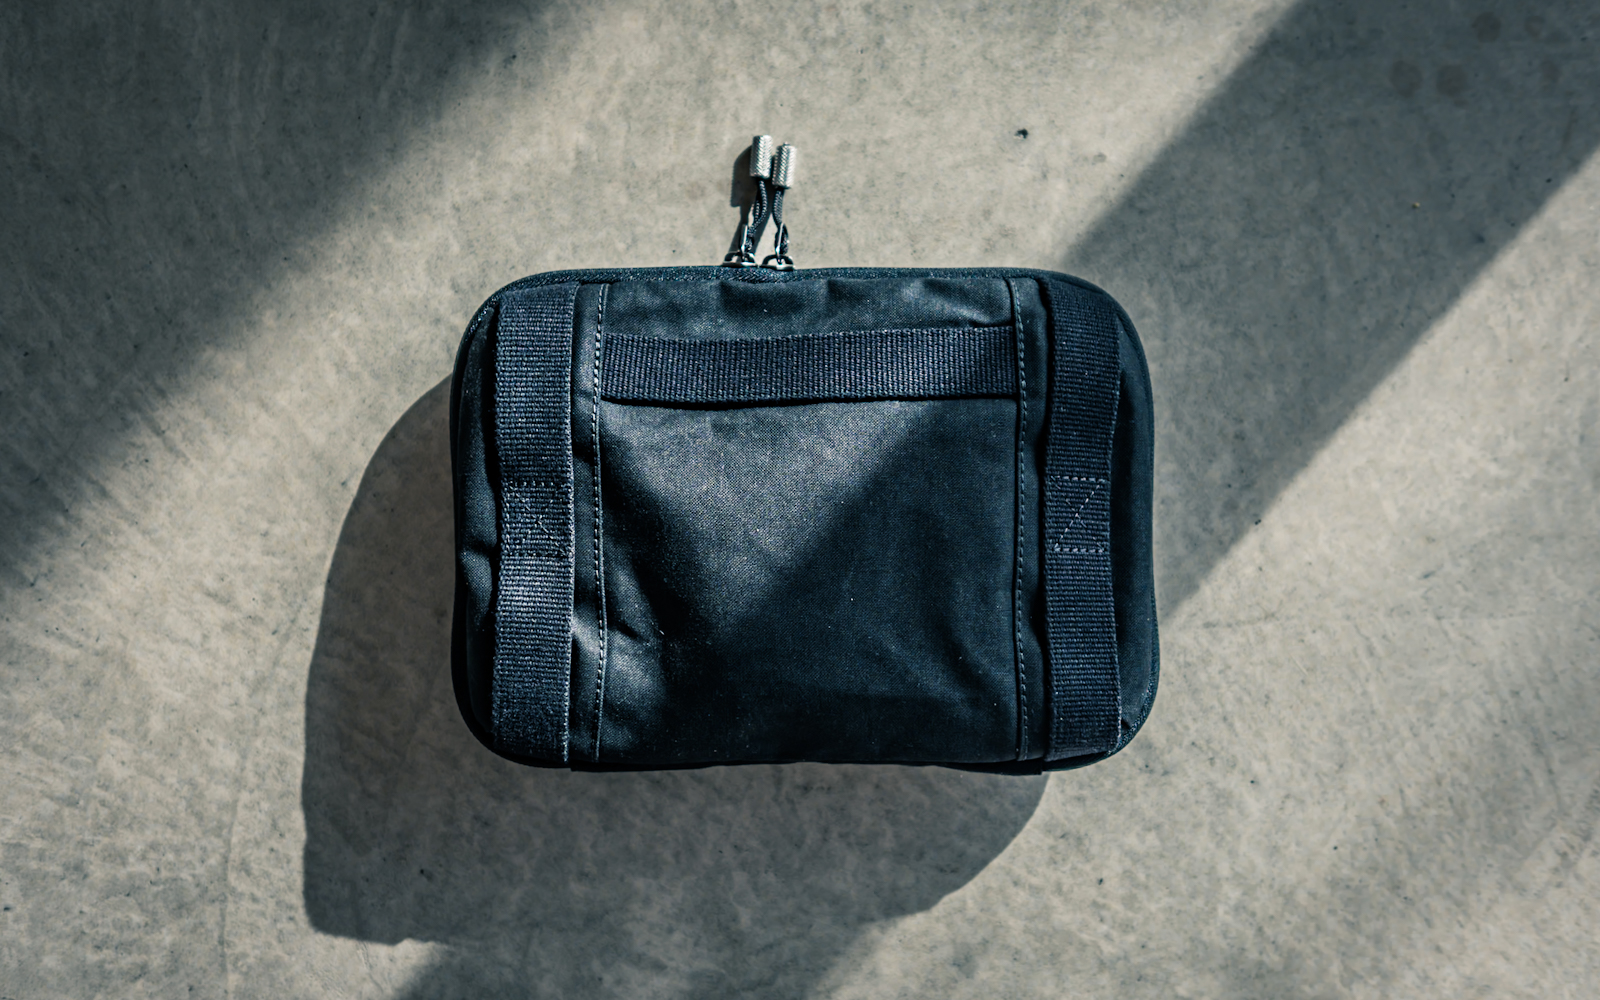
Now you can also pair the Everyday Sling 2.5L with the Everyday Pack, and I was pleasantly surprised by this little fellow. While it is designated a sling, and can be used as one in conjunction with their Halo strap, that’s not really how I roll and I found it to be a phenomenal travel/tech caddy. Firstly, it has a full clamshell opening which allows you immediate access to all of your essentials. It can hold a healthy amount of tech and EDC, all in the same fabulous materials and machined pulls as the pack itself.
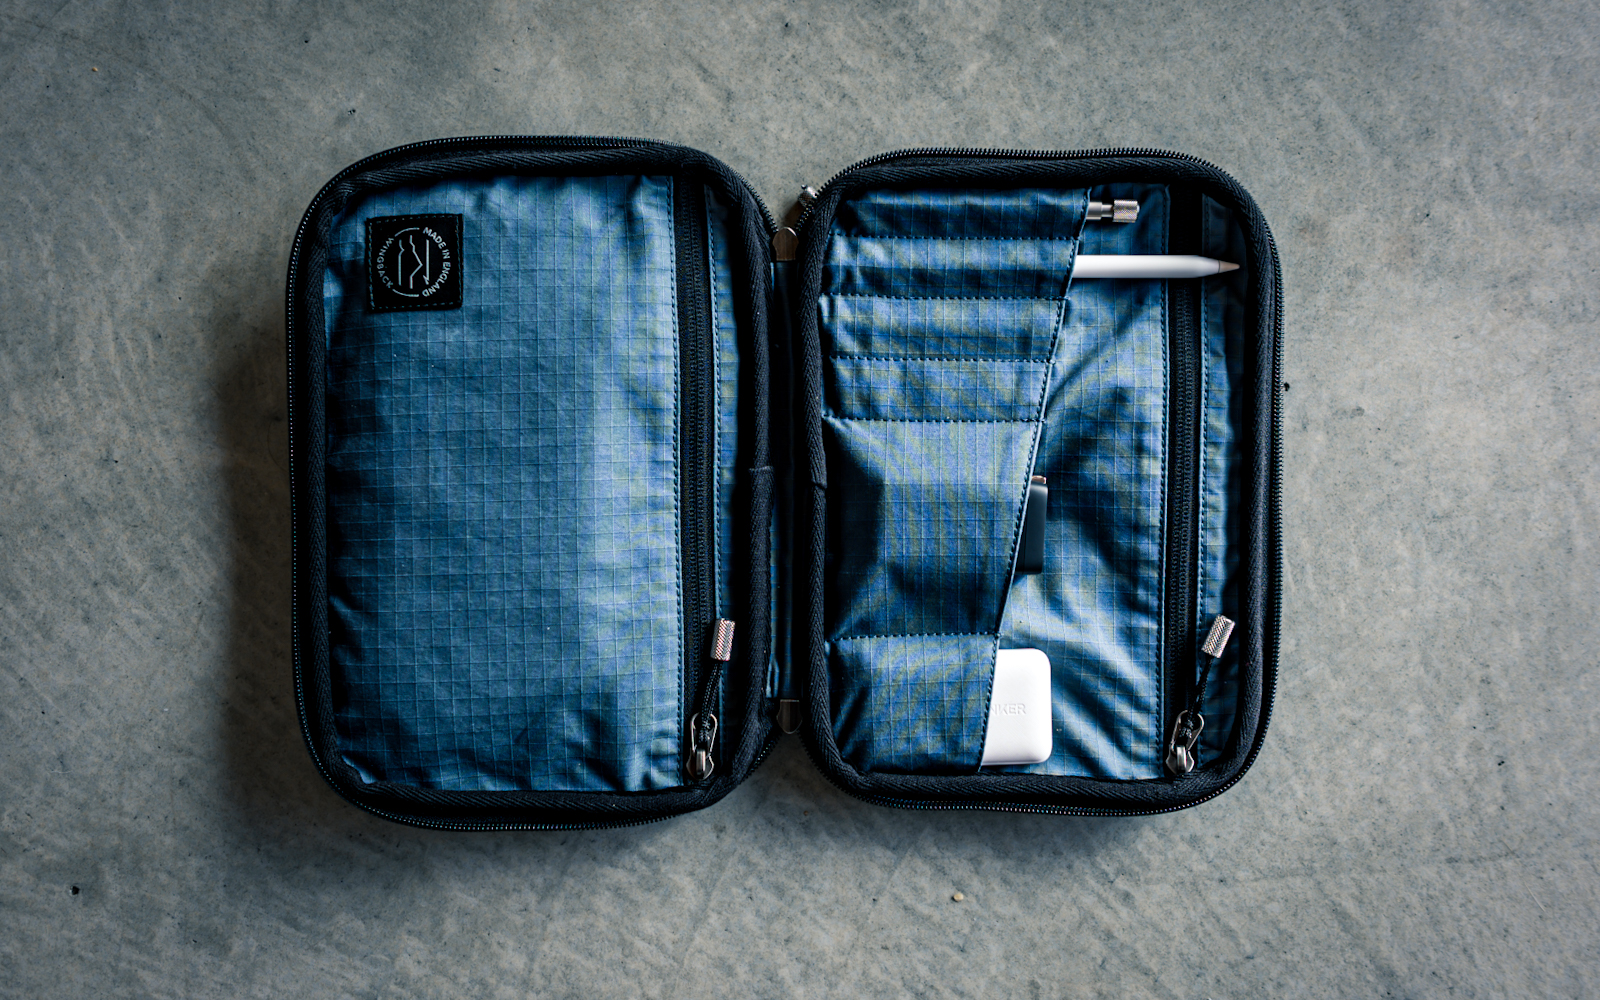
One side has admin slots for pens and the like, while the other has a zipper closure and slip pockets for your cables. It’s slimline and elegant, and doesn’t feel out of place on your desk or by your bedside in a hotel. There is an external grab handle if you’d like to use it as a sling, but this is also just as useful for pulling it out of your bag.
Some will note the similarities to another favorite bag of ours, the EVERGOODS CPL, but I think this is a different beast. The material/hardware choices, the slender silhouette, and the custom machined pulls make this a bag that’s designed to be an elegant investment piece that’ll slide under the radar wherever you are. In our world, bags often share similarities, but have different souls, and I think that’s the case here.
Comfort and Wearability
On the whole, the Wingback Everyday Pack is comfortable for loads up to 15lbs or maybe even 20lbs. I found it housed all of my EDC with ease, which usually constitutes a 14″ MacBook Pro, an iPad Pro, a tech kit, a Kindle, a water bottle, and a camera kit of sorts. The shoulder straps distributed this weight evenly, and the back panel, while simple, is plenty comfortable for your commute to the office. The back side also gives you access to your laptop sleeve, and another small hidden side pocket, where you could stash some cash, your passport, or anything else you might want to keep out of sight. I also loved how slender the profile is on your back. It stays close to you, even when full, without looking like you have a tortoise shell on your back.
However, I did find that when you have heavier loads in the bag, the thinner straps don’t offer the best comfort. Now your mileage may vary, and putting much more than 20lbs in a 21L isn’t common, but it’s worth mentioning. The 2″ Cobra Ladderlocks could be construed as overkill, and I found myself on a couple of occasions putting my bag down on tables very gingerly as I didn’t want to take a chunk out of the surface. I feel like a tapered strap with a 1″ COBRA might have been more apropos to a bag of this size.
As the back panel is pure Halley Stevensons waxed cotton, it isn’t the most breathable on warmer days. No waxed cotton breathes well, so if you’re looking at a heritage pack, the chances are you’re painfully aware of this fact already! And of course, there is the lint factor which comes with most waxed canvas bags. If you have pets, be prepared to lint roll every once in a while. That effect will subside the more the bag is used and the wax breaks in, but it will catch your surroundings. I don’t think these are negatives per se, but rather notes you should be aware of when using heritage products.
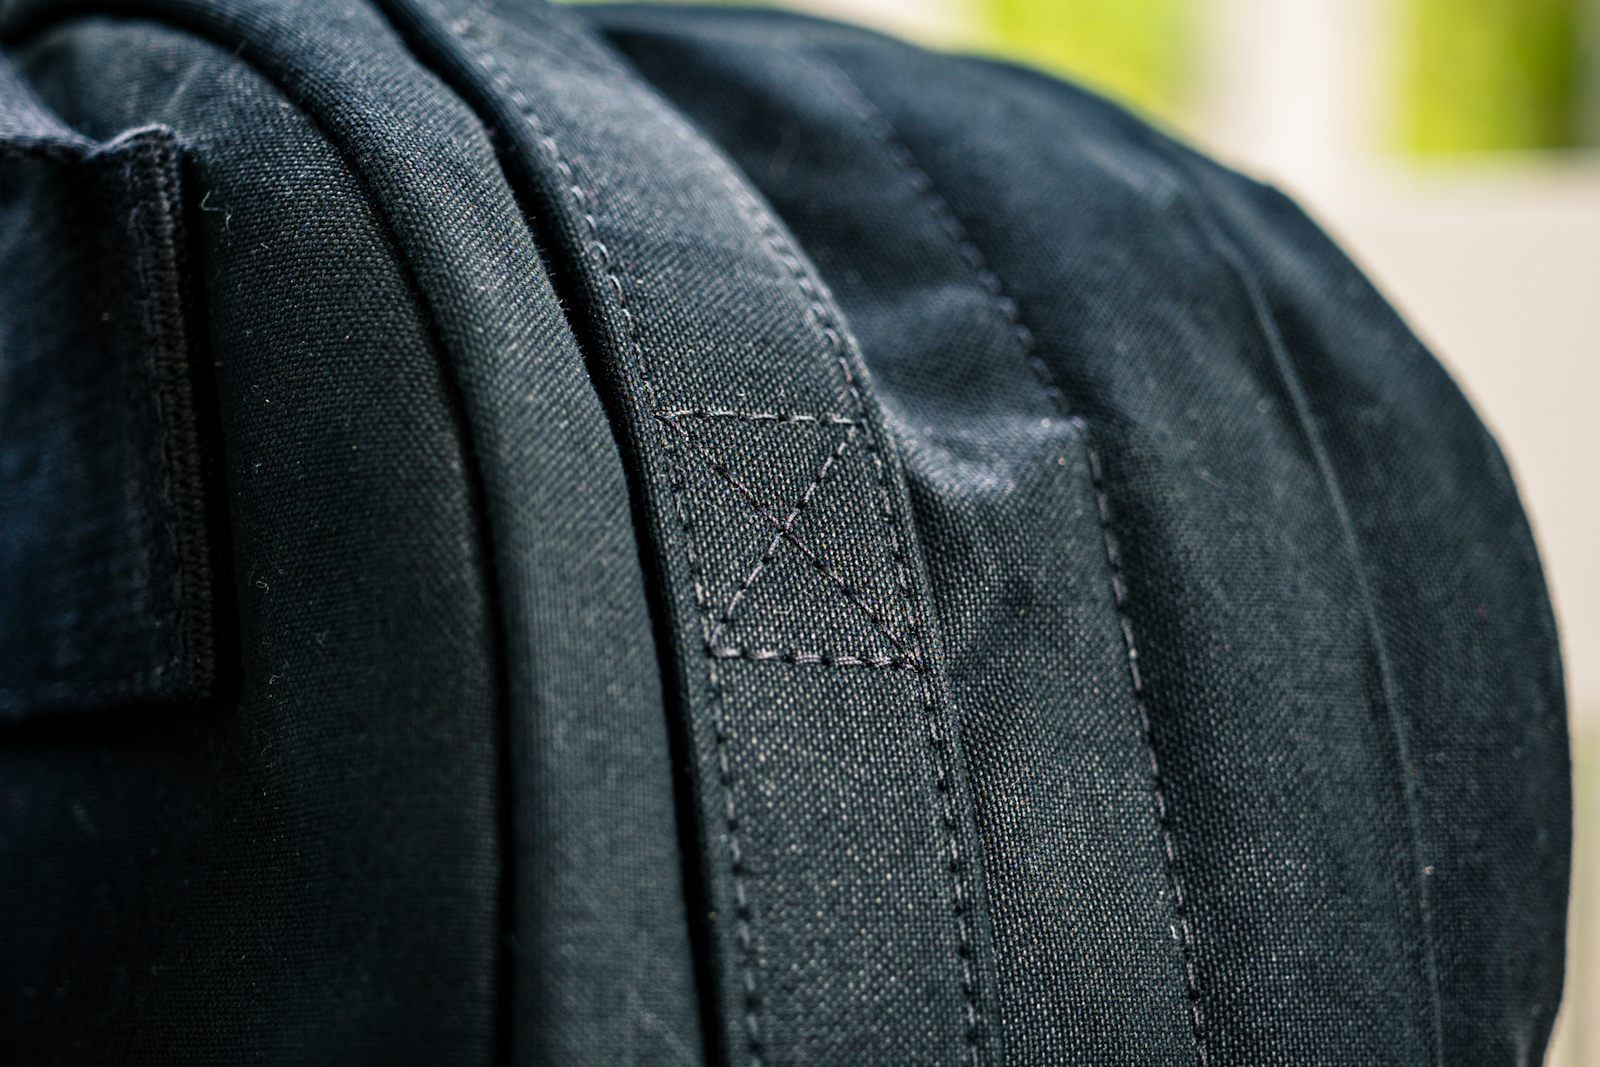
The handles that run all around the exterior of the pack are fantastic. They stay out of the way, flat to the pack while not in use, but provide extra carrying options and lashing points for the Halo strap if you need to carry more. I like that you can grab the bag from almost any position and be moving quickly. The visual of the bartacking is a confidence boost too; this bag is made to last.
The Good
This is undoubtedly a well-made, well-executed bag. Especially for the brand’s first effort. I think for many it’ll be the happy medium between two styles of bags and become a trusty companion that, like most heritage bags, will get better and better with more use. Mine is already showing a beautiful patina, particularly around the handle and the front panel. I’m excited for it to become “mine” even more. This is a statement investment piece.
Not So Good
While the Everyday Pack is very good, there are some considerations to take into account. The straps and back panel may be a struggle for those who are more accustomed to a more dedicated harness system, and the large COBRAs feel a little unwieldy on a smaller bag like this. Be prepared to lint roll!
Verdict
In a market where many backpacks can often lean towards the over-engineered or flamboyant, the Wingback EVERYDAY PACK 21L is a hark back to simpler times. Now I know I’m English, and this is a bag from an English company, but I promise you it’s more than that. The Wingback Everyday Pack has a certain mellowness to it that is captivating and the elegant minimalist design doesn’t sacrifice practicality or style. Heritage fans will love the marriage of modern design choices with robust timeless materials. It’s the kind of pack that says, “I know what I want, and I don’t need to shout about it.” And sometimes, that’s exactly what you need.
The Breakdown
Geek (Performance)
Space & Access
Organization
Comfort
Style (Design)
Look & Feel
Build, Materials & Hardware
Features
Stoke (Experience)
Warranty & Support
Brand experience
Value
X Factor


Laurence Fry
SENIOR EDITOR | PHOTOGRAPHER
Laurence is a Brit abroad, living in the North Eastern US. A creative at heart specialising in photography, videography, writing, and design. He loves the outdoors, and can often be found reading in a hammock (with a gin or IPA in hand).


